Key takeaways
- A step-by-step guide to cutting plywood with a circular saw: tooth count, blade depth, shoe offset, clamped guides and the setup that stops splintering.
What's inside
As an Amazon Associate I earn from qualifying purchases. This post may contain affiliate links at no extra cost to you.
Plywood punishes sloppy work. The face veneer on cabinet-grade birch is a few thousandths of an inch thick, a 4 ft by 8 ft sheet of 3/4 in ply sags under its own weight, and once the top layer splinters you cannot sand it out without cutting into the core. The right circular saw for cutting plywood helps, but the saw is only about a third of the job. Blade choice, support, and a clamped straightedge are the rest.
Here is the whole procedure in order, with the reason behind each step. Read it before you mark the sheet, because most plywood mistakes happen before the blade ever spins.
As an Amazon Associate we earn from qualifying purchases at no extra cost to you. Product prices and availability are accurate as of the date shown and are subject to change.




| Blade (7-1/4 in) | Teeth | Best use | Edge on veneer |
|---|---|---|---|
| Framing / general purpose | 24T | Sheathing, subfloor, rough breakdown | Chipped, plan to trim later |
| Combination | 40T | Shop ply, shelving, paint-grade work | Good with tape and a scored line |
| Plywood / finish | 56T to 60T | Birch, maple and oak cabinet ply | Very clean, close to final |
| Thin-kerf finish | 60T thin kerf | Cordless saws, 1/4 in and 1/2 in stock | Very clean, less motor strain |
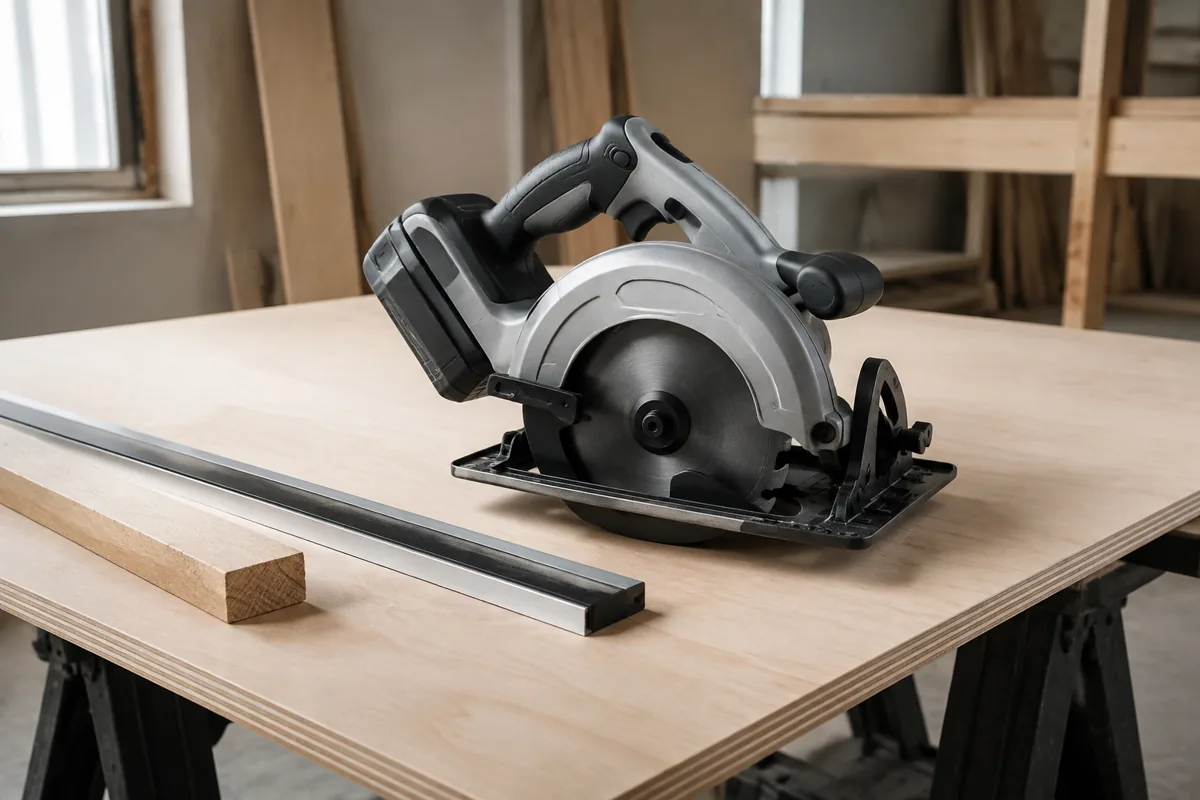
Choosing a circular saw for cutting plywood
Nearly any 7-1/4 in saw has enough power for sheet goods. Four details separate a good sheet-goods saw from a framing saw.
A flat, rigid shoe. Lay a straightedge across the base plate. A stamped shoe that is dished or twisted rocks against your guide and puts a slow wave into a 96 in cut. Cast or extruded magnesium bases stay flatter.
Line of sight. Blade-left sidewinders and worm drives let a right-handed user watch the teeth meet the pencil line instead of guessing from behind the motor housing.
A depth lock that holds. You will reset depth for every thickness, to within about 1/8 in, and a lever that creeps under vibration will cost you a cut.
Torque to keep 60 teeth moving. A 15 amp corded saw never notices. Brushless cordless platforms such as DeWalt XR, Milwaukee FUEL and Makita LXT handle 3/4 in ply comfortably, especially with a thin-kerf blade. Compact 6-1/2 in cordless saws work too; most cut a little over 2 in at 90 degrees, which covers any sheet good plus a sacrificial layer underneath.
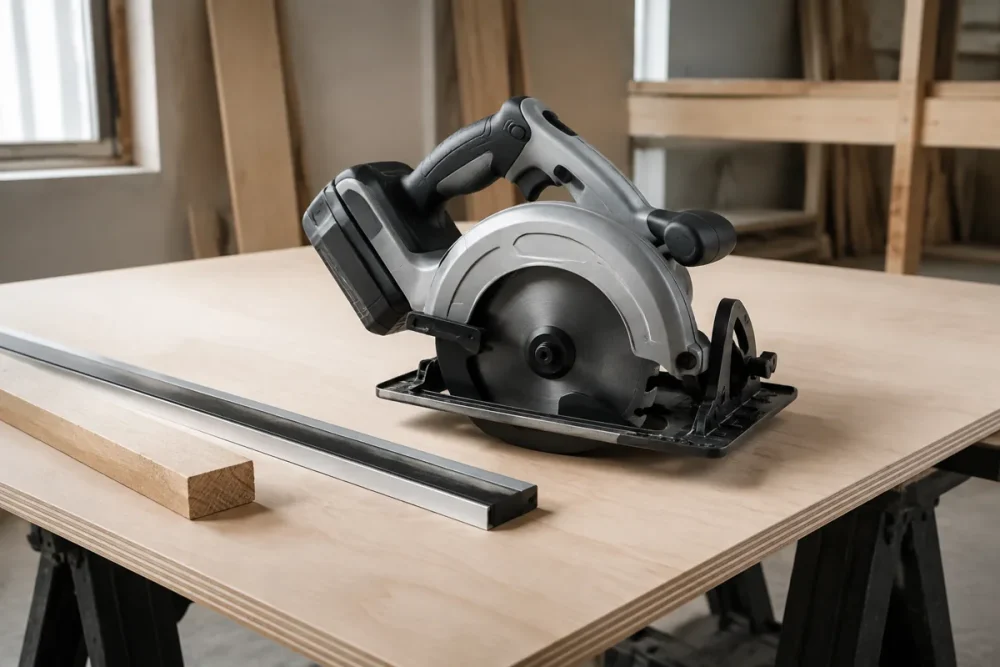
Cordless brushless 7-1/4 in circular saw
Stay on the battery platform you already own. Prioritize a cast or magnesium shoe, an electric brake, and a depth lever that locks solid.
Set up the sheet before you touch the saw
1. Build a flat bed. Lay a 2 in sheet of rigid foam insulation on the floor, or a sacrificial 1/2 in sheet over 2×4 sleepers about 16 in apart. Two sawhorses are for rough breakdown only: the sheet sags, the kerf closes on the blade, and the saw binds and wanders. A full bed also holds the offcut up so the last inch of veneer does not snap off as the piece drops.
2. Check the factory edge. Do not assume it is straight. Hold a known straightedge against it and look for daylight. If it bows more than roughly 1/32 in over 8 ft, rip a fresh reference edge first and take every measurement from that one.
3. Tape and score the line. Mark both ends of the cut, connect them with your straightedge, then run blue painter’s tape over the line on the face that will be up and score along it with a utility knife, two light passes rather than one hard one. A circular saw blade rotates up through the sheet, so tearout lands on the top face. Good side goes down, every time.
Cut it: five steps that decide your edge
4. Set the blade depth. With the battery out or the cord unplugged, set the blade to project about 1/8 in past the bottom of the sheet. Shallow depth makes each tooth travel a longer, flatter arc, so it slices the veneer instead of lifting it, and it keeps less blade exposed if the saw kicks back. On 2 in foam you are cutting 1/8 in of foam and nothing else.
5. Measure the shoe offset. Measure from the guide edge of the shoe to the side of the teeth that faces your keeper piece, so the kerf falls in the waste. On most saws that lands somewhere between 1-1/4 in and 1-3/4 in, but it shifts with the blade, so measure yours and write it on the saw in marker.
6. Clamp a real guide. Set the guide at that offset from your line and clamp both ends, then check the middle of anything longer than 5 ft. A factory-edge offcut, an aluminum clamping straightedge, or a shop-made guide (a 1/4 in ply fence glued to a 1/2 in base, then trimmed by your own saw) all work. Keep the clamps where the motor housing will clear them.
Clamping straightedge saw guide
A 50 in guide covers crosscuts and two joined sections handle a full rip. Check that the clamp heads sit low enough for your motor housing to pass.
7. One steady pass. Start with the blade clear of the sheet, let the motor reach full speed, then feed fast enough that the saw is working but not bogging. Never stop and restart mid-cut; you get a divot and a burn line exactly where you resume. Hold the shoe against the guide the whole way, run off the far end, and let the blade stop before you lift.
8. Clean the edge without reshaping it. A taped, scored cut with a fine blade needs almost nothing: two or three strokes with 180 grit on a hard block, held flat and moving along the edge. Skip the sanding sponge, which rounds over corners you need square for edge banding or a butt joint. For parts that must be exact, cut 1/16 in to 1/8 in oversize and trim to the line on a table saw.
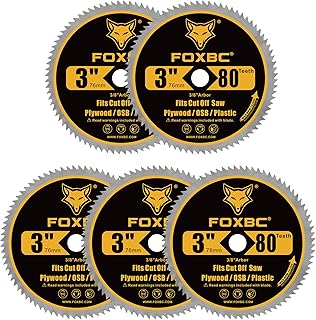
60 tooth plywood blade
The cheapest fix for chipped veneer. Buy two so one stays sharp for show faces, and keep a 24 tooth blade for sheathing and framing.
Common mistakes that ruin a sheet
Cutting good face up is the big one, and it is usually muscle memory from a table saw, where tearout lands on the underside instead. Second is guessing the shoe offset, which gives you a cut that is perfectly parallel and 3/16 in off. A 24 tooth framing blade will chip birch veneer no matter how carefully you feed, and a dull fine blade burns and drifts, since plywood glue is hard on carbide. Last, forgetting the kerf: a 7-1/4 in blade removes roughly 1/16 in to 1/8 in of material, and two cuts that both ignore it leave a 24 in shelf noticeably short.
- ✔ Breaks down full sheets flat on the floor, no wrestling 4×8 onto a table saw
- ✔ Costs far less than a track saw and still cuts framing lumber
- ✔ Any clamped straightedge turns the saw you already own into a guided saw
- ✘ Every cut needs clamps, offset math and a fresh setup
- ✘ Edge quality still trails a track saw with a splinter guard
- ✘ Dust collection is poor on most sidewinders
Circular saw and plywood FAQ
Should plywood be cut face up or face down? Face down. The blade climbs through the material and exits the top surface, so chipping happens on the up face. Put the show face against the foam and tape the side you can see.
How many teeth do I need for plywood? Forty is the practical minimum for anything that will be visible, and 56 to 60 teeth is the sweet spot on cabinet-grade veneer. Pick a thin-kerf 60 tooth blade for cordless saws so the motor is not fighting extra material.
Can a circular saw match a table saw edge? Very close, if you tape, score, use a fine blade and follow a clamped guide. For joinery-critical parts, the safer habit is still to break the sheet down oversize with the circular saw and take the final 1/16 in on a table saw.
Get the setup right and an entry-level saw with a fine-tooth blade will cut cleaner sheets than an expensive saw dragged freehand across two sawhorses. Support the whole sheet, tape and score the line, measure the offset, clamp the guide, then cut once without stopping.
Check prices on Amazon →