Key takeaways
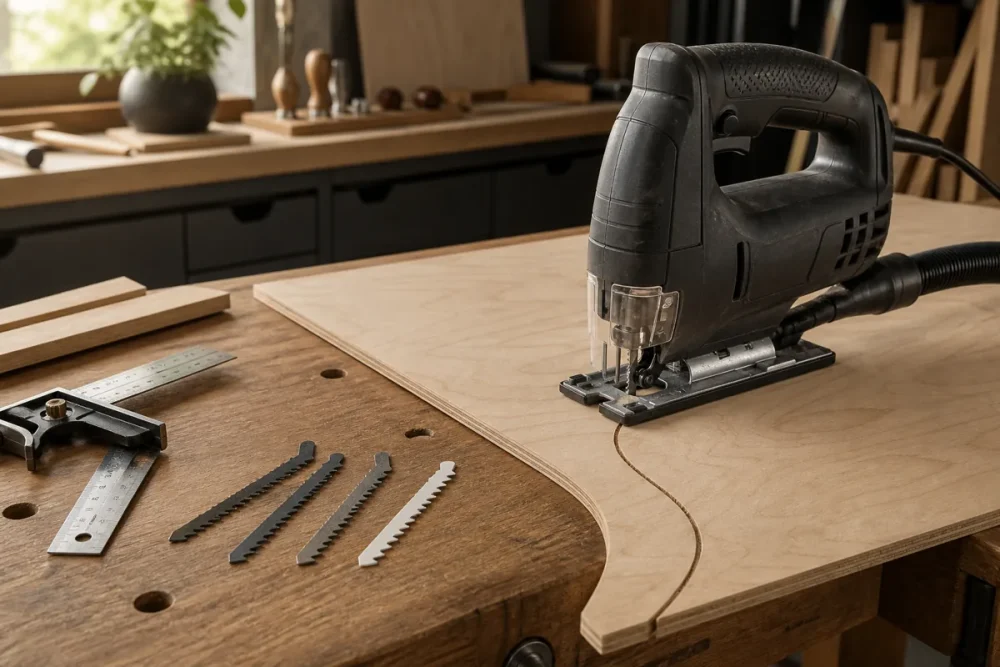
- A step-by-step method for cutting plywood with a jigsaw: blade choice, orbit setting, scored and taped lines, full support underneath, and how to trim the edge to your finished line.
What's inside
As an Amazon Associate I earn from qualifying purchases. This post may contain affiliate links at no extra cost to you.
Plywood punishes sloppy technique. The face veneer on cabinet-grade ply is only a few thousandths of an inch thick, and a standard jigsaw blade cuts on the upstroke, lifting that veneer like a splinter every time a tooth exits the sheet. So a perfectly capable jigsaw for cutting plywood gets blamed for tearout that is really a blade, support, and feed-rate problem.
The method below is the one I use for sheet goods: cut oversize, control which face chips, then bring the edge down to the finished line. No track saw needed. It does need a slower feed than feels natural, and the orbital action set to zero, which is the dial most people never touch.
As an Amazon Associate we earn from qualifying purchases at no extra cost to you. Product prices and availability are accurate as of the date shown and are subject to change.


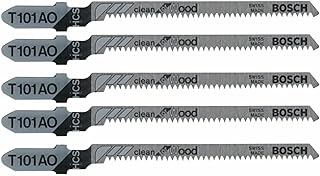


Match the blade and settings to the material first. That decision does most of the work.
| Plywood job | Blade | Orbit | Key detail |
|---|---|---|---|
| 3/4-inch hardwood-faced ply | 10-12 TPI clean cut or reverse tooth | 0 | Clamped straightedge, slow feed |
| 1/2-inch ply, curves | Narrow scrolling blade | 0 to 1 | Relief cuts into the waste first |
| 1/4-inch ply, melamine, prefinished | 20 TPI fine reverse tooth | 0 | Score the line with a knife |
| 3/4-inch sheathing | 6-10 TPI fast cut | 2 to 3 | Speed over finish, good face down |
Why Plywood Tears Out
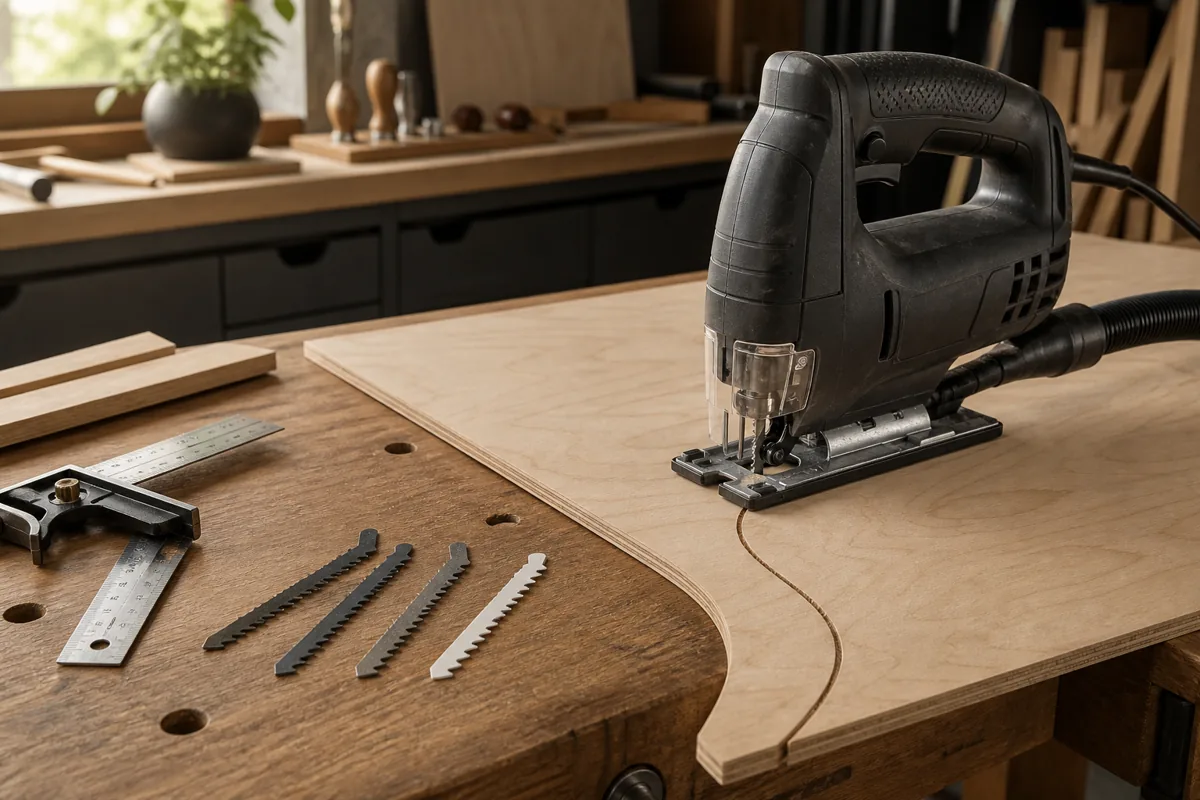
Teeth enter through the bottom face and exit through the top, so the top face splinters. Two ways around it: put the show face down with a normal blade, or keep the show face up and run a reverse-tooth (down-cut) blade. Reverse-tooth blades vibrate more and push the saw off the work, so they need firm pressure on the shoe and a slow feed.
The second cause is unsupported fiber. Where there is air behind the veneer it flexes and breaks out, which is why the last two inches of a cut, where the offcut sags, are usually the ugliest. The third is orbital action. It swings the blade forward to clear chips fast, which is great in framing lumber and a chipping machine in 23/32-inch prefinished maple.
Step 1: Set Up the Jigsaw for Cutting Plywood
1. Square the shoe to the blade. Hold a small combination square against the blade body and the shoe. Bevel detents drift, and a shoe sitting at 88 degrees puts a visible bevel on every cabinet part you cut.
2. Choose by tooth count. 10 to 12 TPI for 1/2-inch and 3/4-inch hardwood-faced ply, 20 TPI for thin ply and laminate faces. Fast-cut blades belong in sheathing, not in birch.
3. Use the widest blade the cut allows. Narrow scrolling blades turn tight radii but deflect under side load, which is what produces edges that are square at the top and beveled at the bottom.
4. Speed high, orbit at zero. On a six-position dial, 5 or 6. A high stroke rate with a slow feed cuts clean; a hard shove burns and deflects. Wipe grit off the shoe so it cannot scratch veneer.
Brushless cordless jigsaw
What matters for sheet goods is a rigid die-cast shoe, low blade deflection, true variable speed, and tool-free blade changes. Brushless saws in the DeWalt XR, Makita LXT, and Milwaukee FUEL lines all qualify, so buy into the battery system you already own. Barrel grip suits curves, top handle suits long rips.
Step 2: Support the Sheet and Mark the Line
1. Support the whole sheet, continuously. A 2-inch sheet of rigid foam insulation on the floor is the simplest answer. Jigsaw stroke is about 1 inch, so the blade never reaches the slab. On sawhorses, lay 2x4s on edge and route the cut between them.
2. Score the line with a utility knife. Two light passes, not one heavy one. You are severing the veneer fibers ahead of the blade so they cannot lift as a chip. On melamine and prefinished ply this step beats any blade upgrade.
3. Tape over the line. Blue painter’s tape on both faces holds short fibers down and takes a crisp pencil mark. Peel it off at a shallow angle or you will lift what you just protected.
4. Offset the cut line 1/16 inch into the waste. Mark the finished line, then mark the cut line outside it. A jigsaw gets you close; the cleanup step gets you to dimension.
Step 3: Make the Cut
1. Clamp a straightedge. Measure from the blade to the edge of your own shoe, usually 1-1/2 to 2 inches, and offset the guide by that amount. Write the number on the saw with a marker.
2. Bring the blade to full speed before it touches wood. Starting a stopped blade against the edge chips the entry corner every time.
3. Feed slowly and keep the shoe flat. The blade should be cutting, not being shoved. If the saw wants to wander off the straightedge, you are pushing too hard. Keep pressure on the front of the shoe, especially with reverse-tooth blades that want to hop.
4. Stage your curves. Saw relief cuts into the waste every few inches, snap the waste away, then fair the curve in one continuous pass. Radii under about 1 inch need a narrow scrolling blade or a drilled starting hole.
Reverse-tooth plywood blade multipack
Dull blades cause most of the tearout people blame on their saw. Keep a multipack of 10 to 12 TPI reverse-tooth T-shank blades plus a few 20 TPI fine blades for laminate faces, and retire any blade that starts to wander or scorch. Check that your saw takes T-shank first.
Step 4: Bring the Edge to the Finished Line
This is the step people skip. A flush-trim router bit run against a clamped straightedge removes that 1/16 inch in one pass and leaves a jointer-quality edge. A sharp low-angle block plane works too if you skew it and plane from both ends toward the middle, so you do not blow out the far corner. For parts getting edge banding or paint, a hard sanding block with 120 grit then 180 grit is plenty. Keep the block flat and angle your strokes slightly toward the face, pressing fibers down instead of peeling them.
Common Mistakes
Leaving orbital action on. Cutting right on the finished line with no allowance. Letting the offcut sag and tear the last two inches. Using whatever blade was already in the saw. Forcing the feed and getting a beveled edge. Cutting show face up with an up-cutting blade. And running a blade too long; one that sliced clean on Saturday morning can scorch by afternoon.
- ✔ Cuts curves, notches and interior openings a circular saw cannot
- ✔ Light enough to work on top of a full sheet
- ✔ Blade choice tunes the cut to the material
- ✔ No setup for scribing to walls and one-off cuts
- ✘ Blade deflection makes dead-square edges hard in 3/4-inch stock
- ✘ Slower than a circular saw and straightedge on long rips
- ✘ Needs a cleanup pass to reach final dimension
- ✘ Reverse-tooth blades vibrate and require firm control
Frequently Asked Questions
Can a jigsaw cut a full sheet of 3/4-inch plywood accurately? Yes for rough sizing and curves, no for finish-dimension rips. Break the sheet down oversize, then trim to size with a router, table saw, or hand plane.
Do I need a reverse-tooth blade? Only when you must cut with the good face up, like following a scribe or cutting an opening in an installed panel. If you can flip the panel, a standard clean-cut blade runs smoother.
How do I stop tearout on the underside? One face always takes the damage, so choose which one. Continuous support, tape on both faces, and a scored line cut it way down. When both faces show, cut oversize and clean the edge with a flush-trim bit.
Clamping straightedge saw guide
A 48-inch clamping straightedge removes freehand tracking error, which is the biggest single improvement to a jigsaw cut. A clamped strip of factory-edge plywood does the same job for nothing, so buy one only if you break down sheets often.
Cut oversize, protect the face that shows, keep the orbit at zero and the feed slow, then trim the edge to your line. That sequence makes a jigsaw a legitimate sheet-goods tool for cabinets, built-ins, and shop furniture.
Check prices on Amazon →