Key takeaways
- A step-by-step guide to dialing in a miter saw for trim work, from squaring the blade to coping inside corners and hiding gaps on crooked walls.
What's inside
As an Amazon Associate I earn from qualifying purchases. This post may contain affiliate links at no extra cost to you.
Most gappy baseboard and crown is not a saw problem. It is a setup problem plus a wall problem. Your walls are not 90 degrees, your floors are not flat, and a miter saw for trim work that is a half degree out of square will multiply that error at every joint. The good news is that both problems have procedures, and neither requires an expensive saw. A well-tuned 10-inch single-bevel saw with a sharp 80-tooth blade will outperform a sloppy 12-inch dual-bevel every day of the week.
This guide walks through the sequence I use on interior trim: verify the saw, set up support, cut in the right order, and deal with corners that are not square. Follow the steps in order. Skipping the tune-up and hoping to fix joints with caulk is how a two-day baseboard job becomes a week of touch-ups.
As an Amazon Associate we earn from qualifying purchases at no extra cost to you. Product prices and availability are accurate as of the date shown and are subject to change.




| Trim task | What actually matters | Blade choice |
|---|---|---|
| Baseboard, 1x material | Zero-clearance support, square blade | 60-80T fine finish |
| Crown molding | Repeatable bevel stops or a crown stop | 80T thin-kerf |
| Door and window casing | Dead-flat table, tight fence | 80T fine finish |
| Shoe and quarter round | Small-stock hold-down | 80T, slow feed |
| Long stair skirt or wide baseboard | Cut capacity at 45 degrees | 60T general finish |
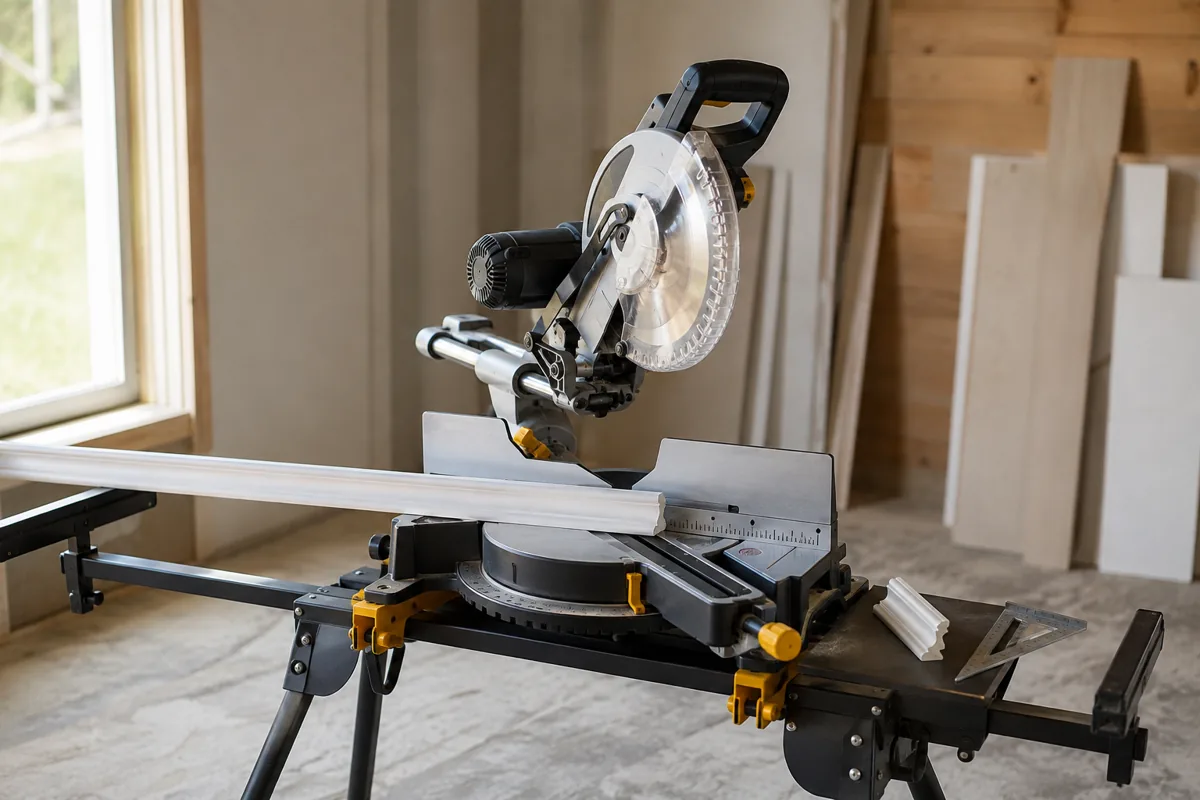
Step 1: Choose the Right Miter Saw for Trim Work
Before touching a piece of molding, be honest about capacity. A 10-inch sliding saw crosscuts most baseboard up to roughly 12 inches wide when laid flat, which covers nearly every residential trim profile. A non-slider caps out around 5 to 6 inches flat, which is fine for casing and shoe but frustrating on tall base.
Single-bevel versus dual-bevel matters more than motor power. With single bevel you flip the workpiece to cut the opposite hand of a beveled joint, which is workable for baseboard but genuinely annoying for crown. If crown is in your future, dual bevel pays for itself in avoided head-scratching.
Cordless platforms are now completely viable for trim. DeWalt XR, Milwaukee FUEL and Makita LXT all offer 7-1/4 and 10-inch saws that will run a full room of base on a couple of high-capacity batteries. The tradeoff is usually a slightly smaller table and less mass, so you feel more vibration at the start of a cut. Corded saws are steadier for all-day interior work; cordless wins when you are moving between rooms and floors.
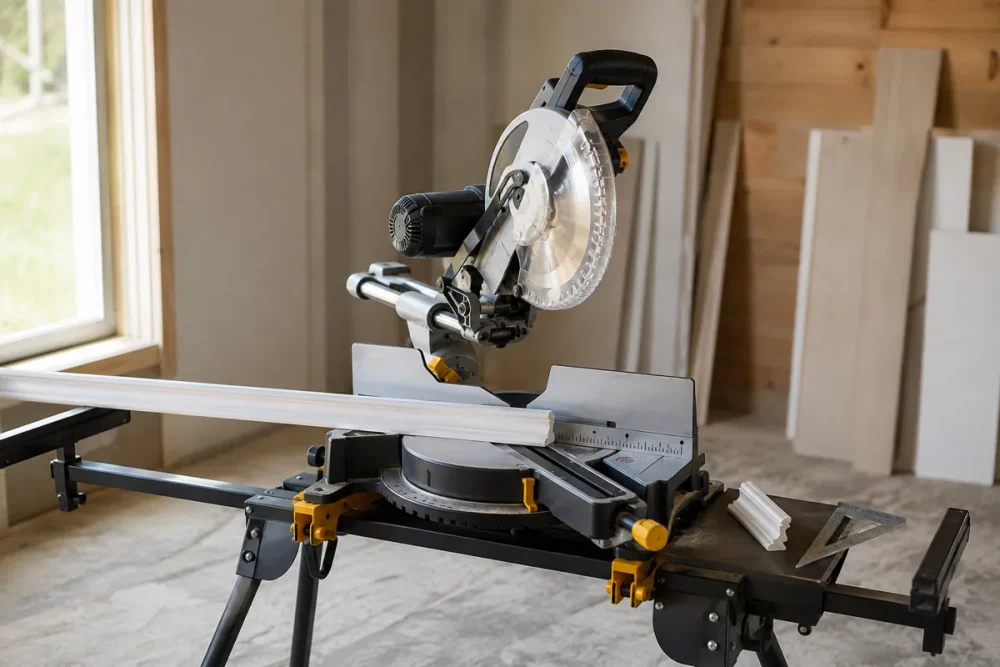
Sliding Compound Miter Saw for Interior Trim
For most trim carpentry a 10-inch dual-bevel slider is the sweet spot: enough capacity for tall baseboard laid flat, light enough to carry upstairs, and it takes cheaper blades than a 12-inch. Prioritize a saw with positive detents you can actually override, a fence tall enough to support crown nested, and a blade guard that does not fight you on shallow cuts. Skip the laser as a buying factor; you will cut to the kerf, not the light.
Step 2: Square the Saw Before You Cut Anything
This is a 15-minute job that saves hours. Unplug the saw or pull the battery first.
1. Check the table and fence for debris. Vacuum the throat plate area and wipe the fence faces. A single chip of hardwood under the fence tilts your workpiece and produces a joint that looks like a blade problem.
2. Verify the fence is straight and coplanar. Lay a good straightedge across both fence halves. If the right half sits proud of the left, loosen the fence bolts, seat it against the straightedge, and retighten. Any misalignment here shows up as a gap at the top or bottom of every miter.
3. Set the blade to 90 degrees to the table. Drop the head, set bevel to zero, and place a machinist square or reliable combination square against the blade body, not the teeth. Adjust the bevel stop screw until there is no light under the square. Then set the bevel detent indicator to read zero.
4. Set the blade to 90 degrees to the fence. With the miter at the zero detent, square the blade to the fence the same way. Adjust the miter detent plate if your saw allows it, then reset the pointer.
5. Cut a test joint. Take a piece of scrap about 4 inches wide, crosscut it at zero, flip one half over, and butt the cut ends together against a straightedge. Any error doubles here, so a gap you can see is roughly half that much error in the saw. Adjust and repeat until the joint closes.
6. Repeat at 45 degrees. Cut two 45s and join them. If the resulting corner is not 90, your detent is off. Note the correction you need and remember that the detent lies; trust the test cut.
Step 3: Build Support and a Zero-Clearance Surface
Tearout and creeping cuts almost always trace back to support. Trim is long, thin and unforgiving.
1. Get the wings level with the table. Set the saw on a stand or a pair of sawhorses with a plywood deck, then use scrap or shims so infeed and outfeed support sit dead level with the saw table. If the far end of an 8-foot piece of base sags a sixteenth, the cut at the blade is no longer square to the length.
2. Add a sacrificial fence and base. Screw a piece of 1/2-inch MDF to the fence and lay a strip on the table, then cut through both at your common angles. That zero-clearance backing supports the wood fibers right at the exit point and nearly eliminates the fuzzy edge on painted pine and MDF trim.
3. Set a stop block for repeat parts. Clamp a block to the auxiliary fence for shoe molding returns, plinth blocks and stool horns. Measuring 14 identical pieces produces 14 slightly different pieces.
4. Slow down and let the blade stop. On a slider, plunge fully at the fence and pull forward through the cut rather than pushing. Hold the head down for a beat after the cut so the rising blade does not clip the finished edge.
- ✔ Zero-clearance MDF backing kills tearout on MDF and primed pine
- ✔ Level infeed and outfeed support keeps long stock from twisting the cut
- ✔ Stop blocks make returns and repeat lengths genuinely identical
- ✔ Fine-tooth blade lets you sneak up on a fit with 1/64 shavings
- ✘ Detent stops rarely land exactly on 45.00 degrees
- ✘ Dust collection on nearly every miter saw is poor without a shroud and a shop vac
- ✘ Big 12-inch blades cost noticeably more to replace and deflect more if thin-kerf
- ✘ Cordless saws vibrate more at the start of a cut without added mass
Step 4: Measure the Wall, Not the Drawing
Assume no corner is 90 degrees until proven otherwise. Concrete-level accuracy here is what separates trim that reads as one continuous line from trim that reads as a series of patches.
1. Find the true angle. Use a digital angle finder or a bevel gauge on each corner at the height the trim will sit. Read the wall angle, then divide by two for each miter. A corner that measures 92 degrees needs two 46-degree cuts, not two 45s.
2. Cut inside corners with a cope, not a miter, when you can. Miter the first piece square into the corner and butt it. On the mating piece, cut a 45-degree inside miter, then follow the revealed profile line with a coping saw or an oscillating tool and back-bevel behind it. A coped joint flexes with seasonal movement and hides small wall discrepancies, which is why finish carpenters keep doing it by hand.
3. Outside corners get a tested miter. Cut both halves slightly long, dry fit, and adjust by shaving a fraction of a degree at a time. Nail the joint together before nailing to the wall so the faces stay flush, and add a little glue on the end grain.
4. Splice long runs with a scarf. Instead of butting two lengths, cut matching 30 to 45-degree bevels so one piece laps over the other, and locate the splice over a stud. A scarf joint stays tight as the wood shrinks; a butt joint opens into a visible dark line.
5. Sand and prime cut ends. A quick pass with 180 grit on the miter face knocks off the fuzz and lets pieces seat fully. Prime any exposed end grain before finish nailing to keep it from drinking paint unevenly.
Fine-Finish Miter Saw Blades
The blade that ships with a saw is usually a 24 to 40-tooth general-purpose blade, which leaves visible tooth marks on trim. Moving to an 80-tooth ATB fine-finish blade in a thin kerf transforms cut quality on primed MDF, poplar and pine. Keep the coarse blade for framing and rough stock so the finish blade stays sharp. Two blades and a five-minute swap is cheaper than sanding every joint.
Step 5: Common Mistakes That Cause Gaps
Trusting the 45-degree detent. Detents are a starting point. Always dry fit and adjust.
Cutting all pieces before installing any. Trim jobs reveal problems as you go. Cut one piece, fit it, install it, then measure the next off the installed work.
Measuring to the wall on a run with a coped end. Measure to the face of the installed piece, not the corner behind it.
Forcing tall baseboard flat against a bowed wall. Shim behind the low spots so the top edge stays in plane, or the miter faces will twist out of alignment.
Letting the workpiece move. Small trim wants to walk. Use a hold-down clamp or a scrap push block and keep your hands well outside the blade path.
Cutting on the wrong side of the line. Mark your keeper piece with a V and cut so the blade removes the pencil line, not the length you need.
FAQ: Miter Saws and Trim
Do I need a 12-inch saw for baseboard? Usually no. A 10-inch slider handles most residential base laid flat and takes cheaper, less deflection-prone blades. A 12-inch makes sense if you regularly cut wide stair skirts, thick timbers, or tall crown standing up against the fence.
Slider or non-slider for trim work? A slider is more versatile because it crosscuts wide stock, but a compact non-slider is lighter, cheaper and plenty for casing, shoe and base up to about 5 inches. If you already own a non-slider, add an auxiliary fence and lay tall base against it rather than buying a new saw.
Why are my miters tight at the front and open at the back? That is almost always the fence, not the blade. Either the two fence halves are not coplanar, sawdust is trapped behind the workpiece, or the trim is not sitting flat because the wall behind it is bowed. Check the fence with a straightedge first.
Work in this order every time: tune the saw, build support, measure the actual walls, then cut and fit one piece at a time. The saw is only responsible for repeating an angle accurately. Everything else is your procedure.
Check prices on Amazon →