What's inside
As an Amazon Associate I earn from qualifying purchases. This post may contain affiliate links at no extra cost to you.
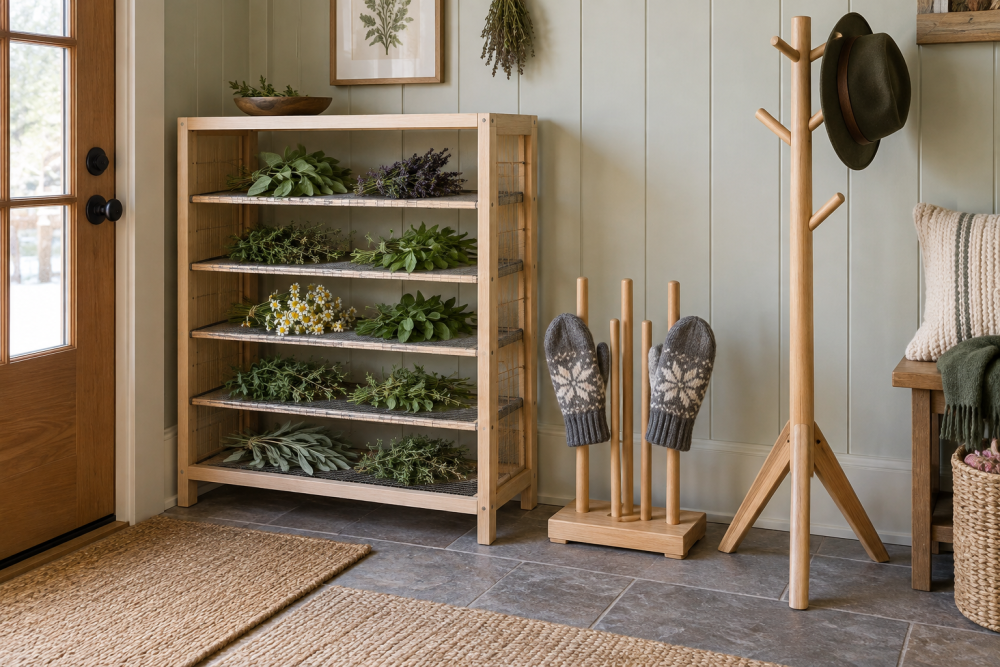
A compact coat tree works well in an entryway where a full-size hall tree will not fit. This version stands about 62 inches tall, has three splayed feet, and uses a turned or straight center post with simple hooks. The three-leg base saves floor space, but it needs accurate, evenly spaced joints: a loose or uneven leg can make the tree rock or tip when loaded.
Contents
Design and dimensions
Plan on a base footprint about 22 inches across and a post about 2 inches square. Cut three legs roughly 14 inches long, with each leg angled outward so the finished footprint is close to an equilateral triangle. Put the lower hook tier around 48 inches from the floor and the upper tier around 60 inches. Adjust those heights for your household; a lower set of hooks is useful for children, while long coats need room below the upper hooks.
Use hardwood such as maple, oak, or beech for the legs and post. A sound, straight-grained softwood can work for a lightly used tree, but it dents more readily and screws are more likely to loosen over time. Avoid knots near the leg joints. For the hooks, choose wood pegs or commercially made coat hooks rated for the expected load.
Materials and tools
You will need a 2-by-2-inch post blank at least 62 inches long, three leg blanks around 1¼ by 1½ by 14 inches, three hooks or pegs, wood glue, and suitable screws or dowels for the base joints. Allow extra stock for trimming and test cuts. A set of hardwood coat hooks is an easy option if you do not want to turn or shape your own.
Useful tools include a saw, drill, square, tape measure, clamps, and a bevel gauge. A drill press helps keep peg holes straight, but a hand drill and guide block are adequate. If you are choosing a saw for this project, a compact miter saw makes repeatable cuts; a handsaw is fine if you check each cut for square.
Choose a base joint
The legs must meet the post at equal angles and the same height. The best method depends on your tools and how much strength you need. A simple butt joint is quicker, but it puts more stress on screws and glue than a housed joint.
| Joint method | Tools and difficulty | Trade-off |
|---|---|---|
| Housed leg joint | Chisel or router; moderate | Strong and self-aligning, but requires careful layout. |
| Dowels into the post | Drill and dowel jig; moderate | Neat appearance, but angled holes are easy to misalign. |
| Butt joint with screws | Drill and countersink; easiest | Fast and serviceable, but screws can loosen under repeated side loads. |
For a durable build, cut shallow housings about ⅜ inch deep into the post faces and seat the legs in them. The housings resist twisting. If you prefer a simpler build, use two structural screws per leg, predrill the legs, and add glue; do not rely on glue alone across end grain.
Cut and fit the base
Mark the center of the post’s bottom and draw three lines spaced 120 degrees apart. A paper template divided into thirds can help. Mark the same centerline on each leg and cut the inner ends to match the planned splay. Dry-fit all three legs before cutting housings or drilling. Viewed from above, each leg should point away from the post at the same angle, and the tips should land on one circle.
Set the post upright on a flat floor or workbench and check the legs with a straightedge. If one tip sits high, correct the joint or trim that leg; do not force a rocking base flat with screws. That can store tension in the assembly, and the joint may open later. Once the fit is even, glue and clamp the legs. Add screws or dowels according to your chosen joint. Let the glue cure for the time listed on its label before loading the base.
Install the hooks
Mark hook positions before drilling, keeping them clear of one another. With three hooks on one tier, space them evenly around the post; use two staggered tiers if you need more hanging points. Drill pilot holes matched to the hook screws. A hole that is too wide gives the screw little grip, while a hole that is too small can split the post. For wooden pegs, follow the peg maker’s recommended hole size and use glue only if the fit is snug.
Leave at least 8 to 10 inches between tiers so hangers and coat shoulders do not collide. Check the hook projection against the room: long hooks can catch people walking past, especially in a narrow hallway.
Sand, finish, and test
Sand through 120, then 180 grit; round sharp leg edges so they will not splinter. Apply a clear finish or paint in thin coats, sanding lightly between coats if the label recommends it. Keep finish out of tight joints until they are assembled, since a film of finish can weaken glue contact.
After the finish cures, set the tree on a hard, level floor and test for rocking. Hang a few coats gradually, starting with the heaviest garment near a leg rather than between two legs. Push the post gently from several directions. If the base lifts or shifts, widen the footprint, correct an uneven leg, or reduce the load. Three legs can sit securely on an imperfect floor, but a narrow footprint and a high, heavy load still make tipping more likely. Do not use the tree as a climbing aid or place it where a child might pull on it.