What's inside
As an Amazon Associate I earn from qualifying purchases. This post may contain affiliate links at no extra cost to you.
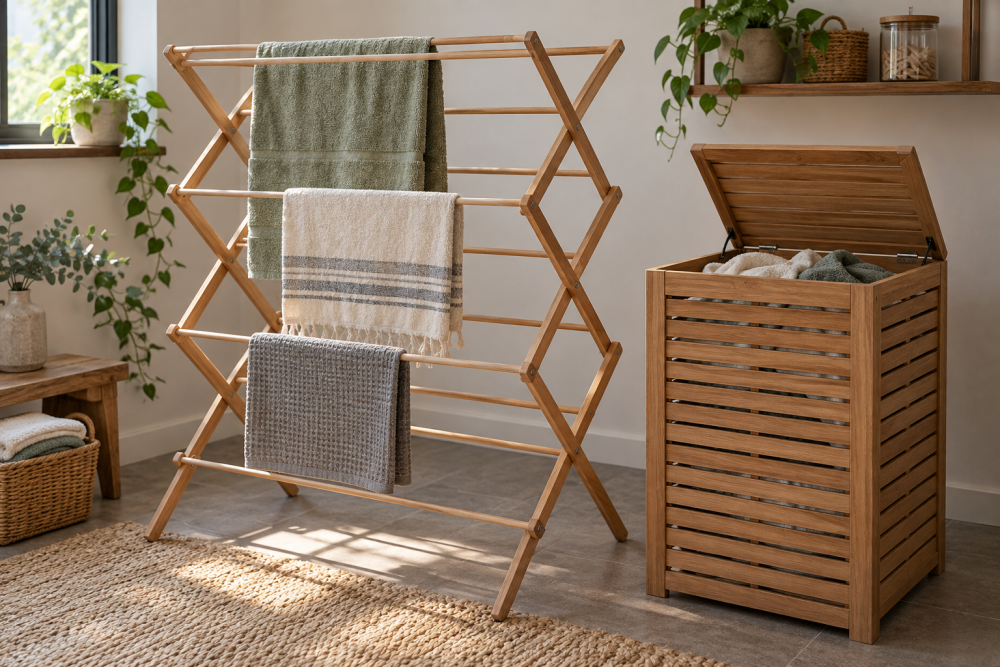
A wooden sweater drying rack is a useful weekend project if you want air-dried clothes without stretching them over a shower rod or draping them across chairs. This design has a fixed center frame and two folding wings. The wings increase drying space when open, then fold flat for storage between laundry days.
The rack is sized for sweaters, shirts, and lightweight towels rather than heavy wet blankets. Plan on an open size of about 36 inches wide by 28 inches deep and 32 inches high. It holds four to six sweaters, depending on how much space you leave between garments.
Contents
Skill level, materials, and best season
This is a beginner-to-intermediate project. You need to make square cuts, drill repeated holes, install hinges, and seal the wood. A table saw is convenient but not essential; a circular saw with a straightedge works well.
| Part | Quantity | Recommended material |
|---|---|---|
| Vertical legs | 4 | 1-by-2 or 1-by-3 boards, 32 inches long |
| Center rails | 2 | 1-by-2 boards, 30 inches long |
| Folding wing rails | 4 | 1-by-2 boards, 26 inches long |
| Drying dowels | 14 to 16 | 3/8-inch hardwood dowel, 28 inches long |
| Hardware | As needed | 1 1/2-inch screws, wood glue, six small hinges, two folding braces |
Choose straight, dry boards with no loose knots. Poplar is inexpensive and easy to work, while maple or beech is harder and more resistant to dents. Avoid rough construction lumber unless you are prepared to sand it thoroughly. For an indoor rack, a water-based polyurethane or hardwax oil is a sensible finish. If the rack will sit in a damp laundry room, choose a water-based polyurethane wood finish and seal every surface, including end grain.
Spring and summer are easiest because finish cures faster with ventilation. In winter, work in a heated space and allow extra curing time. Do not put wet clothing on freshly finished wood; the finish should be hard and odor-free first.
1. Cut and mark the parts
Cut the four legs to 32 inches. Cut the two center rails to 30 inches and the four wing rails to 26 inches. Cut the dowels to 28 inches. These dimensions leave roughly 1 inch of dowel extending past each side rail, which makes assembly easier and keeps garments away from sharp corners.
Mark the dowel positions on each rail at 4-inch centers. On a 26-inch wing rail, five dowels will fit comfortably with the first and last holes about 3 inches from the ends. On each 30-inch center rail, use six dowels at the same spacing. Mark both matching rails from the same reference end. If the holes do not line up, the rack will twist and the dowels will not slide through.
2. Drill the dowel holes
Clamp a scrap board behind each rail to prevent blowout. Drill 3/8-inch holes through the rails using a 3/8-inch brad-point drill bit. A drill press gives the most consistent results, but a handheld drill works if you use a square drilling guide or clamp a small block against the rail as a visual reference.
Keep the holes centered across the 1-by-2 boards. A hole too close to an edge can split the rail, especially in soft pine. Test one hole with a short dowel before drilling all the parts. The dowel should fit firmly but slide through with moderate hand pressure. If it needs a hammer, the hole is too tight or misaligned.
3. Sand and assemble the center frame
Sand the rails, legs, and dowels through 120 and then 180 grit. Round over exposed corners lightly. Do not leave rough fibers around the dowel holes; they can catch delicate knits.
Position the two center rails between the four legs, one rail near the top and one about 10 inches above the floor. Use a square to keep the legs parallel. Drill pilot holes before driving screws, because 1-by-2 stock splits easily. Apply a small amount of glue to the rail ends, then use two 1 1/2-inch screws per joint.
Slide the center dowels through both rails before the glue sets. Check that the frame stands flat. Measure diagonally from corner to corner; the two measurements should be within 1/8 inch. If they differ more than that, loosen one joint, square the frame, and retighten it.
4. Build and attach the folding wings
Assemble each wing from two 26-inch rails and two short end blocks cut from 1-by-2 stock. Space the rails about 10 inches apart and keep the dowel holes facing inward. Install the five dowels, then check that the wing is rectangular before tightening the screws.
Attach one wing to each side of the center frame with three small butt hinges or continuous piano hinges. Piano hinges spread the load and reduce sag, but ordinary utility hinges are cheaper and easier to replace. Leave a 1/16-inch gap between the wing and center frame so finish buildup does not make the parts bind.
Install a folding support brace under each wing. The brace should lock the wing at roughly 90 degrees when open and fold flat when closed. A small folding shelf bracket is the simplest option. Two braces per wing are more stable, but one centered brace is acceptable for light sweaters. Do not rely on hinges alone; wet clothing can put surprising leverage on the frame.
5. Finish, test, and adjust
Remove dust with a vacuum and apply two or three thin finish coats, sanding lightly between coats as directed. Let the final coat cure fully. A thick coat is not stronger if it remains soft underneath, and soft finish can transfer to damp fabric.
Open both wings on a level floor and test the rack with several damp towels. Watch for three common failure modes: legs that rock, wings that sag, and dowels that pull loose. Add rubber feet if the rack slides or if the floor is slightly uneven. If a wing sags, tighten the hinge screws and add the second folding brace. If a dowel spins, remove it, add a small amount of wood glue to the hole, and let it cure before loading the rack again.
For storage, fold the wings inward and stand the rack upright against a wall. Leave air space around wet garments rather than filling every dowel. A cheaper pine rack is fine for occasional summer use, but hardwood is worth the extra cost if the rack will be folded and opened several times a week. Store it dry and wipe off standing water; no wood finish makes the rack immune to prolonged moisture.