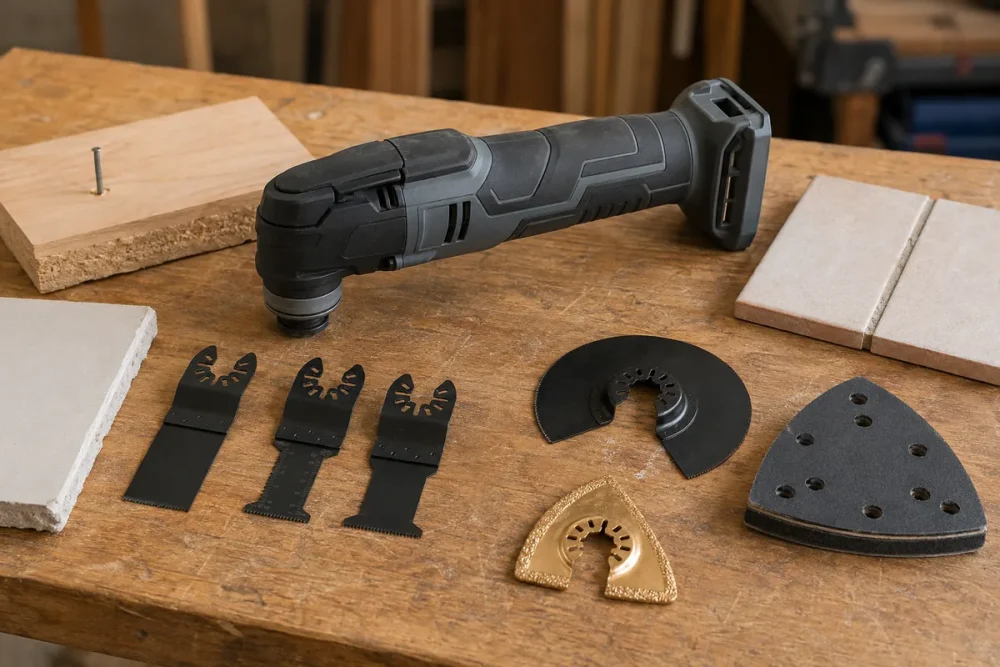
Key takeaways
- A step-by-step tutorial on using an oscillating tool for removing grout cleanly, including blade selection, cut depth, dust control and the errors that crack tile.
What's inside
As an Amazon Associate I earn from qualifying purchases. This post may contain affiliate links at no extra cost to you.
Grout removal is the step most people underestimate. The tile is fine, the layout is fine, but a stained or crumbling grout line makes the whole surface look worn out. Using an oscillating tool for removing grout is the most controllable method available to a homeowner, but it is also the fastest way to put a permanent chip in a tile if you rush the setup. The blade does not steer itself, and a 2 mm wander at 20,000 oscillations per minute lands on glaze, not grout.
This tutorial walks the process in order: choosing the blade, setting cut depth, the actual cutting motion, corners and edges, cleanup, and the mistakes that show up in every failed job. The goal is grout removed to a consistent depth with tile edges untouched, so the new grout has somewhere to bond.
Pick the Right Blade Before You Touch the Wall
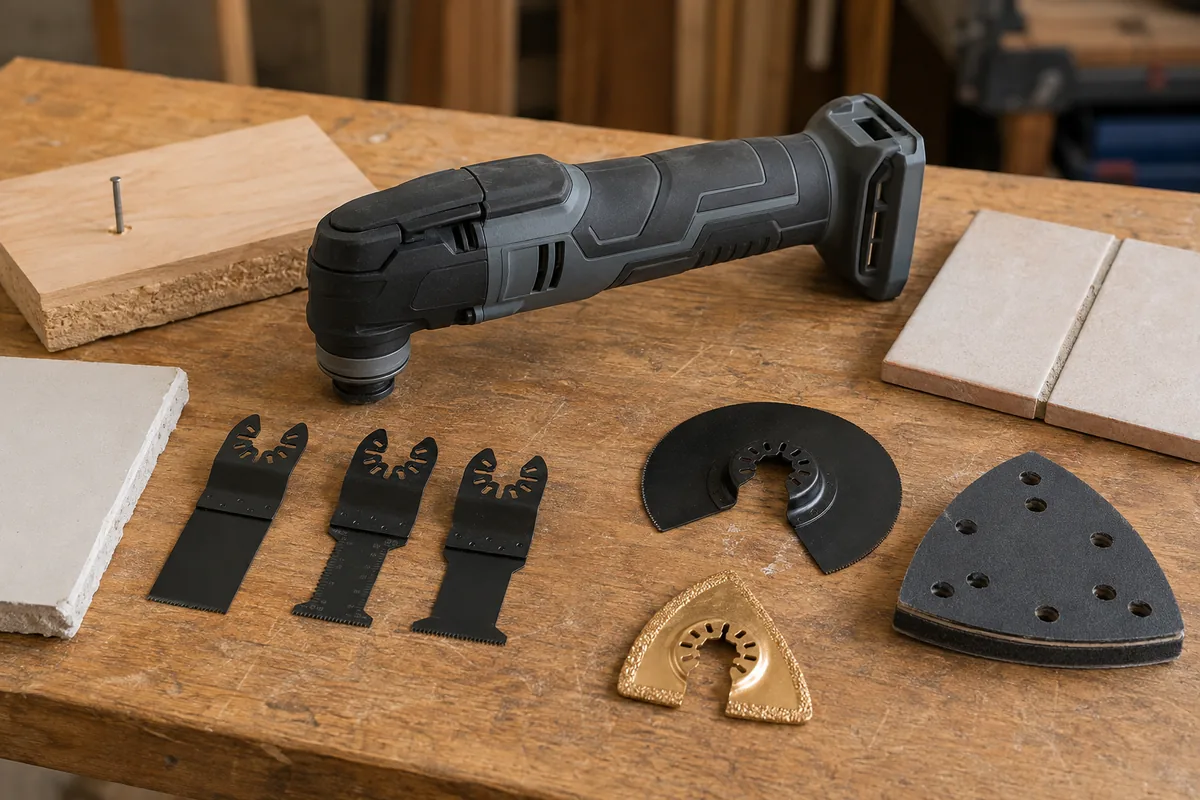
Blade choice matters more than the tool. Oscillating grout blades come in three broad families, and they behave very differently.
Carbide grit blades are coated in loose carbide particles, like a rasp. They grind rather than cut, which makes them forgiving on wandering but slow, and they generate the most dust. Carbide-tipped segment blades have hard teeth brazed to a steel body. They cut faster and hold a straighter line. Diamond-coated blades are the premium option, best on hard epoxy grout and porcelain-heavy installs, and they last the longest on abrasive work.
Thickness is the other variable. Blades are commonly sold around 1/16 inch and 1/8 inch. Match the blade to the grout line: a 1/8 inch blade in a 1/16 inch joint will ride up onto tile edges, and there is no technique that fixes that.
| Blade type | Best for | Speed | Notes |
|---|---|---|---|
| Carbide grit (rasp style) | Sanded cement grout, narrow joints | Slow | Very forgiving, heavy dust, wears out fastest |
| Carbide segment (toothed) | General cement grout removal | Fast | Best all-round choice for most floors and walls |
| Diamond coated | Epoxy grout, large tile fields | Medium-fast | Longest life, highest cost per blade |
| Flat scraper blade | Softened residue and thinset skim | n/a | Cleanup only, not for cutting joints |
Oscillating multi-tool with tool-free blade change
For grout work, the two features worth paying for are variable speed and tool-free blade changes. You will swap blades several times in a single room as they dull, and a hex key routine gets old fast. Corded models are the sensible pick for long grout sessions since removal is continuous-duty work that drains batteries quickly, though DeWalt XR, Milwaukee FUEL and Makita LXT cordless units all handle a bathroom floor if you have spare packs.
Step by Step: Removing Grout Without Chipping Tile
Step 1. Decide how deep you need to go. For a re-grout, you do not have to reach the substrate. Remove roughly two thirds of the joint depth, which on a standard floor install usually means about 1/8 inch of material out of a joint that may be 1/4 to 3/8 inch deep. This matters because new grout needs mechanical thickness to survive. A skim coat over old grout will crack within a season.
Step 2. Mark your depth on the blade. Put a strip of painter’s tape across the blade at your target depth, or use the tool’s depth stop if it has one. Why it matters: without a visual reference you will cut deep in the middle of a run and shallow at the ends, and the new grout will cure to uneven color because the thickness varies.
Step 3. Set speed to mid range, not maximum. Start around the middle of the dial and go up only if the blade is bogging. Full speed heats the blade, glazes cement grout into a hard skin, and makes the tool harder to hold on line. Heat is what kills carbide blades early.
Step 4. Score a shallow pilot pass down the center of the joint. Hold the tool so the blade sits square to the surface, start the motor before contact, and let the blade sink only about 1/32 inch on the first pass. That first groove becomes a track the blade follows on later passes. Skipping the pilot pass is the single most common reason blades skate onto tile.
Step 5. Deepen in two or three passes. Move at roughly one to two inches per second and let the tool do the work. Pressing harder does not speed up cutting on an oscillating tool, it just stalls the motion and burns the blade. Keep the tool moving; pausing in one spot cuts a pocket.
Step 6. Widen to the shoulders last. Once the center groove is at depth, make light passes toward each side of the joint to clear grout hugging the tile edges. Angle the blade very slightly away from the tile, never toward it. This is where a thinner blade earns its keep.
Step 7. Work corners and edges by hand. Inside corners, the perimeter against a tub, and the last quarter inch at a wall are all places where the tool cannot sit flat. Switch to a carbide grout saw or a stiff utility blade for those spots. Forcing the oscillating tool into a corner is how backer board and tub flanges get damaged.
Step 8. Vacuum as you go, not at the end. Dust packed into the joint hides remaining high spots and gives you a false read on depth. A shop vac with the nozzle trailing an inch behind the blade removes most of it. Silica dust from cement grout is a real respiratory hazard, so wear an N95 or better, eye protection, and ventilate the room.
Step 9. Inspect with a raking light. Hold a flashlight nearly flat against the surface. Shadows will reveal ridges and shallow sections you cannot see under overhead lighting. Clean those up before you mix any grout.
- ✔ Cuts far faster than a manual grout saw on long runs
- ✔ Depth is controllable and repeatable across a whole floor
- ✔ Same tool handles caulk removal, thinset scraping and trim cuts
- ✔ Blades are widely available in multiple thicknesses
- ✘ Produces heavy silica dust that requires real respiratory protection
- ✘ A slip lands on glaze and tile chips are not repairable
- ✘ Blades wear quickly on hard grout and are a recurring cost
- ✘ Vibration causes hand fatigue on jobs over an hour
Common Mistakes That Ruin Tile
Starting the blade already in the joint. The tool jumps when it spins up under load. Always start in the air.
Using a blade wider than the joint. No amount of care compensates for geometry. Measure a joint with a tape or a caliper before buying blades.
Cutting all the way through to the substrate on a wall. On tile over cement board or a waterproofing membrane, going too deep can nick the membrane and create a leak path that will not show up until months later.
Running one blade until it stops cutting. A dull blade needs pressure, and pressure is what causes slips. When cutting speed drops noticeably, change the blade.
Skipping the mock-up. If you have spare tile, practice on a small grouted sample or an inconspicuous area like inside a closet doorway. Ten minutes of practice teaches feel that no tutorial can.
Grouting over dust. Residual powder acts as a bond breaker. Vacuum, then wipe with a barely damp sponge and let it dry fully before new grout goes in.
Carbide grout removal blade multi-pack
Plan on consuming blades. A single bathroom floor can retire two or three carbide blades depending on grout hardness, so multi-packs are the economical route. Check the arbor style against your tool: most current models use a universal or OIS-compatible fitting, but older tools may need an adapter, and Starlock systems are the exception worth verifying before you order.
Settings, Dimensions and Timing You Can Plan Around
Rough expectations help you scope the job. On a typical 12 by 12 inch tile floor with 1/8 inch cement joints, a careful first-timer covers about 10 to 15 square feet per hour including vacuuming. An experienced hand roughly doubles that. Epoxy grout can be three times slower and effectively requires a diamond blade.
Keep the oscillating angle in mind too. Tools are sold in the 2.8 to 4.2 degree range, and the wider angles cut faster but feel more aggressive in a narrow joint. If your tool has an adjustable angle or multiple speed presets, err toward less aggressive when working near delicate glazed edges or glass tile, which chips more easily than porcelain.
Finally, let the joint dry completely before re-grouting. If you used any water for dust control, give it several hours to a full day depending on humidity. Trapped moisture behind fresh grout leads to efflorescence, the chalky white bloom that appears weeks later and cannot be scrubbed off.
Frequently Asked Questions
Can I use a regular wood blade to remove grout? No. Wood blades have soft steel teeth that dull instantly on cement and will grab and skip across tile. Only carbide or diamond grout blades are appropriate, and they are inexpensive enough that there is no reason to improvise.
Do I need to remove all the old grout or just the top layer? For a cosmetic refresh where the grout is sound, removing roughly two thirds of the depth is enough for the new grout to bond and hold color. If the grout is crumbling, powdery, or you suspect water has gotten behind the tile, remove it fully and inspect the substrate before proceeding.
How do I keep the dust under control indoors? Combine three things: a shop vac nozzle trailing the blade, plastic sheeting over doorways and vents, and an N95 or half-mask respirator. Some people mist the joint lightly, which cuts airborne dust substantially, but it creates a paste that must be cleaned out and dried before grouting.
Grout removal rewards patience more than power. Set your depth, cut a pilot groove, take multiple light passes, and change blades before they force you to press hard. Do that and the tile comes through untouched.
Check prices on Amazon →