What's inside
As an Amazon Associate I earn from qualifying purchases. This post may contain affiliate links at no extra cost to you.
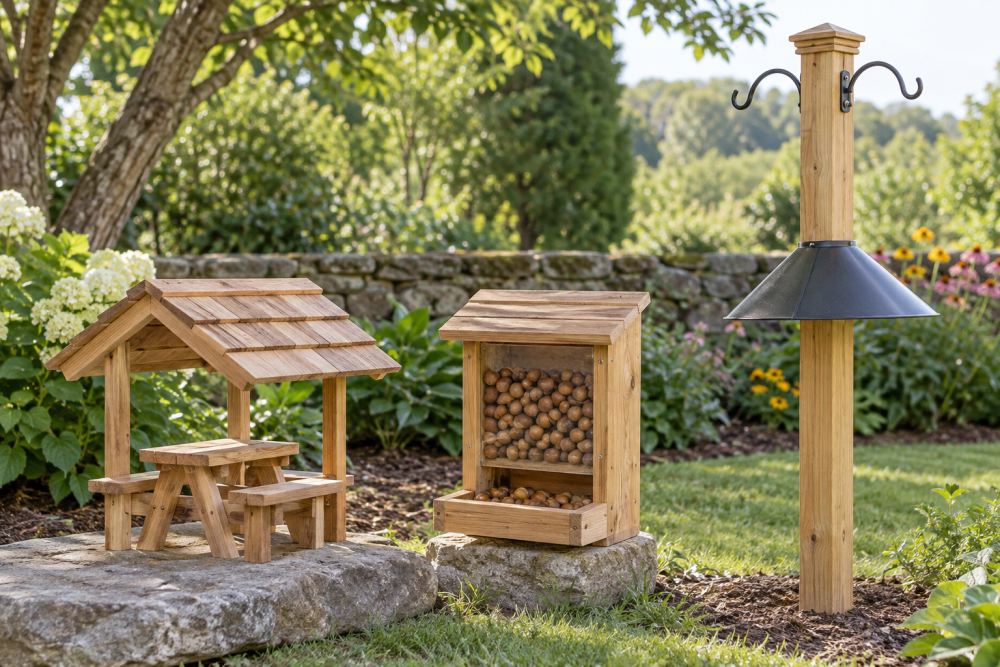
An acorn feeder is a simple cold-weather woodworking project: a small roofed box with a hopper that releases nuts into a tray. The hopper keeps acorns dry and lets you refill the feeder without opening the entire structure. It is suitable for squirrels, jays, woodpeckers, and other wildlife that already visit your yard.
This plan uses 3/4-inch exterior plywood or cedar, a short length of 1/2-inch hardwood dowel, and weather-resistant screws. The finished feeder is about 10 inches wide, 8 inches deep, and 12 inches tall. It holds roughly 2 to 3 quarts of acorns, depending on their size.
Contents
Materials and tools
Use untreated cedar if you want a naturally rot-resistant feeder. Exterior plywood is cheaper and works well if all exposed edges are sealed. Avoid pressure-treated lumber, painted interior surfaces, and reclaimed wood with an unknown finish.
- One 24-by-24-inch panel of 3/4-inch exterior plywood or cedar
- Two 1-by-2-inch strips for the hopper rails and tray supports
- One 12-inch piece of 1/2-inch hardwood dowel
- 1 1/4-inch exterior screws
- 3/4-inch exterior screws or brad nails
- Exterior wood glue
- Water-based exterior finish, if desired
- A handsaw or circular saw, drill, 1/2-inch bit, square, pencil, and sandpaper
A box of exterior wood screws is worth buying for this project. Indoor screws rust quickly around wet acorns and can leave black stains in the wood.
| Material | Advantages | Drawbacks |
|---|---|---|
| Cedar | Light, naturally weather-resistant, easy to cut | Costs more and can split near screw holes |
| Exterior plywood | Affordable, stable, widely available | Edges need sealing; thin outer plies can delaminate |
| Exterior pine | Cheapest and easy to work | Needs a good finish and may warp or rot sooner |
Cut list and design
Cut the following parts:
- Back: 12 by 10 inches
- Front: 10 by 8 inches
- Side panels: two pieces, 8 by 8 inches
- Roof: 12 by 10 inches
- Hopper divider: 10 by 6 1/2 inches
- Feeding tray: 10 by 3 inches
- Tray lip: 10 by 1 1/2 inches
The side panels are square for simplicity. The roof overhangs the front and sides by about 1 inch. The hopper divider sits behind the front panel, leaving a slot about 3/4 inch high at the bottom. Acorns roll through this slot into the tray. If the gap is too small, large acorns bridge and stop flowing. If it is too large, the entire hopper can empty during one visit.
For the best results, test the opening with the actual acorns you plan to use. A 1/2-inch dowel laid across the lower edge can act as a rounded stop and reduce clumping.
Cut and prepare the parts
Mark each piece with a square before cutting. Dry-fit the back, side panels, and front on a flat surface. The front panel should sit about 1 inch above the tray, leaving enough room for animals to reach the released acorns.
Drill two 1/2-inch holes through the side panels, 2 inches above the tray. Install the dowel as a perch. Keep the perch below the hopper outlet but high enough that animals do not block the opening with their bodies. Sand all cut edges to 120 grit. Round the front corners and the tray lip slightly; sharp plywood corners split more easily and are harder to clean.
Assemble the feeder
- Set the back panel upright and attach the two side panels to its edges with glue and 1 1/4-inch exterior screws. Drill pilot holes first, especially in cedar.
- Install the hopper divider between the side panels. Position its lower edge 3/4 inch above the tray level. Use a temporary scrap block as a spacer while driving the screws.
- Attach the front panel to the side panels. Leave the bottom edge about 1 inch above the tray. This creates the visible feeding opening.
- Build the tray by attaching the 1 1/2-inch lip to the front edge of the 10-by-3-inch tray board. Screw the tray to the bottom of the feeder so it projects 2 inches beyond the front.
- Slide the dowel through the side holes. Secure it with a small exterior screw through one side panel, or leave it removable for cleaning.
- Center the roof over the box and attach it with four to six exterior screws. Do not glue the roof; removable fasteners make annual cleaning easier.
If the tray sags, add a 1-by-2-inch support beneath each side. A tray that slopes backward holds wet food against the feeder and encourages mold, so check it with a level before tightening the screws.
Finish and weatherproof the feeder
Seal exposed plywood edges with two coats of water-based exterior finish, allowing the first coat to dry completely. Cedar can be left unfinished, although a clear exterior sealer will slow weathering. Keep the inside of the hopper bare or use only a finish explicitly rated for incidental contact with food. Never coat the acorn-contact surfaces with unknown paint, stain, or preservative.
Cover the roof with a strip of asphalt roofing felt or a small piece of corrugated plastic if the feeder will sit in an exposed location. A metal roof is durable but unnecessary for a sheltered backyard feeder. A water-based exterior wood sealer is the practical choice for plywood edges.
Mounting and filling
Mount the feeder 5 to 6 feet above the ground on a post or hang it from a strong branch. Keep it at least 10 feet from fences, railings, and tree trunks if you want to make it harder for cats to ambush visiting wildlife. The feeder should be visible from a window but not directly beside a doorway or busy path.
Use clean, dry, naturally fallen acorns. Do not use acorns that smell sour, show mold, or have obvious insect damage. Fill the hopper to no more than three-quarters full at first. This lets you check whether the opening flows properly and prevents a large amount of food from spoiling unnoticed.
A small feeder cleaning brush is useful for clearing dust and compacted nut pieces from the outlet. A dedicated brush is not essential; an old toothbrush works just as well.
Test and maintain the feeder
Before mounting it, pour in 1 quart of acorns and tap the sides gently. At least several acorns should reach the tray without shaking the feeder. If they bridge, widen the outlet by 1/8 inch at a time. If the hopper empties too quickly, add a removable stop strip across the opening.
Inspect the feeder weekly during wet weather. Remove damp acorns, droppings, leaves, and shells, then let the hopper dry fully before refilling. Tighten loose screws at the end of winter and inspect the roof and tray for splitting. The cheaper pine option is fine if you are willing to reseal it yearly; cedar or exterior plywood is the better choice when the feeder will remain outdoors for several seasons.