Key takeaways
- Complete mobile workbench plans with a full cut list, caster sizing, assembly steps and the mistakes that make rolling benches wobble.
What's inside
- Materials, Cut List and What These Mobile Workbench Plans Cost
- Step 1: Break Down the Sheets and Square Everything
- Step 2: Assemble the Base as Two Ladders
- Step 3: Add the Shelf and Kill the Racking
- Step 4: Build the Top and Mount It
- Step 5: Mount the Casters Correctly
- Common Mistakes
- Mobile Workbench Plans FAQ
- Materials, Cut List and What These Mobile Workbench Plans Cost
- Step 1: Break Down the Sheets and Square Everything
- Step 2: Assemble the Base as Two Ladders
- Step 3: Add the Shelf and Kill the Racking
- Step 4: Build the Top and Mount It
- Step 5: Mount the Casters Correctly
- Common Mistakes
- Mobile Workbench Plans FAQ
As an Amazon Associate I earn from qualifying purchases. This post may contain affiliate links at no extra cost to you.
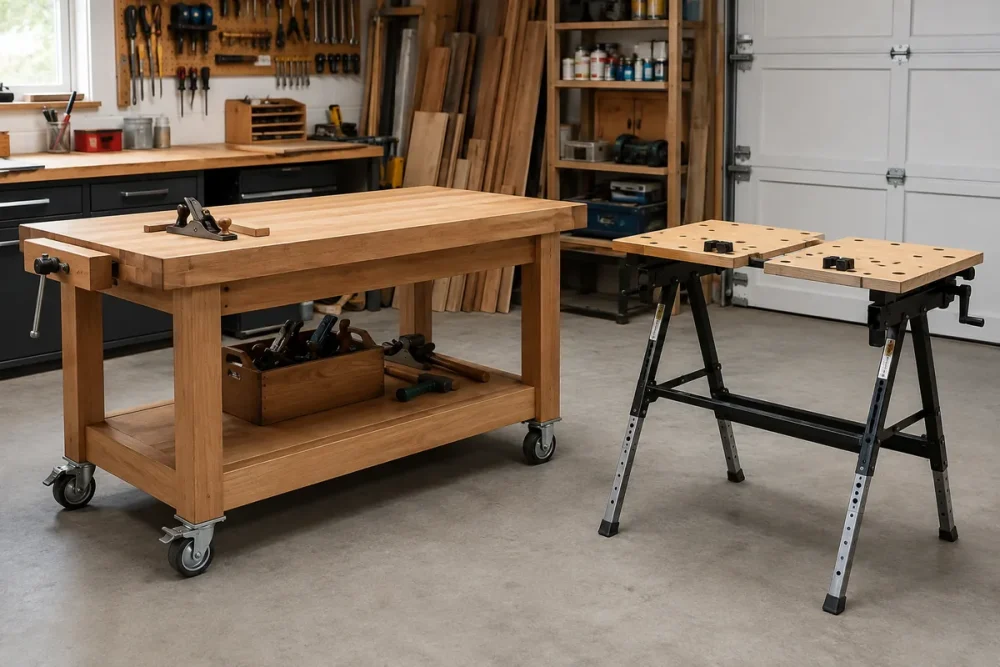
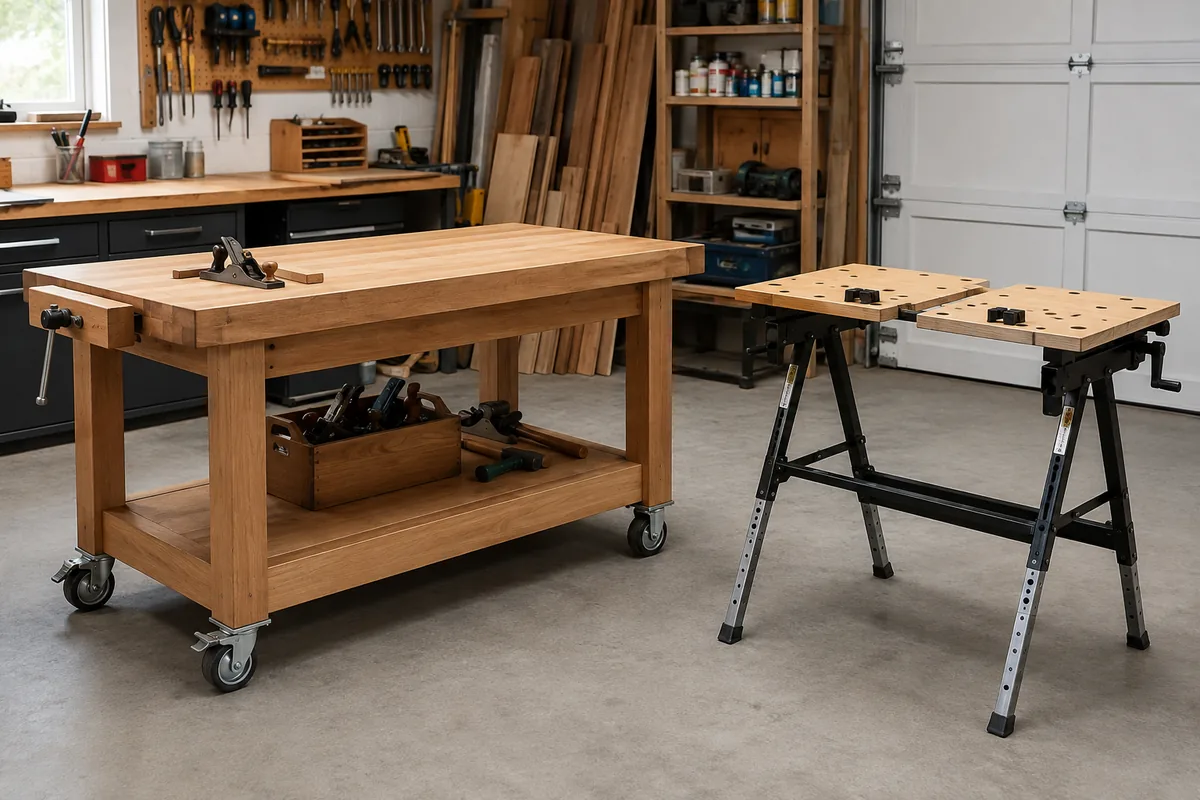
Most rolling benches fail for one of two reasons: the casters are too small, or the frame racks under sideways load. A bench on four 2-inch plastic wheels stops dead at every extension cord and shifts every time you plane an edge. These mobile workbench plans fix both problems with a 4-inch locking caster on each corner and a plywood torsion box that resists twist better than a heavy hardwood frame of the same weight.
The finished bench is 60 inches long, 24 inches deep, and 34 inches tall including casters. That height puts the top just below the wrist for most people standing flat, which is where hand planing and assembly work feel best. It also lands about an inch below a standard 34.5-inch kitchen counter and roughly 1 inch above most portable table saw beds, so the bench doubles as an outfeed table if you set the saw on a level slab. Everything comes out of three sheets of plywood and a handful of 2x4s.
As an Amazon Associate we earn from qualifying purchases at no extra cost to you. Product prices and availability are accurate as of the date shown and are subject to change.




Materials, Cut List and What These Mobile Workbench Plans Cost
Buy plywood, not OSB. You want a face that stays flat and takes a screw near the edge without blowing out. Birch or maple plywood is the nice version; sanded pine plywood or a good grade of BCX works fine and saves real money. Skip anything with visible core voids on the edge, because voids are where your screws lose their grip.
| Part | Qty | Size | Notes | |||
|---|---|---|---|---|---|---|
| Top skins | 2 | 24″ | x 60″ | 3/4″ | plywood, glued face to face | |
| Top edging | 2 | 1-1/2″ | x 60″ | Hardwood, 3/4″ | thick | |
| Top edging | 2 | 1-1/2″ | x 25-1/2″ | Hardwood, covers end grain | ||
| Legs | 4 | 3-1/2″ | x 30″ | 2× | 4, cut square | |
| Long aprons | 4 | 5-1/2″ | x 50″ | Plywood or 2× | 6 ripped | |
| End aprons | 4 | 5-1/2″ | x 17″ | Plywood or 2× | 6 ripped | |
| Shelf | 1 | 20″ | x 50″ | 3/4″ | plywood | |
| Caster pads | 4 | 5″ | x 5″ | 3/4″ | plywood doubled up | |
| Casters | 4 | 4″ | swivel, all locking | 300 lb rating each |
Total plywood: two sheets of 3/4-inch for the top, shelf and aprons, plus offcuts for pads. One 8-foot 2×4 yields two legs with waste, so buy three. Add roughly 100 2-1/2 inch construction screws, 8 lag screws or 5/16-inch bolts for the top, a quart of wood glue, and the casters, which are usually the single biggest line item on the receipt.
Step 1: Break Down the Sheets and Square Everything
Cut the sheets to rough size with a circular saw and a straightedge before you touch a table saw. Full sheets are awkward and unsafe to feed alone, and a rough cut 1/2 inch oversize lets you take a clean final pass later. Set your circular saw depth so the blade projects about 1/4 inch past the plywood, which reduces tearout on the underside and keeps the blade from wandering.
Then trim to final dimensions. The single most important cuts are the four long aprons and the four end aprons. If those eight pieces are not identical in length, the base will not be square and the bench will rock no matter how carefully you set the casters. Cut them with a stop block on your miter saw or crosscut sled and do not measure each one individually.
Check your first assembled rectangle by measuring both diagonals. When those two numbers match within 1/16 inch, the frame is square. Chasing that with a clamp across the long diagonal is far easier than fixing it after the screws are in.
Step 2: Assemble the Base as Two Ladders
Build the two long sides first, flat on the floor. Each side is two legs plus two long aprons: one apron flush with the top of the legs, one apron set so its bottom edge sits 4 inches up from the leg bottoms. That gap gives you toe clearance and keeps the lower shelf out of the sawdust that piles against a baseboard.
Glue and screw the aprons to the outside faces of the legs. Outside faces matter here. Screws in shear through a lapped joint are strong, and putting the apron on the outside gives you a continuous surface to clamp work against. Predrill with a 1/8-inch bit anywhere within 2 inches of an end, especially in plywood aprons where a screw will happily split the plies.
Stand the two ladders up, clamp the end aprons in place, verify the diagonals again, then fasten. You now have a base that will support hundreds of pounds vertically but still flexes side to side. That comes next.
All-Locking 4
Get casters where the lock stops both the wheel and the swivel. Brake-only casters let the wheel pivot under sideways pressure, which is exactly the wobble you are trying to eliminate. Look for a 4-inch wheel, a 300 pound per-caster rating, and a rubber or polyurethane tread rather than hard nylon so the bench rolls over cords and expansion joints instead of stopping at them.
Step 3: Add the Shelf and Kill the Racking
Drop the 20 x 50 inch shelf onto the lower aprons, glue it down, and screw it every 8 inches. This is the step people skip, and it is the reason their bench sways. A glued sheet of plywood spanning the full footprint turns four independent legs into a single box. It is worth more structurally than adding diagonal braces, and it gives you storage instead of shins.
If you want a fully enclosed base later, add a plywood panel to one end and the back. Leave the front and one end open so you can still reach a clamp or a dust hose without crawling.
Step 4: Build the Top and Mount It
Glue the two 3/4-inch skins face to face for a 1-1/2 inch top. Spread glue with a notched spreader or a scrap of plywood, then clamp with weight in the field, not just around the perimeter. A stack of paint cans, a few gallon jugs, or your own toolboxes across the middle works. Any gap in the glue line becomes a soft spot that dents under a mallet.
Wrap the edges with 3/4-inch hardwood, 1-1/2 inches wide, so the finished edge stands proud of nothing and protects the plies from chipping. Apply the long pieces first, then the ends, so the visible end grain is minimized on the sides you look at most.
Sand the top with 80 grit to flatten any glue squeeze-out and level the edging, then 120 grit, and stop. Do not go past 150. A slick top lets workpieces slide when you plane or sand, and a bench top is a working surface, not furniture. Finish with two thin coats of wipe-on oil or a 50/50 mix of boiled linseed oil and mineral spirits. Skip film finishes like polyurethane, which glue squeeze-out will peel off in sheets.
Attach the top with lag screws through the upper aprons into the underside, or with pocket screws from inside. Do not glue the top to the base. In five years you will want to flip it, resurface it, or drill dog holes on the bench rather than on the assembled workbench.
Wipe-On Penetrating Oil Finish for Bench Tops
An oil finish is the right call for a shop bench because it is renewable. When the top gets scarred, you scuff with 120 grit and wipe on another coat instead of stripping a failed film. A quart is plenty for this bench with coats left over for future touch-ups.
Step 5: Mount the Casters Correctly
Double up 3/4-inch plywood pads and glue them to the bottom of each leg so the caster plate has 1-1/2 inches of material to bite into. Screwing a caster plate into the end grain of a 2×4 leg is the classic failure point, because end grain holds screws poorly and the plate works loose under rolling load.
Position each caster plate so the swivel arc stays inside the footprint of the bench. If the wheel can swing outside the base, the bench will tip when you push it over a threshold. Use bolts with washers and nuts rather than screws if the caster plate has through-holes; a bolted caster will outlast the bench.
- ✔ Torsion-box top plus glued shelf resists racking better than a heavier frame
- ✔ Rolls over cords and slab joints on 4-inch wheels
- ✔ Top is unglued, so you can flip or resurface it later
- ✔ Cut list comes out of three sheets and three 2x4s
- ✘ Casters are the most expensive part and cheap ones ruin the build
- ✘ At roughly 130 pounds it is heavy to move up stairs
- ✘ Not stiff enough for heavy hand planing unless you lock all four casters
Common Mistakes
Using 2-inch casters. Small wheels catch on every cord, dust hose and floor crack. A 4-inch wheel rolls over a 3/4-inch obstacle without help.
Skipping the glued lower shelf and relying on screws alone. Screws in a rectangle do not stop racking. A glued sheet does.
Building the top at 30 inches or 36 inches because a plan online said so. Measure to your own wrist crease standing relaxed, then subtract the caster and top thickness from that number when you cut legs.
Sanding the top to 220 grit. It looks great for a week and fights you every day after.
Mounting casters directly to leg end grain. Add the pads.
Mobile Workbench Plans FAQ
How much weight will this bench hold? The limit is the casters, not the wood. Four casters rated 300 pounds each give a nominal 1,200 pound capacity, and the plywood top and glued base will not be the weak link at normal shop loads. Static rating on casters is usually higher than rolling rating, so check the label if you plan to park a heavy machine on it permanently.
Can I use this as a table saw outfeed table? Yes, if you cut the legs so the finished top lands 1/8 to 1/4 inch below your saw table. Measure your specific saw before cutting legs, since portable and cabinet saw heights differ by several inches. Trimming a leg later is a nuisance; cutting it right the first time is not.
Do I need a table saw to build it? No. A circular saw with a straightedge guide handles every cut in the list, and a track saw makes it easier. What you do need is a way to cut identical lengths repeatedly, which means a stop block on a miter saw or a simple crosscut jig.
Build the base first, live with it for a week, then decide whether you want a vise, dog holes on a 3-inch grid, or a drawer bank underneath. Most people discover they wanted different things than they expected once the bench is actually rolling around the shop.
Check prices on Amazon →