Key takeaways
- A folding workbench review built around a six step stability test, plus the exact plywood top upgrade that removes most of the flex.
What's inside
As an Amazon Associate I earn from qualifying purchases. This post may contain affiliate links at no extra cost to you.
Most folding workbenches fail in the same three ways. The top sags in the middle when you lean into a hand plane, the legs rack sideways as you push a saw, and the whole thing creeps across a smooth garage floor while you work. This folding workbench review starts there, because the fix is rarely the most expensive model on the shelf. It is choosing the right style for the work you do, then spending an hour making it stiffer.
Below is a comparison of the four styles you will actually meet, a six step test to run the day the bench comes out of the box, and a top upgrade with real dimensions, grits and fastener sizes.
As an Amazon Associate we earn from qualifying purchases at no extra cost to you. Product prices and availability are accurate as of the date shown and are subject to change.


| Style | Typical top size | Best at | Weak point |
|---|---|---|---|
| Clamping jaw bench | About 24 in of jaw width | Odd shapes, pipe, small parts | Narrow surface, jaws drift out of parallel |
| Plastic folding work table | Roughly 33 x 22 in | Assembly, finishing, portable work | Sags at the center, sits low |
| Steel folding bench with wood top | Roughly 48 x 24 in | Sanding, routing, general shop work | Heavier, leg linkage has play |
| Wall mounted bench, shop built | Commonly 60 x 20 in | Hand tool work in a small garage | Needs solid studs, not portable |
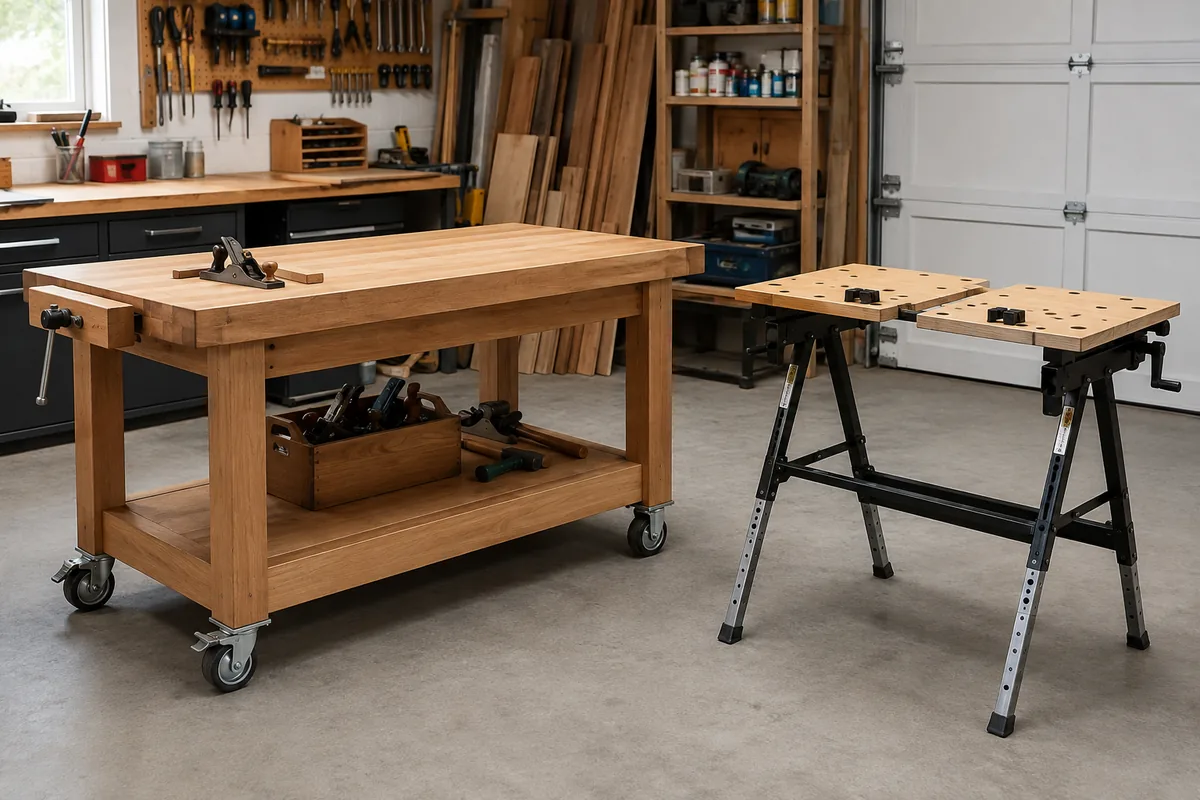
Folding workbench review: how the four styles behave
A clamping jaw bench is a large vise with legs. The jaws grip shapes no F-clamp reaches, which is ideal for sanding a chair leg or holding conduit, but the surface is narrow and worn jaws close out of parallel.
Plastic folding tables are the lightest, usually about 33 x 22 in and 30 to 32 in tall. Published ratings of 300 to 1000 lb are freight numbers. What you feel in use is center sag and leg twist.
A steel folding bench with a wood top, often near 48 x 24 in, is the closest folding option to a real bench. It takes a router or belt sander calmly, and most remaining wobble comes from the leg linkage.
A shop built wall mounted bench wins on rigidity because the wall carries the load. It costs a sheet of plywood and some hardware, and it has to hit real studs. Find them with a stud finder, then confirm with a test screw.
Step by step: test the bench before you trust it
1. Level it and kill the rock
Open the bench on flat concrete and press each corner. If a foot lifts, shim it with 1/16 in hardboard until all four sit down. A rocking bench feeds vibration into every cut, and vibration is what makes a saw line wander.
2. Measure sag under load
Lay a 4 ft straightedge across the top, add 100 to 150 lb at the center, and measure the gap underneath. More than about 1/8 in of sag over 24 in means you need the top upgrade below before doing anything precise.
3. Push it sideways
Grab the far edge and push horizontally with 20 to 30 lb of effort, watching the legs rather than the top. Diagonal movement is racking, and it shows up later as a router that skips and a bench that walks.
4. Cycle the latches ten times
Fold and unfold ten times. Each latch should seat with a positive click without hunting, and your fingers should never sit inside a pivot to make that happen. Latches you have to coax are latches you will forget.
5. Test the clamping for real
Clamp a 3/4 in board and twist it hard by hand. If it rotates, measure the jaw gap at both ends. Jaws out of parallel grip one corner only, and they let work spin under a sander.
6. Compare the height to your wrist
Measure floor to wrist crease standing relaxed, usually 33 to 35 in. Assembly feels right an inch or two lower, while planing wants that number. That measurement decides whether you add a thicker top or riser blocks.
Steel folding workbench with a wood top
The category to shop if you want one folding bench for sanding, routing and assembly. Compare top thickness and whether there is a lower shelf or cross brace, since those matter far more than the advertised load rating.
Step by step: build a top that stops the flex
1. Cut the substrate with clamping overhang
Cut 3/4 in birch plywood 1-1/2 to 2 in larger than the frame at the front and both ends, so about 51 x 27 in over a 48 x 24 in frame. The overhang gives F-clamps something to grab.
2. Double the thickness
Glue a second layer of 1/2 in plywood underneath, or run 3/4 x 2-1/2 in poplar rails on 12 in centers. Bending stiffness rises with the cube of thickness, so 3/4 in to 1-1/2 in is close to eight times stiffer, not twice.
3. Fasten from below only
Yellow PVA glue, clamps every 8 to 10 in, and #8 x 1-1/4 in screws driven up through the lower layer. No screw heads in the working face. Clamps off at 45 minutes, real work the next day.
4. Flatten, then round the edges
80 grit on a random orbit sander to level the seam and shear off squeeze-out, 120 to blend, 180 on the edges after a 1/8 in roundover. Sharp plywood corners splinter and chew up clamp pads.
5. Seal it so glue releases
Two coats of wipe-on polyurethane thinned about 1:1 with mineral spirits, or paste wax if you want no film at all. Dried glue chips off a sealed top and soaks into a bare one.
6. Add dog holes and a sacrificial sheet
Drill 3/4 in dog holes on 4 in centers, 2 to 3 in in from the front edge, through both layers so a holdfast has about 1-1/2 in to bite. Lay 1/4 in hardboard on top with four countersunk corner screws and replace it when chewed.
- ✔ Folds to a few inches for tight garages
- ✔ Cheap second surface for assembly and finish work
- ✔ Portable enough for driveway and job site use
- ✔ Accepts a shop built top that removes most of the flex
- ✘ Center sag under load until you stiffen the top
- ✘ Legs rack under plane and saw pressure
- ✘ Often 30 to 32 in tall, low for hand tools
- ✘ Latches and pivots wear and need cleaning
Portable plastic folding work table
Buy this style for portability and assembly, not for hand tool work. Plan on a 3/4 in plywood top and ballast low on the frame, which turns a wobbly table into something usable for very little money.
Common mistakes that ruin a folding bench
Cranking the knobs. Plastic and thin sheet metal threads strip easily. Hand tight plus a quarter turn is the limit.
Loading the center. Set heavy stock over the leg lines rather than the middle of the span, and keep ballast low.
Using it as outfeed without measuring. Match the saw table height, then shim the bench 1/16 in low. Never high, or the workpiece lifts off the blade.
Ignoring the pivots. Wipe them clean and use paste wax or dry lube. Oil collects sawdust and turns to grinding paste.
Expecting mortising performance. Chopping mortises needs mass a folding bench does not have. Keep it for assembly, sanding and routing, and brace it against a wall for planing.
Clamping jaw workbench
Worth owning alongside a flat bench rather than instead of one. Check that the jaws close parallel across their full width and look for pivoting dogs, since those are what hold tapered and round parts securely.
Folding workbench FAQ
Can you hand plane on a folding workbench? Yes, with three changes: a doubled top, 40 to 60 lb of ballast low on the frame, and the bench set against a wall or corner so the legs cannot rack away from your stroke.
How much weight capacity do I really need? Less than the ratings suggest. A typical cabinet part weighs under 40 lb, so a 300 lb bench is plenty. Judge sag and racking instead, using steps 2 and 3 above.
Is a folding bench enough as my only bench? For assembly, sanding, routing and finishing, yes. If you want serious hand tool work, treat it as the portable bench and build a wall mounted or fixed bench later.
Run the six tests, add the doubled top, and a mid priced folding bench will handle most of what a home shop asks of it. Shop the style that fits your work, not the biggest number on the box.
Check prices on Amazon →