What's inside
As an Amazon Associate I earn from qualifying purchases. This post may contain affiliate links at no extra cost to you.
A birdhouse pole has two jobs: hold the house steady and keep climbing predators from reaching it. A basic 4-by-4 post is easy to build, but it offers little protection from raccoons. For a beginner, a metal pole with a smooth baffle is usually the more dependable setup. Choose the location and mounting method before buying materials; a pole that is easy to install but hard to clean or inspect can become a nuisance.
Contents
Choose the location first
Check the birdhouse’s recommended height and entrance direction before setting the pole. Many common backyard nest boxes go up about 5 to 10 feet above ground, but the right height depends on the species. Keep the entrance clear of branches, fences, and dense cover that could give predators a route to the box. A spot with some shade can reduce summer heat, especially in exposed yards.
Allow room to open the box for cleaning after the nesting season. Avoid placing it over a walkway, beside a door, or where sprinklers keep it wet. If you are replacing an old pole, inspect the ground for buried utility lines before digging; contact your local utility-marking service rather than guessing.
Pick a pole and mount
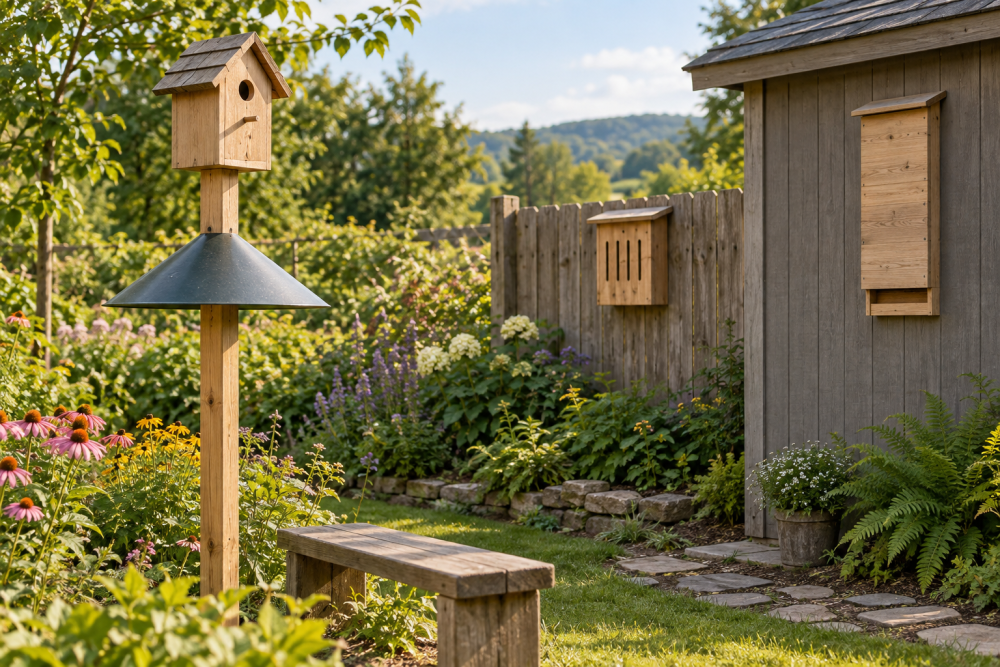
For a permanent yard installation, a galvanized steel pipe or purpose-made birdhouse pole is a practical choice. A smooth round pole is harder to climb than a rough wooden post, and it resists rot. A 6- to 8-foot pole is common for a single nest box, but choose the length to suit the box height and the baffle. The baffle must sit low enough to block climbing access, with clearance below the box.
A wooden 4-by-4 post is cheaper and simple to cut, drill, and set. It can work where climbing predators are uncommon or where you mainly need a sturdy support. It is not a substitute for a baffle: raccoons can climb wood. For a straightforward install, compare birdhouse pole mounting kits with individual pipe, brackets, and fasteners. A kit can save a parts run, but check its pole diameter and the birdhouse’s mounting-hole spacing before ordering.
| Mounting choice | Best fit | Main trade-off |
|---|---|---|
| Steel pole in ground | Permanent yard location | Stable and baffle-friendly; digging and alignment take care |
| Wood post in ground | Low-cost, simple build | Easy to work, but can rot and is climbable |
| Bracket on a solid structure | Deck, shed, or sturdy fence post | No ground hole; structure may provide a predator route |
Gather materials and tools
For a ground-mounted steel pole, gather the pole, a compatible birdhouse bracket, a predator baffle, gravel, and either a small amount of concrete or compactable soil. A 10- to 12-inch-diameter hole around 24 inches deep is a reasonable starting point for many backyard poles; local frost depth, soil, and pole length may call for more. Check the pole maker’s instructions if supplied. For a wood post, use pressure-treated lumber rated for ground contact, and keep preservative-treated surfaces away from the inside of the nest box.
Useful tools include a post-hole digger or shovel, level, tape measure, drill and bits, wrench, and work gloves. Wear eye protection while drilling metal or wood. If you do not own a post-hole digger, renting one or using a manual manual post-hole digger is often enough for one hole; a powered auger is usually hard to justify for a single light pole.
Set the pole step by step
1. Mark the hole and confirm the final box height by measuring from ground level to the mounting point. Leave enough pole above the baffle for the house and bracket.
2. Dig the hole to the planned depth. Add about 3 inches of gravel at the bottom if you want drainage, then place the pole. If the pole will be set directly in concrete, keep the concrete top slightly above surrounding soil and slope it away from the pole so water does not pool.
3. Use a level on two sides of the pole while a helper holds it upright. Backfill in layers, tamping firmly, or pour concrete according to its package directions. Recheck plumb before the material sets. A pole that leans may still stand, but the box can twist in wind and put uneven load on its bracket.
4. Attach the baffle and house bracket at the heights specified by their instructions. Baffles differ in design, so do not assume every model belongs at the same distance from the ground. Keep the pole smooth below the baffle; a nearby fence, tree limb, or stored tool can let a predator bypass it.
5. Bolt the birdhouse to the bracket with corrosion-resistant hardware. Drill pilot holes if the house material calls for them, and avoid overtightening screws into thin wood. Shake the pole gently and check for wobble before leaving the house in place.
Check it through the season
After the first windy day, inspect the pole, bolts, and bracket. Tighten loose hardware and correct any settling before the next nesting attempt. Look for rust, cracked wood, water trapped at the base, or a baffle that has slipped. Trim back branches and remove objects that create a climbing bridge.
Clean the nest box only when it is unoccupied and local guidance allows it, usually after the nesting season. If you cannot safely reach the box from the ground, plan for a removable or lowerable mount before installation. A cheap fixed mount is fine when access is easy; paying more for a serviceable mount is worthwhile when cleaning would otherwise require a ladder or awkward reach.