What's inside
As an Amazon Associate I earn from qualifying purchases. This post may contain affiliate links at no extra cost to you.
Contents
Choose a scoreboard you can read at a glance
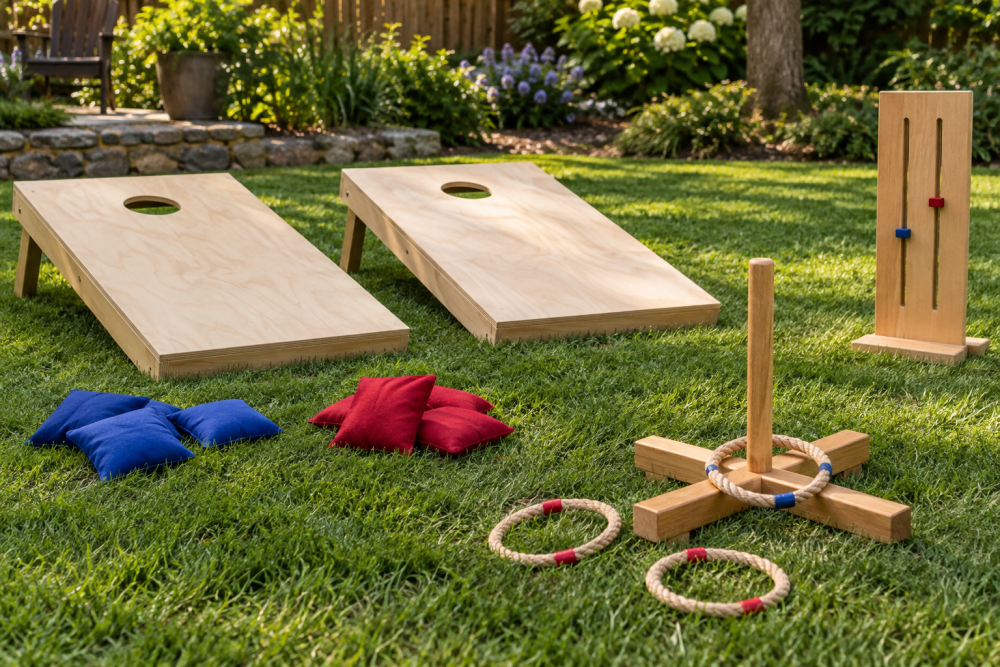
A backyard bocce scoreboard does not need to be elaborate. It needs to show two teams’ scores clearly, survive outdoor use, and be easy to update between frames. For a first woodworking project, a wall-mounted board with sliding markers is a useful middle ground: simpler than a mechanical flip scoreboard, but more durable than writing scores on a scrap of cardboard.
Before buying materials, decide where the board will live. A covered patio allows cheaper materials and a simpler finish. A board left in direct sun and rain needs exterior-rated wood, protected edges, and hardware that will not rust. A practical size is about 18 inches wide by 12 inches high—large enough for readable numbers without taking up much wall space.
Compare three beginner-friendly designs
| Design | Typical build | Best for | Main drawback |
|---|---|---|---|
| Chalkboard | Painted plywood with chalk marks | Lowest cost and quickest build | Chalk can wash away or become hard to read |
| Sliding markers | Wood panel with two numbered tracks and movable clips or pegs | Regular play and simple upkeep | Markers can loosen or catch on rough edges |
| Flip-number board | Hinged number cards or purchased flip hardware | A polished, frequently used court | More parts, alignment work, and cost |
For most beginners, sliding markers are the sensible choice. A chalkboard is fine if the board will stay under a roof and you do not mind rewriting scores. Flip numbers look tidy, but the hinges and evenly spaced cards require more measuring than a first project needs.
Materials and tools for a sliding-marker board
Use a 1/2-inch exterior plywood panel, cut to 18 by 12 inches. A scrap of exterior plywood is often enough. For a sheltered location, ordinary plywood can work, but exposed edges are prone to swelling if water gets in. Sand those edges carefully and seal them rather than assuming paint alone will protect them.
You will also need two narrow wood strips for the team labels, exterior screws, two small sliding clips or removable markers, primer, and exterior paint or clear finish. For reliable outdoor use, choose exterior plywood panels and exterior wood primer and paint. A basic hand saw, drill, tape measure, square, and sanding block are enough; a circular saw makes the straight cut faster but is not essential.
Keep the score range modest. If your group plays to 12, mark numbers 0 through 12 on each track. A 13-position track, with numbers about 1 inch apart, fits comfortably on an 18-inch board after allowing room for headings and margins.
Build it in a few careful steps
1. Cut and smooth the panel. Mark an 18-by-12-inch rectangle with a square, then cut it. Check that the corners are close to square; a crooked panel makes the later layout look untidy. Sand the faces with 120-grit paper and soften sharp edges. Wear eye protection while cutting, and support the plywood so the offcut does not pinch the blade.
2. Lay out the tracks. Draw two horizontal lines across the panel, leaving roughly 1 1/2 inches at the top for a title and 1 inch around the sides. Divide each line into 13 positions for scores 0 through 12. Measure from one starting edge and mark every 1 inch. Do not eyeball the spacing: uneven marks make the sliding marker hard to align. Use a ruler or a straight strip of wood to keep each row level.
3. Add the markers. The simplest setup is a short screw with a large washer in each row, loosened just enough to slide along a narrow slot. Cutting a straight slot accurately can be difficult with basic tools, so a beginner may prefer small removable magnetic markers on a steel strip, or clips that move along a screwed-on wood batten. Test the chosen marker across the full track before painting. It should stay put when the board is tapped but move without forcing it.
For a low-cost sheltered board, small wooden clips can grip a thin batten, though they may loosen after repeated handling. If they slide too freely, add a thin strip of felt inside the clip; if they bind, sand the batten smooth rather than forcing them.
4. Paint and label. Apply exterior primer to the face, back, and especially the cut edges. Let it dry as directed, then apply two thin coats of paint. Thick coats can bridge a marker track or leave drips. Use contrasting colors for the two teams and large numerals, at least 3/4 inch high. Stencils help, but neatly written numbers are perfectly serviceable. Allow the finish to cure before attaching markers; otherwise clips can dent the paint.
5. Mount it securely. Attach a pair of screw eyes or a sturdy picture hanger near the top, or screw the board directly to a fence post. On a fence, use two screws so the board cannot swing in the wind. If mounting to masonry, use suitable masonry anchors rather than ordinary wood screws. Keep the board out of the ball’s direct path; an errant bocce ball can crack plywood or pull off a lightweight hanger.
Avoid the common failure points
Unsealed plywood edges are the first place water causes trouble. If the board will be exposed, coat the back and edges as carefully as the face, and inspect the finish each spring. A small touch-up is easier than replacing a swollen panel. Do not use indoor-only paint outdoors; it can peel after a wet season.
Another frequent problem is a marker that covers the number. Make a full-size paper layout first and check that the marker sits beside, not on top of, each numeral. Test readability from about 15 feet away, roughly the distance from a court’s end to a waiting player. If numbers disappear in shade, increase their size or use a brighter contrast.
Finally, account for the scoring rules your group actually uses. Some players track points to 12, while others stop at 15 or use a different house rule. Set the track length before painting; adding extra positions later usually means repainting the face.
Finish choice and seasonal care
For a covered patio, a painted plywood board is inexpensive and usually lasts for years. For a board exposed to rain, use exterior plywood, seal all faces, and bring it indoors during winter if temperatures freeze and thaw repeatedly. A clear finish shows wood grain but still needs maintenance; it is not automatically more weatherproof than paint.
Check the screws and markers at the start of each playing season. Tighten loose hardware, sand any rough spots that snag the clips, and touch up bare wood. That short check keeps a simple scoreboard usable without turning it into a larger project.