What's inside
As an Amazon Associate I earn from qualifying purchases. This post may contain affiliate links at no extra cost to you.
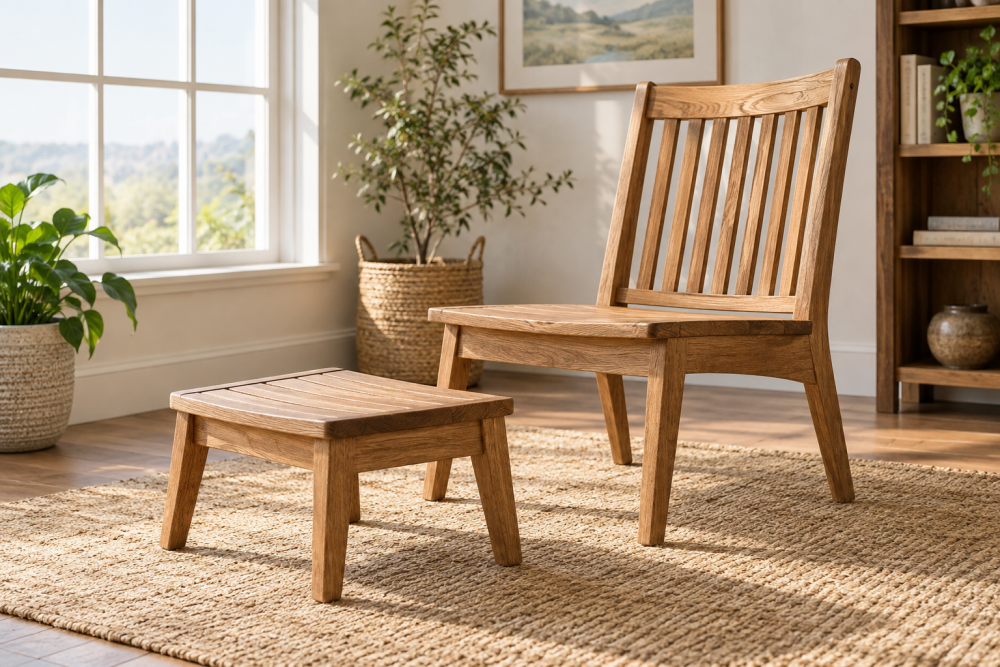
A wooden outdoor footrest is a manageable weekend project: it needs only a few boards, a stable base, and a finish that can handle wet weather. The design below makes a footrest about 18 inches wide, 12 inches deep, and 10 inches high. That size works beside an outdoor chair, porch swing, or low bench without becoming a trip hazard.
Contents
Project overview
This footrest uses a slatted top supported by two side frames. Slats drain rainwater better than a solid panel, and the open construction dries faster after washing. Use pressure-treated lumber for the lowest-cost build, cedar for easier handling and a more finished appearance, or exterior-rated hardwood if you want the footrest to match better furniture.
| Material | Advantages | Trade-offs |
|---|---|---|
| Pressure-treated pine | Cheapest, widely available, durable outdoors | Can be wet, heavy, rough, and prone to checking |
| Cedar | Light, easy to cut, naturally rot resistant | Costs more and dents more easily |
| Exterior-rated hardwood | Best appearance and wear resistance | Most expensive; often harder on blades and bits |
For a first project, cedar is the easiest option if the extra cost is acceptable. Pressure-treated pine is perfectly suitable when the footrest will live under a covered porch or when appearance matters less. Let pressure-treated boards dry before finishing; freshly treated lumber may be too wet to accept stain properly.
Materials and tools
Buy one 1-by-6 board at least 6 feet long for the top slats, and one 2-by-4 board at least 6 feet long for the side supports and lower stretchers. Actual lumber dimensions are smaller than their nominal sizes: a 1-by-6 is usually about 3/4 by 5 1/2 inches, while a 2-by-4 is about 1 1/2 by 3 1/2 inches.
You will also need exterior-rated screws, preferably 1 1/4-inch screws for attaching the top slats and 2 1/2-inch screws for the structural joints. A box of exterior wood screws is worth buying instead of using interior drywall screws, which rust and snap more readily outdoors. Add exterior wood glue if the wood is dry, sandpaper in 80- and 120-grit, a drill, a countersink bit, a saw, a square, a tape measure, and clamps.
A random orbital sander speeds up the work but is not required. A sanding block is fine for one footrest.
Cut list and layout
Cut these parts:
- Four top slats, 18 inches long
- Two side supports, 10 inches long
- Two lower stretchers, 15 inches long
The four 1-by-6 slats measure roughly 5 1/2 inches wide. With a 1/2-inch gap between each, they make a top about 18 inches wide. The 2-by-4 side supports are installed with their 3 1/2-inch face vertical, creating a strong base. The lower stretchers run between the side supports near the bottom and keep the footrest from twisting.
Before cutting, inspect each board for deep cracks, loose knots, and severe cupping. A slight bow can usually be placed so it faces downward and is pulled flat during assembly. Do not use a board with a split running through a screw location.
Cut and prepare the parts
Measure each cut with a square and mark the waste side of the line. Make all four slats the same length; small differences are noticeable when they are lined up. After cutting, ease every exposed corner with sandpaper. A sharp corner on a footrest is uncomfortable and more likely to splinter.
Sand the top surfaces and edges with 80-grit paper, then follow with 120 grit. Pressure-treated lumber may have a rough, fuzzy surface that takes extra work. Do not aggressively sand treated wood into dust; wear eye protection and a dust mask, and clean up the dust rather than blowing it around.
Assemble the frame
Set the two side supports parallel to each other, 15 inches apart on the inside. Position one lower stretcher between them about 2 inches above the floor. Drive two 2 1/2-inch exterior screws through each side support into the stretcher. Drill pilot holes first, especially near the ends of cedar or dry pine. A weather-resistant exterior wood glue can supplement the screws, but do not rely on glue alone outdoors.
Install the second stretcher about 2 inches below the future top, or leave it out if you prefer a lighter look. The upper stretcher is useful because it resists side-to-side movement and gives the top slats more support. Check the frame for square by measuring diagonally from corner to corner. Adjust it until both diagonal measurements match before tightening the screws.
Attach the slatted top
Place the frame upside down on the four top slats. Center it so the slats overhang each side by about 1 1/2 inches. Use a 1/2-inch spacer between slats; a scrap of plywood or a short offcut makes a consistent gap.
Drill two pilot holes through each slat at every side support, then countersink them slightly. Drive the 1 1/4-inch screws until the heads sit flush with the wood. Do not over-tighten: a stripped hole will not hold well, and a crushed softwood surface collects water.
Turn the footrest upright and check for rocking. If one corner is high, place the footrest on a flat surface and identify whether the frame is twisted. Loosening one joint, pushing the frame flat, and retightening often fixes the problem. For a minor difference, sand the high foot or add a thin exterior rubber pad.
Finish and seasonal maintenance
Apply an exterior penetrating oil or an exterior deck stain after the wood is clean, dry, and ready to absorb finish. A water-repellent exterior wood stain is a practical choice for cedar and dry pine. Clear finishes usually require more frequent maintenance and may peel as the wood moves; a pigmented stain generally lasts longer and hides uneven color.
Seal end grain carefully, especially the bottoms of the legs. End grain absorbs water faster than the board faces and is a common starting point for rot. Let the finish cure according to its label before placing the footrest on a painted deck.
At the start and end of each outdoor season, inspect for loose screws, raised splinters, and cracked joints. Sand rough areas and refresh the finish before water reaches bare wood. In snowy or persistently wet climates, store the footrest under cover or raise it on rubber feet. The cheapest version is fine for occasional summer use, but better lumber and regular maintenance pay off when it stays outside year-round.