What's inside
As an Amazon Associate I earn from qualifying purchases. This post may contain affiliate links at no extra cost to you.
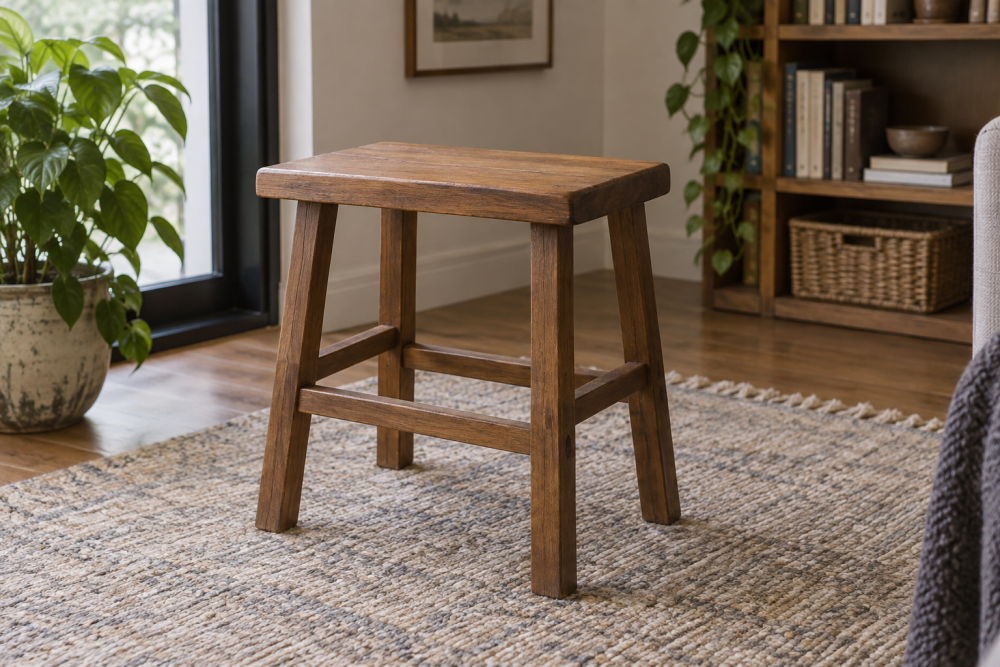
A wooden potting stool gives you a stable place to sit while transplanting seedlings, trimming herbs, or sorting pots. This version is sized for outdoor use and includes a lower footrest that also stiffens the frame. It is a straightforward weekend project for a beginner with accurate measuring and basic power tools.
Contents
Project overview and dimensions
The finished stool is approximately 18 inches wide, 18 inches deep, and 24 inches tall. The seat is about 17 inches above the ground, which works well for potting at a bench or low table. The lower footrest sits 6 inches above the ground. Adjust the height if you are particularly tall, but keep the seat low enough that your feet can rest comfortably on the ground or rail.
| Part | Finished size | Recommended stock |
|---|---|---|
| Seat slats | 18 x 3 x 1 inches, three pieces | 1 x 4 lumber |
| Legs | 24 x 2 1/2 x 1 1/2 inches, four pieces | 2 x 4 lumber |
| Side and end rails | 15 x 3 x 1 inches, four pieces | 1 x 4 lumber |
| Footrest rails | 15 x 2 1/2 x 1 inches, two pieces | 1 x 3 lumber |
Materials and tools
Use cedar, redwood, cypress, or treated lumber rated for outdoor use. Cedar is easier to cut and more pleasant to handle, while treated pine is cheaper and usually stronger. Avoid ordinary untreated spruce if the stool will sit outdoors year-round; repeated wetting will lead to swelling, decay, and loose joints.
You will need about two 8-foot 2x4s and two 8-foot 1x4s, plus one 8-foot 1×3. Buy boards that are reasonably straight and free of large knots near the ends. Use exterior-rated wood glue, 2 1/2-inch exterior screws, and 1 1/4-inch exterior screws. A box of exterior wood screws is worth buying over indoor drywall screws, which rust and snap outdoors.
Basic tools include a tape measure, pencil, square, drill, countersink bit, saw, clamps, and sanding block. A circular saw works well, but a miter saw makes repeated cuts faster. For a rough outdoor stool, a random orbital sander is convenient but not essential.
Cut and prepare the parts
Cut the legs to 24 inches. Cut the three seat slats to 18 inches, the four main rails to 15 inches, and the two footrest rails to 15 inches. These dimensions leave the legs projecting slightly beyond the seat and produce an approximately 18-inch-wide frame.
Mark every piece as you cut it. Check the ends with a square; even a 1/8-inch error repeated across several parts can leave the stool twisted. Break sharp edges with 120-grit sandpaper, then sand the seat slats to 150 grit if you want a smoother surface. Round over the top edges of the seat slightly so they do not cut into your legs.
Build the two side frames
Lay two legs on a flat surface with their outside faces down. Position one upper side rail so its top edge is 1 inch below the tops of the legs. Position one footrest rail with its top edge 6 inches above the bottom of the legs. Use a square to keep both rails perpendicular to the legs.
Drill two pilot holes through each rail into each leg, then countersink the holes. Apply a thin layer of exterior wood glue and drive two 2 1/2-inch screws at each joint. Do not rely on glue alone; outdoor movement and the weight of a person will eventually break a lightly glued joint.
Build the second side frame the same way. Measure diagonally from corner to corner on each frame. If the two measurements differ by more than 1/8 inch, push the frame square before the glue sets. A crooked side frame will make the final stool rock.
Assemble the stool
Stand the two side frames upright and connect them with the two end rails. Place the upper end rails flush with the upper side rails, then clamp the assembly. Check that the overall width is consistent at the top and bottom before drilling. Fasten each end rail with two exterior screws per connection.
For additional stiffness, the lower footrest rails run between the side frames on both sides. Set them at the same 6-inch height as the side footrest rails. The completed lower rectangle prevents the legs from spreading and gives you two places to rest your feet. If you prefer one broad footrest, screw a 1×4 slat across the front instead, but leave the back open for easier access.
Install and space the seat
Place the three seat slats across the top of the frame. Leave a 1/4-inch gap between slats so water and potting soil can drain. Center the slats from side to side, allowing roughly 1/2 inch of overhang at each end if your frame dimensions match the cut list.
Drill two pilot holes at each slat-to-rail location and fasten with 1 1/4-inch exterior screws. A countersink prevents screw heads from catching clothing. Do not make the gaps much wider than 1/4 inch; large gaps collect soil and make the stool less comfortable.
Sand and protect the wood
Sand exposed surfaces to 120 or 150 grit. Pay special attention to the seat edges, leg ends, and footrest corners. Apply an exterior penetrating oil, water-repellent stain, or outdoor paint according to the product directions. A water-repellent exterior wood finish helps, but it will not make the stool maintenance-free.
Do not finish wet lumber. Let treated or recently purchased boards dry until they no longer feel cool or damp, then coat all faces, including the leg ends. Set the stool on pavers rather than bare soil. Recoat exposed wood when the finish begins to fade, usually every one to three years depending on sun and rain.
Test the stool before using it
Set the stool on a flat surface and sit on it slowly. Rock it from side to side and check every screw. If it wobbles, measure the legs and check the frame diagonals before adding random shims. A short diagonal brace under the seat can fix a flexible frame, while loose screws usually indicate missing pilot holes, stripped wood, or a joint that was not clamped tight.
Keep the stool for sitting and light potting work, not as a step ladder. The footrest is not designed to support your full body weight while standing. For the lowest-cost build, treated pine and exterior screws are perfectly acceptable. Cedar costs more but is lighter, easier to work, and less likely to split around screws.