Key takeaways
- Skip the frustration. These are the most common beginner mistakes and the simple fixes that save your projects.
What's inside
As an Amazon Associate I earn from qualifying purchases. This post may contain affiliate links at no extra cost to you.
Every woodworker makes the same mistakes starting out — we certainly did. Knowing them in advance saves ruined boards, wasted money, and a lot of frustration. Here are the big ones and how to dodge them.
None of the seven involve advanced joinery or an expensive machine. Every one is a habit or a small buying decision, which is why they are worth fixing in your first month rather than your third year. Beginner projects almost never fail from one dramatic error. They fail from accumulation: a sixteenth of an inch here, a dull edge there, a finish rushed by two hours, and an assembly that should have taken twenty minutes becomes an evening of shimming and sanding.
As an Amazon Associate we earn from qualifying purchases at no extra cost to you. Product prices and availability are accurate as of the date shown and are subject to change.


Two of these cost nothing and are pure technique. Three are about patience. Two involve buying something, and in both cases the money is small and the criteria are simple enough to memorize before you walk into a store.
Mistake 1: Skipping the measuring basics
“Measure twice, cut once” is a cliché because it’s true. Most ruined pieces come from a rushed measurement or an out-of-square cut. Slow down and use a quality square.
The habit worth building is to measure less, not more. Every time you read a tape you get a fresh chance to be off, so where parts have to match, stop measuring them individually: cut them against a stop block, or clamp them together and cut them as one. Transfer dimensions with a story stick, a scrap marked with the actual location of every part, instead of writing numbers down and reading them back. Work from one reference face and one reference edge on each piece and label them. Mark with a knife or a sharp 0.5 mm pencil, because a carpenter’s pencil line is wide enough to hide a sixteenth of an inch inside it.
Then check the square itself, since “square” on the packaging is a statement of intent. Hold the stock against a known straight edge, draw a line along the blade, flip the square over onto the same spot, and draw again. Two lines that diverge mean the square is out by half the gap. What to weigh when you buy one:
- Accuracy you can verify — run the flip test the day it arrives and return it if it fails. This outranks brand, finish, and price.
- A thick, flat stock that sits against an edge without rocking, holding a blade with no play in it.
- Etched graduations rather than printed ones, which wear off exactly where you use them most.
- The right size: a 4 or 6 inch square for joinery layout, a 12 inch combination square for general work, a framing square only if you break down sheet goods.
At the cheapest tier you are buying a lottery ticket: some are dead on, many are visibly off, none are worth trusting untested. The middle of the market is where the curve flattens, and an accurate mid-priced engineer’s square you are willing to knock around beats a premium one you baby. Premium buys hardened, lapped faces that hold accuracy through daily use, which matters if you are in the shop every day and very little if you work weekends. The one category nobody should economize on is anything that defines a reference: squares, straightedges, and your saw fence. Errors there propagate into every cut afterwards.
Mistake 2: Dull blades and bits
Beginners blame their tools when the real problem is a dull blade. Sharp cutting edges are safer and cleaner — replace or sharpen before you fight the wood.
Learn the symptoms so the workpiece does not have to teach them to you: burn marks on the cut face, fuzzy torn fibers on the exit side, a motor dropping pitch at a feed rate it used to handle, having to lean into the cut, a bit that skates before it bites or leaves a torn ring around the hole. Before you condemn a blade, clean it, because baked-on pitch behaves exactly like dullness and comes off with a dedicated cleaner and a nylon brush. The safety argument is the one that matters most. A dull edge needs force, force costs you control, and most kickback starts with a workpiece being pushed through a cut it does not want to take.
Quality Brad-Point Bit Set
Sharp, accurate bits that don’t wander or burn. Swapping bargain-bin bits for a quality set instantly improves your holes and your confidence. A cheap upgrade with a big payoff.
What separates a good brad-point set from a bad one is visible before you drill anything. A real brad point is a sharp centering spur, not a stubby nub, flanked by two clean cutting spurs at the rim that sever the fibers before the flutes lift them. Look for ground rather than rolled flutes, points that stay centered when you roll the bit on a flat surface, and consistent sizing across the set. High speed steel is entirely adequate for wood; cobalt and exotic coatings are a metalworking story you are not obliged to pay for. Coverage beats count, and 1/8 to 1/2 inch in sixteenths handles nearly all furniture and shelving work.
The bargain tier fails predictably: off-center points wander, so dowel holes do not line up and shelf pins sit at slightly different heights. The middle tier is where most home shops should stop, because ground points and clean spurs are the whole benefit. Premium sets earn their keep in production work and resharpening, not on a weekend bookcase. If you drill a handful of holes a year in construction lumber, skip sets entirely and buy singles in the sizes you actually use. Saw blades follow the same logic: one good general-purpose 40 to 50 tooth blade in clean condition outperforms a drawer of cheap specialty blades, and a carbide-tipped blade can be resharpened several times, which often costs less than replacing it.
Mistakes 3-7: rushing finishes, ignoring grain, no dust control, wrong glue, no clamps
Let finishes cure, read the grain before you cut, protect your lungs, use the right glue for the job, and never skimp on clamps. Each one quietly ruins projects for beginners.
Rushing the finish
Dry to the touch is not cured. Recoat windows are short, full cure runs into days, and cold or humid air stretches both. Most finish failures are prep failures: work up through the grits without skipping more than one, and remove the dust before every coat. With wiping oils, take the excess off properly or the surface stays tacky. Do not stack, wrap, or load a shelf that still smells of solvent.
Ignoring the grain
Grain direction decides where you get tearout, which way you plane and sand, and which face shows. It also decides how the piece moves, because wood changes width across the grain with the seasons and barely changes length. That is why a solid panel trapped in a fixed frame cracks, and why oversize screw holes and tabletop fasteners exist. Read the end grain before glue-up to predict which way a board wants to cup.
No dust control
The dust that matters is the fraction you cannot see, and it stays airborne for hours after you stop working. A shop vac at the tool collects chips; it does not clean the air. Use a respirator that seals to your face rather than a paper nuisance mask, fit a fine filter or bag, ventilate, and vacuum instead of sweeping, since a broom puts everything back into the air.
The wrong glue
Yellow PVA covers nearly every interior joint and should be your default. Step up to a water-resistant type for outdoor work, reach for epoxy when a joint is loose or the surfaces are end grain, and use polyurethane only for dissimilar materials, remembering that its foam is not strength. Most failed joints are not glue-choice problems. They are skipped dry-fits, starved or gappy joints, and assemblies clamped after the open time expired.
Not enough clamps
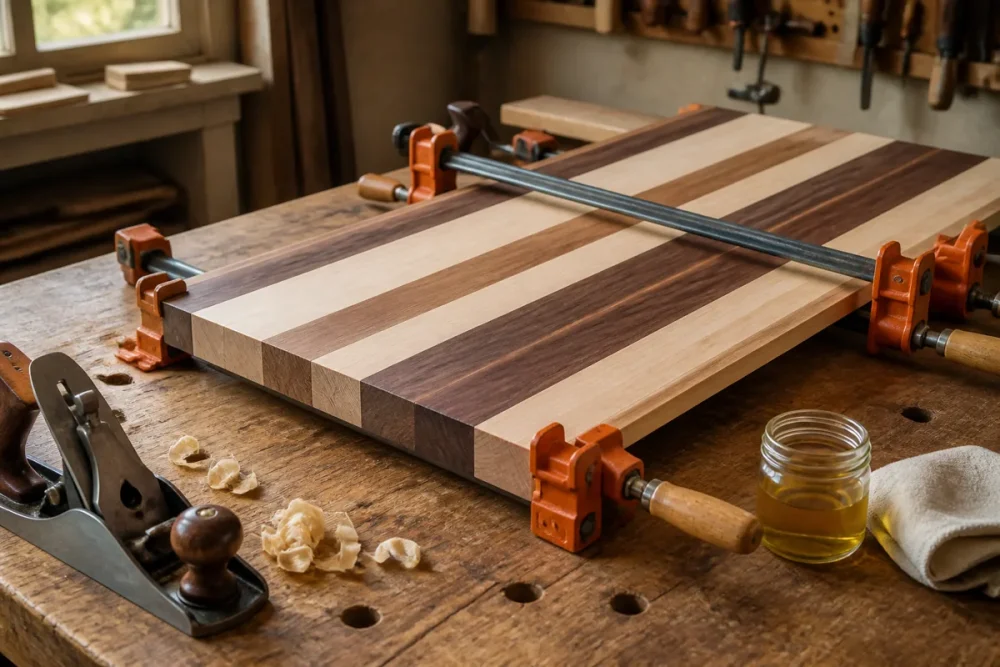
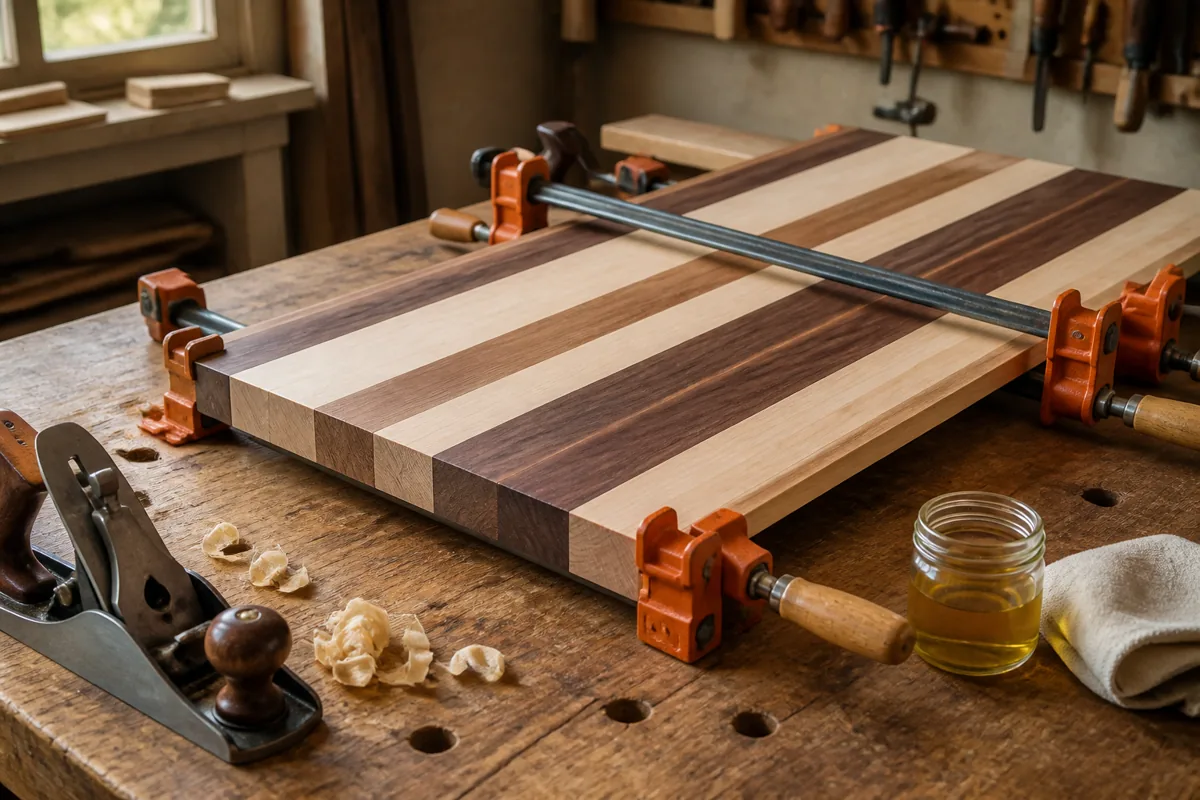
The number you need scales with glue line length, not project size, so plan on a clamp every 6 to 8 inches. F-style clamps handle general work, pipe clamps give the cheapest reach for panels, parallel-jaw clamps are the ones that help hold a case square, and spring clamps are a fine bottom-tier buy. Buy identical pairs, use cauls to spread pressure, and remember that pressure closes gaps by bending parts, which stores tension that pops the joint later.
- ✔ Avoid costly do-overs
- ✔ Safer habits
- ✔ Better-looking results
- ✔ Faster progress
- ✘ Patience is the hardest part
- ✘ Some lessons you learn by doing
What to buy first, and in what order
Fixing most of this is really a spending sequence. Accuracy first: a verified square, a straightedge, a marking knife. Consumables second, because a sharp bit or blade improves every cut from the tool you already own, which no new tool can claim. Clamps third, and you never really stop. Safety gear gets bought alongside the tool that creates the hazard, not later. Anything specialized waits until a project demands it, and by then you will know which one to buy.
This order suits anyone building furniture, shelving, or cabinets in a home shop with a real budget. Skip it if you only assemble flat-pack and hang the occasional shelf: one accurate square, a driver, and two clamps is a complete kit for that.
The big picture
Slow down, keep tools sharp, and respect each step. Do that and you’ll skip most of the pain. Start applying it on a beginner bookshelf build.
It makes a good test case because it exercises five of the seven at once: repeated identical parts that punish individual measuring, long edges that must stay straight, a carcass that has to stay square while glue sets, enough glue line to demand real clamps, and a finish you will be tempted to rush the night before you load the books.
FAQ
Should I sharpen my own edges or just replace them?
Both, split by tool. Chisels and plane irons you sharpen yourself, and it is the skill that improves results fastest. Carbide-tipped saw blades go to a sharpening service, which can usually be done several times in a blade’s life. Small twist and brad-point bits are consumables.
How many clamps do I need to start?
Four of one useful length is a working floor and six is comfortable. Size them to your intended glue-ups rather than your bench: at one clamp every 6 to 8 inches, a bookshelf-sized panel wants three or four per seam, in matching pairs so pressure stays even.
Which mistake is cheapest to fix?
Marking and cutting method. A knife line, a labeled reference face, and a stop block for repeat parts cost nothing and remove most of the cumulative error that wrecks beginner assemblies.
How long before I use a finished piece?
Follow the label for recoat times, then wait longer than feels necessary before hard use. If it smells strongly or feels tacky in a hidden spot, it is not ready. Cold, humid, or poorly ventilated shops stretch every stage, so build the wait into your schedule.