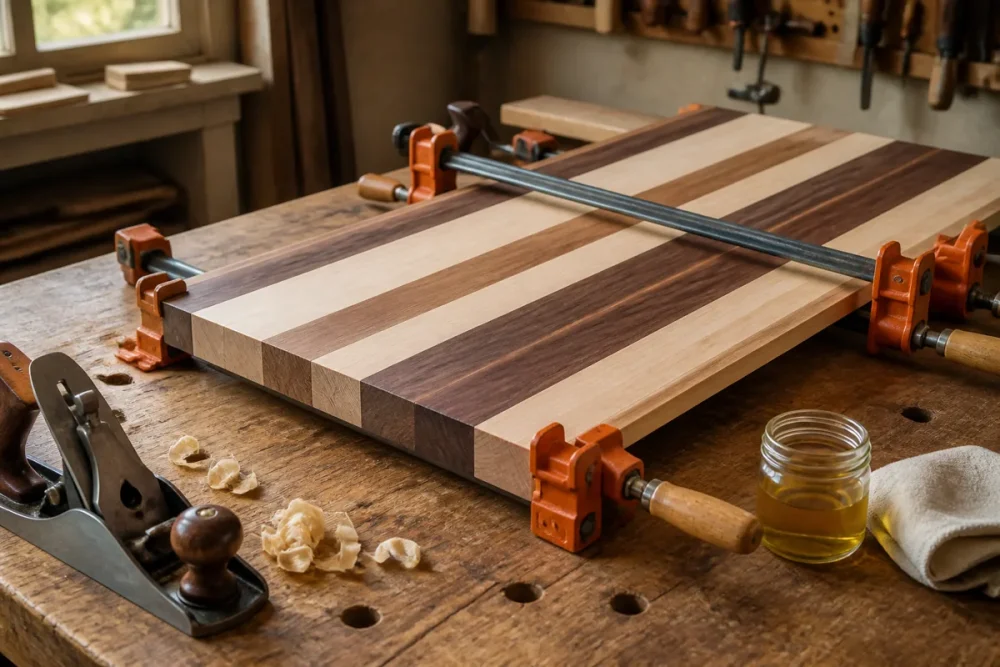
Key takeaways
- A cutting board is a satisfying weekend project that teaches glue-ups and finishing. Here is the full process.
What's inside
As an Amazon Associate I earn from qualifying purchases. This post may contain affiliate links at no extra cost to you.
A wooden cutting board is one of the most satisfying small projects out there — quick, useful, and a great gift. It also teaches two key skills: edge glue-ups and food-safe finishing. Here’s how.
Those two skills are also where beginner boards fail. A board that opens along a seam after a few months of washing was almost always clamped with uneven pressure, or assembled after the glue had begun to skin over. A board that cups like a potato chip was almost always finished on one face only, or left to soak in the sink. Learning how to make a wooden cutting board is mostly learning to control those two variables. Ripping strips is the easy part.
As an Amazon Associate we earn from qualifying purchases at no extra cost to you. Product prices and availability are accurate as of the date shown and are subject to change.


The board below is edge grain: strips glued on edge, a little over an inch thick. Edge grain forgives mistakes that end grain punishes, needs no specialty jig, and can be flattened with a block plane and a random orbit sander. The tool list is short — a way to rip a straight strip (table saw, or circular saw and a straightedge), four or more clamps, glue, sandpaper, and a flat surface to glue on.
Step 1: Select and cut your strips
Use hardwoods — maple, walnut, cherry. Rip them into strips, alternating species or grain for a nice pattern. Keep everything the same thickness so the glue-up sits flat.
Those three species keep coming up because of pore size. Closed-grain hardwoods have pores tight enough that food and moisture do not settle into them, and they land in a useful hardness range: firm enough to resist scarring, soft enough that they do not wreck a knife edge. Maple is the traditional pick, cherry is exceptionally stable, walnut gives you contrast but shows knife marks sooner. Skip open-pored red oak and ash, skip softwoods that dent and stay dented, and skip unknown exotics — some irritate skin or lungs, and some are oily enough to fight the glue.
Buy 4/4 stock and rip strips to the width you want the finished board to be thick, then glue them on edge so the growth rings stand up. Rip everything at one fence setting without touching the fence in between; identical strips are what make a flat panel. Cut them a couple of inches long so you can trim the misaligned ends later, and buy 20 to 25 percent more board footage than the math says, because you lose material to rips, snipe and the occasional hidden defect.
Moisture matters more than beginners expect. Stock that has been sitting in an unheated garage will move after glue-up, and nothing you do afterwards fixes it. With a pin meter, look for 7 to 9 percent. Without one, stack the boards indoors in the room where you will work for at least a week, with spacers so air reaches all four sides.
Then shuffle the strips until the pattern reads right, flipping alternate ones so the growth ring curves face opposite directions — residual cupping cancels itself instead of adding up. Mark a triangle across the top faces so you can rebuild the order with glue on your hands. Thin rips need a push stick and a sharp blade: a dull blade burnishes the edge, and burnished edges do not bond.
Step 2: Glue up the board
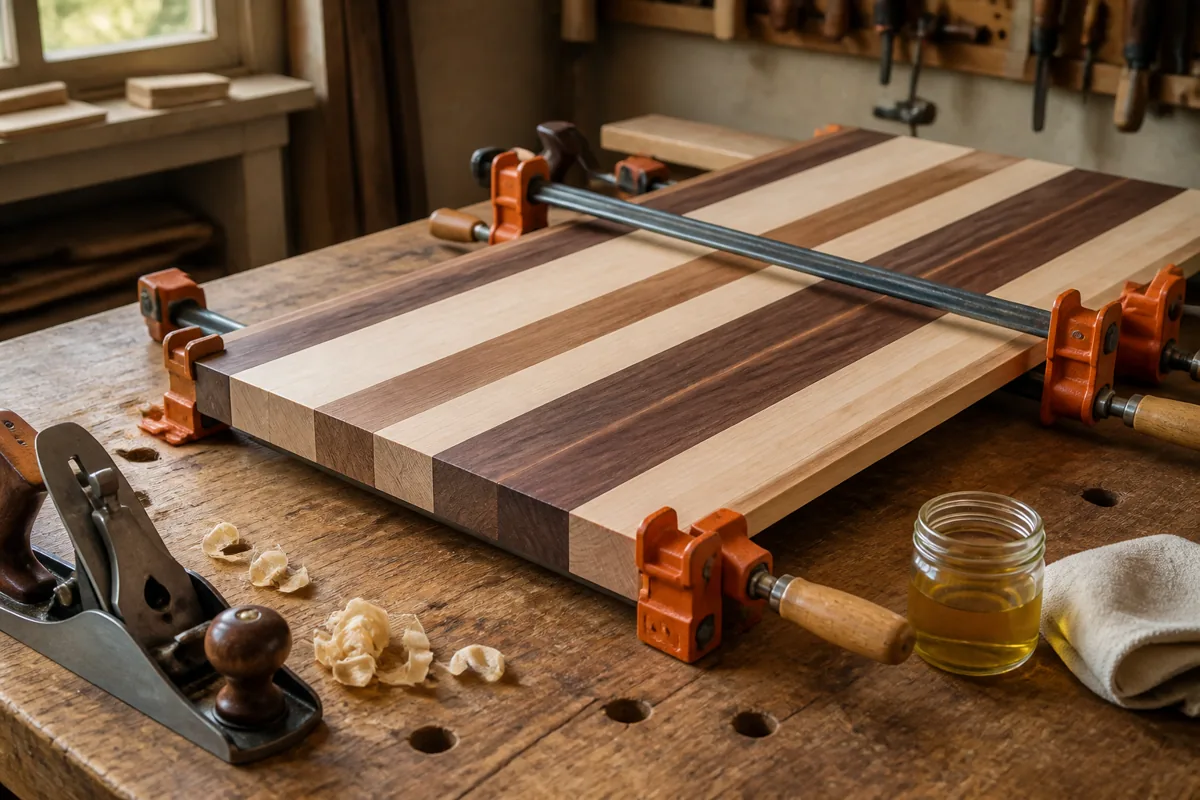
Apply waterproof wood glue to every mating edge, then clamp — this is where good clamps earn their keep. Even pressure keeps the board flat and the joints tight.
Dry-fit first, with the clamps already opened to width, because you get only a few minutes of working time before the glue skins. Spread a thin, even film on both faces of each joint and look for a continuous line of small beads squeezing out along the whole seam. Dry gaps in that line mean a starved joint, and that is the seam that opens later. Space clamps every six to eight inches, alternating above and below the panel; clamping from one side bows the middle. Tighten until the joints close and the beads appear, then stop — extra force adds no strength, it stores tension in the board. Lay a straightedge across the width while the glue is still wet, while a bow can still be corrected.
If the board is wide, glue it in stages: three or four strips, then join the sub-panels once dry. More first boards are lost to rushing an eight-strip glue-up than to anything else. Scrape squeeze-out when it turns rubbery rather than rock hard, leave the clamps on for the full clamp time, and let the panel cure a day before flattening.
How to choose clamps for this job
Clamps are the one purchase this project depends on, and the specs that matter are not the ones printed on the packaging.
- Jaw geometry. Parallel jaws stay square under load, so pressure lands in the middle of the panel, not just along the bar line. F-style and pipe clamps push on one line and tip the panel unless you alternate sides or add cauls.
- Bar stiffness. A bar that flexes lets the jaws tilt, opening the top of a joint while the bottom closes. Section depth matters more than length.
- Capacity. At least six inches more than your widest planned panel. Several medium clamps beat two very long ones.
- Pads. Non-marring, glue-resistant, firmly attached. Bare steel against wet glue can stain tannin-rich woods like walnut.
- Action. Enough leverage to reach full pressure by hand, a smooth slide, and jaws that do not creep when you let go.
- Count. Four is the working minimum for one board; six lets you glue sub-panels and hold cauls at the same time.
At the bottom of the market are light F-clamps and stamped-bar clamps. They are genuinely useful for holding cauls, jigs and small repairs, and genuinely bad for glue-ups: too little pressure, flexing bars, pads that fall off. Buy them as extras, never as your only clamps. In the middle sit pipe clamps, the most pressure per pound spent — you buy the heads and supply the pipe, so capacity is whatever length you cut. The trade-off is non-parallel jaws and pipe that can flex and mark, so you work with cauls and alternate sides. At the top, parallel clamps solve flatness in hardware: square jaws, a wide bearing surface, and enough stability to stand on the bench while you load strips one-handed.
Weigh it this way. A glue-up needs adequate pressure, evenly placed, on a flat panel. You can buy that with clamp design or achieve it with cheaper clamps plus two straight cauls and more care. If the budget covers only two parallel clamps, buy four pipe clamps instead — clamp count beats clamp pedigree on any panel.
Parallel Bar Clamps
Flat, even clamping pressure is the secret to a cutting board that doesn’t cup. Parallel clamps keep the boards aligned while the glue sets. Buy four to start — you’ll always want more.
- ✔ Quick, satisfying build
- ✔ Teaches glue-ups
- ✔ Great gift
- ✔ Uses up offcuts
- ✘ Needs several clamps
- ✘ Food-safe finish required
Parallel clamps suit anyone who expects to glue panels repeatedly — boards, doors, tabletops — and anyone who would rather buy flatness than practise it. Skip them for a one-off gift build, or if the basics of your shop still have gaps: lighter clamps and a pair of cauls will get one board across the line.
Step 3: Finish food-safe
Sand smooth, then finish with food-safe mineral oil and a beeswax blend — never a film finish. Re-oil occasionally and it’ll last for years.
Flatten before sanding: knock the glue lines down with a block plane or scraper, then work 80, 120, 180. There is no point chasing 320 — an oil finish needs open pores, and a burnished surface takes oil unevenly. At final grit, wipe the board with a damp rag to raise the grain, let it dry, and sand lightly again; it stays smoother through its first few washes. Round over every edge and corner, underside included.
Then flood all six faces with food-grade mineral oil, let it soak, wipe off what has not absorbed, and repeat over a few days until the wood stops drinking. Follow with a mineral oil and beeswax paste, buffed off, which slows how fast water reaches the surface. Give every face the same number of coats, because uneven finishing is a leading cause of cupping. Avoid boiled linseed oil, which contains metal driers, and be careful with nut oils, which can go rancid and are a poor idea in a house with allergies.
Care is simple and non-negotiable: hot soapy water, wiped dry immediately, then stood on edge so both faces dry at the same rate. No dishwasher, no soaking, never left flat and wet on the counter. Re-oil when the surface looks pale, and every year or two sand out the knife scars and start the oil over. That renewability is the whole reason an oil finish beats a film.
Mistakes that ruin first boards
- Gluing wood that has not acclimated. The joints can be perfect and the panel will still move.
- Moving the fence mid-batch. Strips of varying width make a panel no clamp pressure will flatten.
- Clamping from one side only. The panel bows away from the bars. Alternate, and add cauls across the width.
- Over-tightening. Past the point where the joint closes, force only stores tension in the board.
- Finishing one face. The bare side gains and loses moisture faster, and the board cups.
FAQ
How many clamps do I actually need?
Four for a single board this size, spaced every six to eight inches and alternating above and below. Six is more comfortable, since it lets you glue in stages. If you are short, two straight cauls clamped across the width do more for flatness than a fifth clamp along the length.
Can I do this without a jointer or planer?
Yes, and most people do. A sharp, well-aligned saw blade leaves an edge that glues fine straight off the cut, and a block plane checked against a straightedge cleans up the rest. What you cannot substitute for is straightness — if your rips wander, fix that before buying anything else.
How often should I re-oil?
Often at first, then on demand. Several coats in the first week while the wood is still absorbing, then whenever the surface looks pale, feels dry, or stops shedding water. A board in daily use wants it more often than a weekend board; there is no schedule, just the look and feel of the wood.
Is end grain worth the extra work?
Eventually, not now. End grain is kinder to knife edges and hides cuts better, but it means twice the glue-ups, more material, and a flattening problem that is hard without a drum sander or router sled. The edge-grain skills transfer directly.
Build one, use it for a month, and the second board designs itself: different strip widths, a bit more thickness, maybe a juice groove. Next, tackle a bookshelf to level up.