What's inside
As an Amazon Associate I earn from qualifying purchases. This post may contain affiliate links at no extra cost to you.
Contents
A Simple Pair of Angled-Face Bookends
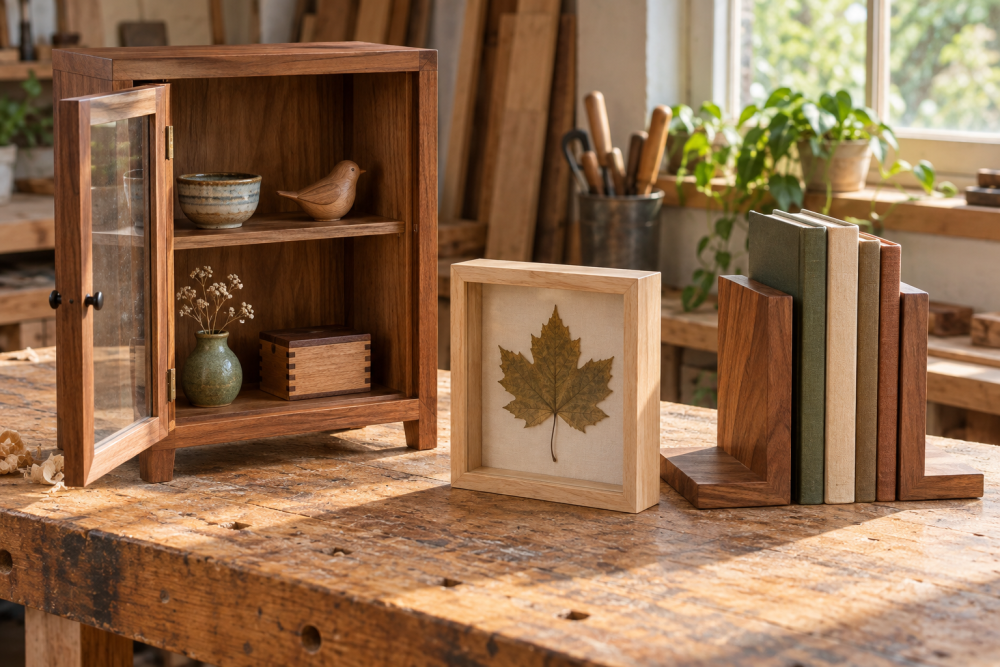
These wooden bookends are a good first woodworking project because each one uses only a few cuts, but the angled front makes them look more considered than a plain L-shaped block. The back supports the books, while the sloped face leans slightly into the row and gives the pair a matching, finished appearance.
The project uses a single piece of 1-by-6 lumber, cut into four parts. Pine is inexpensive and easy to work, though it dents more easily than hardwood. A board about 3/4 inch thick, 5 1/2 inches wide, and 48 inches long is enough for a pair with some waste allowance.
| Material | Advantages | Drawbacks |
|---|---|---|
| Clear pine or poplar | Easy to cut, inexpensive, takes paint well | Soft; dents and can tear out |
| Oak or maple | Harder, heavier, more durable | Costs more and takes more effort to sand |
| Plywood | Stable and less likely to cup | Visible edge layers need extra finishing |
Materials and Tools
For one pair, gather:
- One 1-by-6 board, at least 36 inches long
- Wood glue
- Four 1 1/4-inch brad nails, or 1 1/4-inch screws
- Sandpaper in 120- and 180-grit
- Paint, stain, or clear finish
You will also need a tape measure, pencil, square, clamps, and a saw. A miter saw makes the angled cuts quick and repeatable, but a handsaw works if you mark carefully. If buying a saw for occasional projects, an affordable woodworking hand saw is sufficient. You do not need a table saw for this build.
A drill is useful for screw joinery, and a cordless drill driver makes it easier to drill pilot holes. For a painted project, inexpensive pine is fine. Spend more on hardwood only if you want a heavier bookend or a natural clear finish.
Cut List and Design
Cut the board into these four pieces:
- Two bases: 7 inches long by 5 1/2 inches wide
- Two upright backs: 7 inches long by 5 1/2 inches wide
Each bookend is made from one base and one upright. The upright stands on the back edge of the base, forming an L shape. The front face of the upright is then cut with a sloping top edge. Keep the base and upright at the same 7-inch length so the bookend is square from the side and has enough depth for most paperback and hardcover books.
The sloped face is easiest to make by removing a triangular section from the top front corner of each upright. Mark the front edge 2 inches down from the top, then mark the back edge at the full 5 1/2-inch height. Connect those marks with a straightedge. Cutting along this line creates a face that rises toward the back. A smaller 1-inch drop looks subtle; a 2-inch drop is more visible and still leaves useful support.
Cut and Prepare the Parts
Start by checking the board for a severe cup, twist, knots, or splits. Put the best-looking faces outward. Mark all four pieces with a square, and label matching parts “left” and “right” if the grain direction matters to you.
Make the four straight crosscuts first. Then mark the angled cut on each upright. Clamp the piece securely and cut just outside the line. A hand saw may leave a slightly rough edge, so do not try to cut directly through the pencil mark on your first attempt. Plane or sand down to the line instead.
Keep your fingers well away from the blade, and support the offcut so it cannot snap or fall as the cut finishes. If using a circular saw, clamp a straight guide to the board. Freehand cuts are a common cause of bookends that lean or do not match.
Sand each part with 120-grit paper, then 180-grit. Ease the exposed corners with two or three light passes. Do not round the joining edges heavily; a rounded joint leaves a visible gap.
Assemble the Bookends
Place one upright on the base so its long edge sits flush with the back edge of the base. Check that both ends are even and that the upright is at 90 degrees to the base. Apply a thin, continuous bead of glue, then clamp the pieces together.
For the strongest simple joint, drill two pilot holes through the upright and into the base, then install screws. Keep the holes at least 3/8 inch from the edges. If using brad nails, apply glue and drive two nails while holding the upright square. Nails are quick, but screws provide more clamping force and are easier to remove if you make a mistake.
Wipe away squeeze-out with a damp cloth before it dries. Dried glue can prevent stain from soaking into the wood and often shows as pale patches. Check the angle with a square while the glue is still wet. Let the assembly cure according to the glue label, usually at least 30 minutes clamped and several hours before heavy handling.
Finish and Prevent Sliding
After the glue dries, sand the joints flush. Test each bookend on a flat surface. If it rocks, identify the high corner with a pencil and sand that spot gradually. Do not remove material from the entire base just to correct one high edge.
Paint hides mismatched grain and is the most forgiving finish for beginners. Stain looks better on oak, maple, or clear pine, but it emphasizes scratches, glue spots, and uneven sanding. A water-based polyurethane is a practical clear topcoat because it dries quickly and produces less odor than many solvent finishes. Use an water-based polyurethane wood finish if you want visible grain and a low-odor option.
Apply two or three thin coats, sanding lightly with 220-grit paper between coats when the label recommends it. Let the finish cure fully before loading the bookends. For extra grip, attach four small rubber or felt pads to the underside of each base. Rubber grips better on smooth shelves; felt is quieter and cheaper but can slide under a heavy row of books.
Common Problems and Fixes
If the pair does not match, compare the angled marks before cutting more material. One reversed layout is the usual cause. If a bookend leans, the upright was installed out of square or the base is not flat. Remove a screw while the glue is still workable, realign the piece, and reclamp.
Books can still push a lightweight pine bookend across a shelf. Add more weight by using hardwood, increasing the base length to 8 inches, or gluing a thin steel plate underneath. A metal plate adds stability without changing the visible design, but it must be covered or recessed so it cannot scratch furniture.
For a seasonal workshop project, build and finish these indoors during dry weather. Wood can move as humidity changes, especially in an unheated garage. Store the board flat, and give the finished pieces a day or two indoors before putting them on a shelf.