What's inside
As an Amazon Associate I earn from qualifying purchases. This post may contain affiliate links at no extra cost to you.
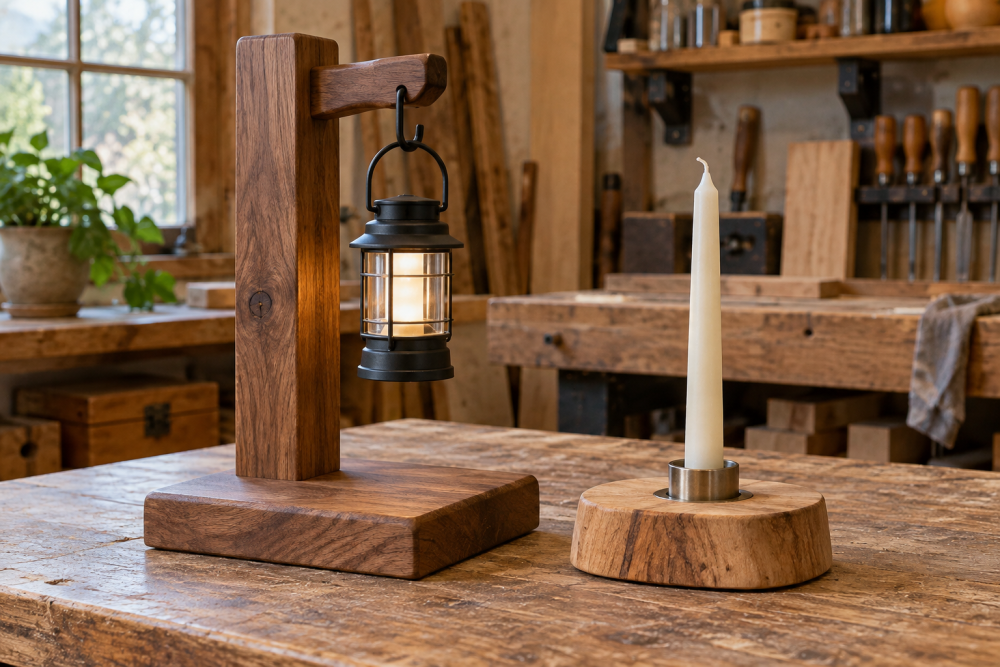
A patio lantern stand needs two things: a stable base and a top that keeps the lantern clear of the wood. This simple design uses a weighted planter-style base, a 4×4 post and a short crossarm. It suits a covered patio or a calm corner of the yard. It is not a substitute for a ground anchor in a windy, exposed spot.
Contents
Plan and dimensions
The stand shown here is about 5 feet tall, with a 16-by-16-inch base and a 12-inch crossarm. Adjust the height to suit your lantern, but keep the base broad enough that the stand resists a sideways bump. A heavier base improves stability; it does not make the stand safe to leave in strong wind.
Use a battery-powered or LED lantern. Do not hang an open-flame lantern from this wooden stand, and check the lantern maker’s clearance and hanging instructions.
Materials and tools
You’ll need one pressure-treated 4×4 post, cut to 54 inches; four 2×4 boards cut to 16 inches for the base frame; exterior-rated plywood for a 16-inch-square base; a 12-inch length of 2×4 for the crossarm; exterior screws; and a hanging hook rated for the lantern’s weight. For the ballast, use bagged gravel or pavers. A weather-resistant finish is optional on treated lumber, but the cut ends benefit from an exterior end-cut preservative.
Gather a saw, drill/driver, tape measure, square, level, clamps and eye protection. A box of exterior wood screws is a better choice than drywall screws, which corrode outdoors and can snap under movement. Use screws long enough to get at least 1½ inches of bite into the joined piece.
Choose the base weight
A wooden frame alone is too light to hold a 5-foot post upright reliably. Add ballast inside the frame, then secure the load so it cannot shift when the stand is moved. Gravel is easy to fit around a post; pavers are tidier and can be removed without spilling. The trade-off is that pavers need to fit the available space.
| Ballast | Advantages | Drawbacks |
|---|---|---|
| Bagged gravel | Fills gaps and is easy to buy in small quantities | Can spill; needs a liner or cover |
| Concrete pavers | Neat, removable and simple to stack | May not fit tightly around the post |
| Water-filled container | Light to carry before filling | Can leak, freeze or become unstable if poorly contained |
For a movable stand, pavers or a sturdy, lidded ballast tray are usually more dependable than loose gravel. A set of concrete patio pavers is an inexpensive option if you can lift the loaded base safely. Don’t guess at a universal safe weight: lantern size, post height, ground slope and wind all affect tipping risk.
Build the base
Lay the four 16-inch 2×4 pieces into a square frame, with the ends butted together. Check both diagonals; they should be equal, about 22⅝ inches for a square this size. Drill pilot holes near the ends, then fasten each corner with two exterior screws. Pilot holes reduce splitting, especially near the ends of the boards.
Cut a 16-inch-square panel from exterior plywood and screw it to the underside of the frame. Use at least eight screws, spaced around the perimeter. If the stand will sit on a damp patio, set it on plastic or rubber feet rather than leaving the plywood in standing water. A thin panel that flexes under the ballast can loosen its screws over time; use plywood at least ½ inch thick.
Fit and brace the post
Center the 4×4 on the plywood base and mark its position. Fasten it through the base with four long exterior structural screws, two from each side of the post if the frame layout allows. Check the post with a level on two adjacent faces before tightening fully. A post that leans will make the lantern swing off-center and increase the chance of tipping.
Add short 2×4 braces inside the frame at the post, fastening each brace to both the post and frame. These resist side-to-side wobble; the ballast alone does not. If the post still twists by hand after bracing, add another brace or use stronger structural fasteners rather than relying on more weight.
Add the crossarm and hook
Position the 12-inch 2×4 crossarm near the top of the post. Center it, drill pilot holes and fasten it with two exterior structural screws driven through the post into the arm. For a cleaner joint, use a small galvanized angle bracket underneath, but don’t substitute a light-duty decorative bracket for a structural connection.
Install a rated screw hook in the center of the crossarm, following the hook maker’s pilot-hole guidance. Match the hook’s working load to the lantern, and leave room for the handle to sit fully in the hook. A hook that is merely screwed into the end grain can pull out more easily than one installed into the broad face of the crossarm.
Load-test and maintain
Before adding the lantern, place the stand on level ground and push gently at the post from several directions. It should not rock, rack or lift a base edge. Add ballast in a controlled way, then repeat the test. If an edge lifts, widen or anchor the base; don’t treat extra weight as a guaranteed fix. Keep the stand away from walkways, children’s play areas and locations exposed to gusts.
For outdoor use, seal exposed plywood edges and inspect the screws, hook and base at the start of each season. Remove the lantern before moving the stand, and empty or store it during severe weather. If you want a lighter stand that can be carried easily, a solar lantern stake pushed into suitable soil may be simpler. It is less useful on paving, but avoids a heavy base altogether.