What's inside
As an Amazon Associate I earn from qualifying purchases. This post may contain affiliate links at no extra cost to you.
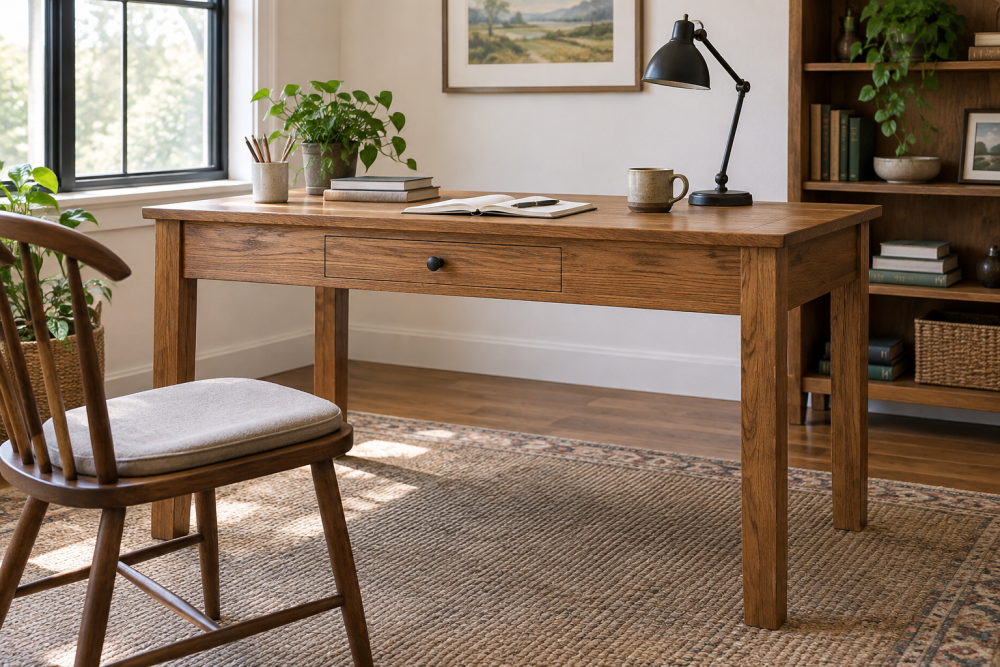
This compact desk fits a laptop, notebook, and a few daily-use tools without demanding a full sheet of plywood or a large shop. Its two small drawers are the main challenge: hand-cut dovetails need accurate layout and patient fitting, but they’re practical on a project this scale. Allow a weekend for the carcase and another for the drawers and finish, especially if this is your first time cutting dovetails.
Contents
Dimensions and materials
The finished desk measures about 42 inches wide, 22 inches deep, and 30 inches high. The top is ¾-inch thick. The drawer carcase sits beneath it, with two drawers roughly 16 inches wide, 3 inches tall, and 15 inches deep. Adjust the drawer width to suit your hardware and the space between the legs.
Use ¾-inch hardwood for the top and legs, and ½-inch stock for the carcase sides and drawer fronts. Drawer sides can be ⅜-inch stock; the backs can be ½-inch. A ¼-inch plywood bottom in a groove is lighter and less likely to split than a solid bottom. Straight-grained poplar or soft maple is a forgiving choice for the drawer sides, while the visible desk parts can be oak, cherry, maple, or another stable hardwood.
Pick boards with dry, straight grain and no twist. A cheap moisture meter is useful if the stock’s history is unknown; wood that is still losing moisture can shrink and open the dovetail joints later. For a small indoor desk, aim for wood near 6–9% moisture content. A basic woodworking moisture meter is helpful, but not essential if your supplier stores lumber indoors and the boards are stable.
Tools and joint choice
You’ll need a handsaw, marking knife, square, bevel gauge, chisels, mallet, drill, clamps, and a plane or sander. A dovetail saw with a stiff back gives more control than a general-purpose handsaw; an inexpensive fine-toothed backsaw can work, though it may need practice to track straight. A dovetail saw and marking gauge are worthwhile if you plan to make more than one set of drawers.
Use through dovetails at the drawer sides and front. They are strong, visible, and easier to mark than half-blind dovetails. The trade-off is that the pins show on the drawer front. If you want a cleaner front, half-blind joints hide the tails, but their recessed sockets take more careful chopping.
| Joint | Best fit for this desk | Main trade-off |
|---|---|---|
| Through dovetail | Practice drawers and a traditional look | Joint ends remain visible at the front |
| Half-blind dovetail | A clean drawer front | Slower layout and more demanding chopping |
| Rabbets and screws | A fast, low-cost utility drawer | Less traditional and less resistant to pulling apart |
For a first build, through dovetails are the sensible middle ground. If the desk will live in a workshop and appearance is secondary, rabbets and screws are perfectly serviceable. Don’t buy a dovetail jig for just two small drawers unless you expect to use it on future projects.
Build the desk frame
Cut four legs to 29¼ inches, allowing the ¾-inch top to bring the desk to 30 inches. Mill the legs square and keep each matching pair the same length. Cut the aprons to fit between the legs, leaving space for the drawer carcase. A straightforward layout uses a 2½-inch front apron and side aprons, joined to the legs with mortise-and-tenon joints or sturdy loose tenons.
Dry-fit the frame before glue-up. Check that the diagonals match; a difference greater than ⅛ inch can leave the top twisted or the drawers out of square. Glue and clamp the frame on a flat surface, then recheck square before the glue sets. Attach the top with figure-eight fasteners or screws in slotted holes. Wood moves across its width, so do not glue or tightly screw the entire top to the frame.
Cut the dovetail drawers
Cut the drawer parts slightly oversize, then plane them to final thickness and length. Mark the baseline around each tail board with a marking gauge, set the tail angle between 1:6 and 1:8, and mark two or three tails per side. Wider spacing is easier to saw cleanly; tiny, crowded tails are a poor first test.
Saw just to the waste side of the lines and stop at the baseline. Remove the waste with a coping saw, then pare to the line with a sharp chisel. Use the finished tails to mark the pins on the mating board. Keep the boards square in a vise, and transfer the lines with a knife rather than a thick pencil. A small deviation is multiplied across the joint, so test your setup on scrap of the same thickness first.
Chop pin waste from both faces toward the middle to reduce splintering. Test the joint dry. It should seat with firm mallet taps, not heavy blows. If the joint is too tight, pare the high spots; forcing it can split a thin drawer side. If it is loose, a sliver of matching veneer and glue can repair a small gap, but a large gap usually means the pins need recutting. Glue the joints, assemble the box, and check for square by measuring both diagonals.
Cut a ¼-inch groove near the bottom edge of each drawer side, front, and back. Fit the plywood bottom so it can float in the grooves; leave a small clearance rather than gluing it solid. This lets the drawer move without cracking as humidity changes.
Fit drawers and finish
Install simple wooden runners or side-mount slides. Wooden runners cost little and suit a traditional build, but they need careful waxing and may swell seasonally. Ball-bearing slides open more smoothly and are easier to adjust, but they require accurate, parallel mounting and enough side clearance. Follow the slide maker’s specified clearance; many common slides need about ½ inch per side. A 16-inch side-mount drawer-slide set is a reasonable category to compare, but measure the actual carcase before ordering.
Fit the drawers after the carcase is assembled, not before. Plane the sides until each drawer runs without binding, then ease sharp edges with a few light passes of sandpaper. A drawer that sticks only in humid weather may be too tight or the carcase may be out of square; don’t solve it by sanding one corner blindly.
Sand the desk through 180 grit and remove dust. A wipe-on oil finish is easy to apply and simple to repair, but it offers less protection against water rings than a film finish. For a desk used with drinks, use a water-resistant varnish or polyurethane and let it cure fully before placing equipment on it. Apply thin coats, sand lightly between coats as directed, and test the finish on an offcut first.