What's inside
As an Amazon Associate I earn from qualifying purchases. This post may contain affiliate links at no extra cost to you.
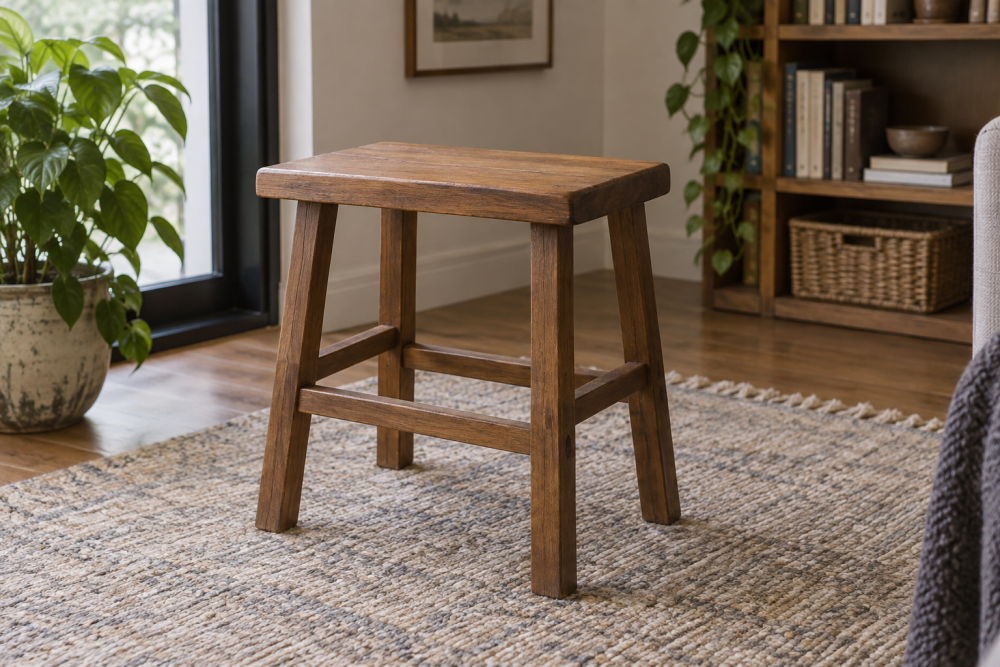
A bathroom stool needs to stay steady on a slick floor, shed splashes, and dry quickly after use. This compact build uses a slatted hardwood top so water can drain rather than pool. The design is about 18 inches high, with a 14-by-12-inch seat and four legs splayed slightly for stability. Adjust the height to suit your bathroom, but keep the stool low enough that it cannot tip easily when someone leans on an edge.
Contents
Materials and design
Use rot-resistant, stable wood such as teak, white oak, or cedar. Teak and white oak are durable but cost more; cedar is lighter and easier to work, though it dents more readily. Avoid untreated pine for a stool that will see frequent wetting. For a budget build, clear construction-grade lumber can work in a well-ventilated bathroom if you seal every face and accept more checking and movement over time.
Plan for a top made from five slats, each about 2½ inches wide, with ⅜-inch gaps. The gaps let water escape and air circulate, but are narrow enough to avoid an uncomfortable seat. Make the legs from 1½-inch-square stock and connect them with aprons under the seat. A simple mortise-and-tenon joint is strong; pocket screws are quicker but need careful placement and corrosion-resistant hardware.
| Top material | Advantages | Trade-offs |
|---|---|---|
| Teak | Very durable in damp conditions; naturally oily | Expensive and can be harder to glue |
| White oak | Strong, widely available, takes a finish well | Heavy; end grain still needs sealing |
| Cedar | Light, naturally weather resistant, easy to cut | Softer and more prone to dents |
| Pine | Inexpensive and easy to find | More likely to swell, stain, or loosen if finish fails |
Tools and supplies
You will need a saw, drill, square, clamps, tape measure, sandpaper, and a way to make straight, repeatable cuts. A miter saw is convenient but not essential; a handsaw and guide can do the job. For the joints, choose either a mortising setup or a pocket-hole jig. Use stainless-steel or exterior-rated screws, especially near the floor where moisture lingers.
For the finish, use an exterior-rated spar varnish or marine varnish compatible with your wood and glue. These finishes form a protective film but can wear through, so they require inspection and maintenance. A penetrating oil is easier to refresh, but offers less protection against standing water and soap. Buy a marine spar varnish if you want a film finish; follow its label for indoor use, ventilation, and cure time.
Cut list and preparation
For an 18-inch finished height, cut four legs to 17 inches and allow about 1 inch for the seat assembly. Cut two long aprons to 9 inches and two short aprons to 7 inches, adjusting for your joint dimensions. Cut five seat slats to 12 inches. Their combined width plus four ⅜-inch gaps should land near 14 inches; rip slats to equal width if your actual stock differs.
These dimensions are a starting point, not a substitute for measuring your lumber. Mill the legs and aprons square, then dry-fit the frame before cutting all joints. If you want splayed legs, angle the leg ends and matching apron joints consistently. A square-legged version is simpler and entirely suitable on a level floor.
Assemble the stool
Lay out the apron joints so the frame sits roughly 1½ inches inside the seat edges. Cut mortises and tenons, or drill pocket holes on the inside faces of the aprons. Assemble the four aprons between the legs with waterproof-rated wood glue. Clamp the frame on a flat surface and check both diagonals; if they differ by more than about ⅛ inch, square the frame before the glue sets.
Once the frame is dry, position the slats across it with equal gaps. Pre-drill to reduce splitting, particularly in oak or cedar, and attach each slat at both ends. Do not overtighten screws: a crushed or split slat can loosen after repeated wet-dry cycles. Leave a small, even gap rather than forcing the slats tight together. Ease the edges with sandpaper so they are comfortable against skin and less likely to chip.
Finish for bathroom use
Sand to 150 or 180 grit. Higher grits can burnish some woods and reduce finish adhesion. Round the edges lightly, then remove dust from the slat gaps and underside. Apply finish to every surface, including the bottom of the legs, screw holes, end grain, and the underside of the seat. End grain absorbs water readily; give it an extra coat if the finish instructions allow.
Follow the stated recoat and cure times. A finish that feels dry may not be fully cured, and using the stool too soon can leave water marks or a tacky surface. Keep the room ventilated while applying solvent-based products. Do not rely on finish alone to prevent water damage: wipe away standing water and allow the stool to dry between uses.
Check stability and maintain
Set the stool on the actual bathroom floor and press down on each corner before putting weight on it. If it rocks, mark the high leg and trim or sand it carefully. Check that screws are secure and that the seat does not flex noticeably. Add non-slip rubber feet if the floor is smooth, but avoid thick, soft pads that can make the stool wobble. A set of non-slip rubber feet is inexpensive insurance on tile.
Inspect the finish every few months, especially around fasteners and leg ends. Recoat when water stops beading or the surface looks worn; do not wait for dark stains or raised grain. If a joint loosens, dry the stool fully, repair the joint, and reapply finish to any bare wood. A slatted top reduces trapped water, but it cannot compensate for a persistently damp, poorly ventilated bathroom.