What's inside
As an Amazon Associate I earn from qualifying purchases. This post may contain affiliate links at no extra cost to you.
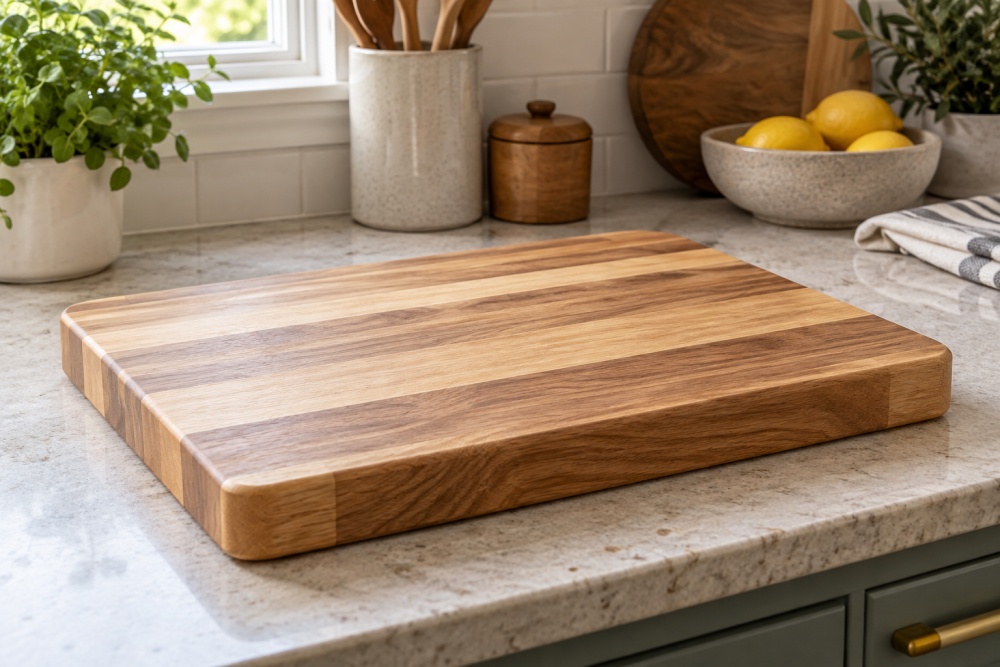
A hardwood cutting board with juice grooves is a useful first or second woodworking project. The cuts are straightforward, the materials are manageable, and you can finish the board with ordinary food-safe products. The one operation that requires care is routing the groove: a shallow, clean channel looks professional, while a deep or uneven one collects food and makes the board harder to use.
Contents
Project Overview
This plan makes a board about 18 inches long, 12 inches wide, and 1 to 1-1/4 inches thick. That size gives you enough room for vegetables, bread, or a roast without being awkward to wash. A smaller 16-by-10-inch board works if your sink or storage space is limited.
| Wood choice | What it does well | Trade-off |
|---|---|---|
| Hard maple | Light color, tight grain, durable work surface | Can look plain and may cost more than common hardwoods |
| Walnut | Dark color, easy to work, attractive contrast | Softer than maple and usually more expensive |
| Cherry | Machines cleanly and darkens with age | Can show dents sooner than maple |
| Beech | Hard, reasonably priced, and suitable for cutting boards | Less commonly stocked in wide, flat boards |
Use hardwood sold for furniture or cabinetry, not construction lumber. Avoid pressure-treated wood, pallet wood, soft pine, and anything with unknown finishes or glue. You can buy a single wide board, but edge-gluing two or three narrower boards is often cheaper and more stable. Look for straight grain, no loose knots, and a moisture content around 6 to 8 percent if the supplier provides that information.
Tools and Materials
You will need hardwood, waterproof wood glue rated for indirect food contact after curing, clamps, a table saw or circular saw with a guide, a router, a 1/2-inch round-nose or core-box bit, a straight bit or trim bit, a drill, and sandpaper from 80 through 220 grit. A random-orbit sander makes the large faces much easier to flatten.
A food-safe cutting board oil and beeswax finish is the simplest choice. Mineral oil is inexpensive and works well; the wax helps slow water loss but is not a substitute for oil. Do not use ordinary varnish, polyurethane, stain, or cooking oils such as olive oil, which can become sticky or rancid.
Prepare and Glue the Blank
Cut your strips slightly longer than the finished board. For a 12-inch width, three strips about 4-1/4 inches wide leave room for trimming. Arrange the grain so the pieces look good together, then mark the top with a triangle or cabinetmaker’s marks. This prevents accidentally flipping a strip during glue-up.
Joint or carefully plane the mating edges until they close tightly without clamps. If you do not own a jointer, a table saw with a sharp blade and a reliable fence can produce usable edges. Test the setup on scrap first. A visible gap along the glue line will not disappear under pressure.
Apply a thin, continuous coat of glue to one edge of each joint. Clamp the assembly on a flat surface, alternating clamps above and below the board to reduce bowing. Tighten until the joints close; excessive pressure can squeeze out too much glue and pull the board into a curve. Wipe away large beads with a damp cloth, but do not flood the joint. Allow the glue to cure according to its label, commonly overnight.
Flatten and Shape the Board
Remove dried glue with a scraper rather than soaking the board. Flatten both faces with a planer, drum sander, or careful sanding. If using a planer, take light passes and alternate faces to reduce stress. A board that is flat before routing will produce a much cleaner groove.
Trim the blank to about 18 by 12 inches. Ease the corners with a 1/4-inch round-over bit, a block plane, or sandpaper. A small radius is more comfortable in the hand and less likely to chip than a sharp corner. Route the edge before the juice groove so the board has a stable, finished outline while you work.
Route the Juice Groove
Mark a line 1 to 1-1/4 inches in from every edge. Use a compass, a shop-made router template, or a straightedge to lay out rounded corners. A juice groove should be about 3/8 inch wide and 1/8 to 3/16 inch deep. Deeper is not automatically better: it removes useful cutting area and can weaken a narrow board.
A 1/2-inch core-box router bit makes a rounded-bottom channel. Set the depth in several passes, beginning around 1/16 inch. Clamp a guide or use a router jig so the distance from the edge stays consistent. Start and stop in a waste area if possible, and move the router against the bit’s rotation for normal climb-free cutting.
Make shallow passes rather than trying to reach full depth immediately. Vacuum between passes and inspect the corners. If the groove wanders, stop and correct the guide; sanding will not hide a badly uneven channel. Keep the groove away from the edge by at least 3/4 inch at its narrowest point.
Sand and Finish
Sand the faces with 80 grit only if there are deep machine marks, then progress through 120, 150, 180, and 220 grit. Do not skip grits to save time. Sand the groove by hand with folded paper or a small abrasive pad. Break every sharp edge, including the bottom perimeter, because sharp corners chip easily and feel unpleasant.
Wipe the board with a slightly damp cloth to raise loose fibers, let it dry, and sand lightly with 220 grit. Apply a generous coat of food-grade mineral oil, including the groove and end grain. Let it soak for several hours, wipe off the excess, and repeat until the surface stops looking dry. Two or three coats are common on a new board.
Finish with a thin layer of board wax if desired. It improves water resistance but will wear away with washing. Never put the board in a dishwasher or leave it submerged. Wash it by hand with warm water and mild soap, dry it upright, and re-oil when the wood looks pale or feels rough. If the board cups, use it less until it fully dries; repeated soaking is the usual cause.
Common Mistakes to Avoid
The most frequent failures are using wet lumber, gluing dirty or gapped edges, routing too deeply, and finishing with an unsafe household coating. A groove that holds standing water is also a design problem. Keep it shallow, maintain a smooth bottom, and inspect it after the first few washes. If a crack opens through a glue line, stop using the board until you determine whether it is a superficial finish crack or a structural split.