What's inside
As an Amazon Associate I earn from qualifying purchases. This post may contain affiliate links at no extra cost to you.
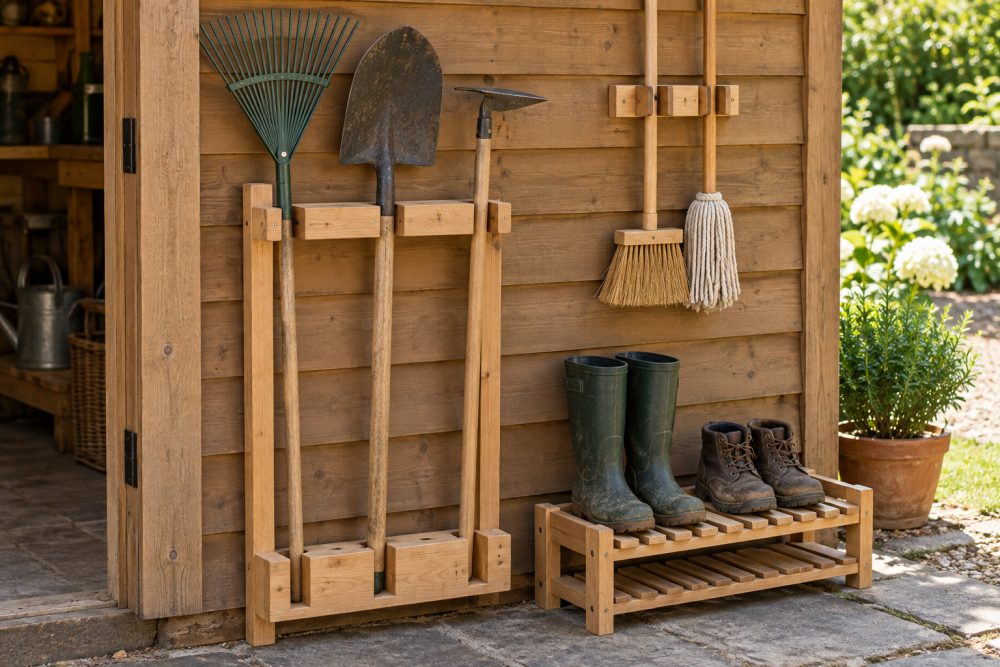
A boot tray catches mud and meltwater; a simple rack keeps wet boots upright so air can reach the lining. This fall project uses common lumber, basic cuts, and a slatted top that drains into a removable tray. It suits a first-time builder with a drill and saw, and takes about two to three hours before finish drying time.
Contents
Plan and dimensions
The rack below measures about 30 inches long, 14 inches wide, and 6 inches high. It holds three or four pairs of adult boots, depending on their size. The slatted surface sits over a shallow plastic boot tray, which catches water without making the wood itself the water barrier.
Measure your tray before cutting. Leave roughly ½ inch of clearance on each side so it slides in and out without binding. If your tray is 28 by 12 inches, for example, make the rack’s inside opening about 29 by 13 inches. A tray with a raised lip may need more clearance than a flat one.
Materials and tools
For a rack around the dimensions above, gather two 1-by-3 boards for the long rails, two for the ends, four short legs, and five or six 1-by-2 slats. Actual board sizes are smaller than their names: a 1-by-3 is typically ¾ by 2½ inches. Use untreated, dry lumber. Cedar resists moisture well, but ordinary pine is cheaper and adequate if the rack stays indoors and the tray catches drips.
You’ll also need exterior-rated wood screws about 1¼ inches long, wood glue, sandpaper, and a finish suitable for damp indoor use. A plastic boot tray is the practical choice for containing water; it is easier to clean than a lined wooden pan and can be replaced if it cracks.
Use a tape measure, square, drill/driver, and saw. A miter saw makes repeat cuts quick, but a handsaw works fine. A pair of bar clamps helps hold the frame square during assembly, though careful layout and a helper can do the job without them.
Choose the wood
| Material | Advantages | Trade-offs |
|---|---|---|
| Pine | Low cost, easy to cut and drill | Dents more easily; needs a sound finish and prompt cleanup of spills |
| Cedar | Lightweight and naturally more moisture resistant | Costs more and can split near board ends if screws are driven without pilot holes |
| Pressure-treated lumber | Made for outdoor exposure | Usually unnecessary indoors; can be rough, damp, or unpleasant to handle for a small entryway project |
For a covered entry or mudroom, pine is usually the sensible budget option. Cedar is worth considering if the rack will see repeated damp conditions, but neither species should sit in standing water. The tray—not the wood choice—is the main defense against leaks.
Cut list and layout
For a 30-by-14-inch outside frame, cut two long rails to 30 inches and two end rails to 12½ inches. The end rails fit between the long rails, giving an outside width of 14 inches. Cut four legs to 6 inches. Cut five or six slats to 12½ inches, matching the distance between the long rails.
Dry-fit the frame around the tray before fastening. Check that the tray can be lifted out, then mark the slat positions evenly across the length, leaving gaps of about ¾ to 1 inch. Wider gaps improve airflow but can let boot heels catch; closer slats support smaller footwear but may hold more dirt.
Assemble the rack
1. Sand the cut edges lightly and mark the screw locations. At each frame corner, use two screws through the long rail into the end rail. Drill pilot holes first, especially in cedar or near board ends; skipping them can split the wood.
2. Check the frame for square by measuring both diagonals. If they match, the frame is square. If one is longer, nudge the opposite corners until the measurements agree, then drive the screws snugly. Avoid overtightening, which can strip the wood or pull the joint out of alignment.
3. Attach one leg at each corner, flush with the frame’s outside edges. Drive two screws through the frame into each leg. Place the rack on a flat floor and check for rocking. If it wobbles, identify the high leg and trim or sand its bottom rather than trying to correct the problem with uneven slats.
4. Lay the slats across the frame, with their ends resting on the long rails. Keep the gaps consistent using a spacer scrap, then attach each end with one screw. A dab of glue can reduce squeaks, but screws alone make a slat easier to replace if it splits later.
Finish and use
Round sharp corners with sandpaper and smooth all edges that might snag a boot. Apply two thin coats of a water-resistant interior finish, following the label’s drying times; a thick coat can stay tacky and collect grit. A water-based polyurethane finish is a straightforward option for indoor use. Keep the rack out of service until the finish has fully cured, not merely until it feels dry.
Set the tray beneath the slats and test it with wet boots before placing the rack against a wall. If water misses the tray, adjust the tray position or widen it; don’t rely on the finish to protect the floor. Empty and wipe the tray regularly, and check the screws after the first few weeks. If the rack is used outdoors, exposed weather and standing water will shorten its life; a covered, ventilated spot is a better location.