What's inside
As an Amazon Associate I earn from qualifying purchases. This post may contain affiliate links at no extra cost to you.
A shade sail looks light, but a taut sail acts like a large wing in gusty weather. The corner posts can be pulled sideways and twisted, especially when the sail is angled. A buried timber post with a well-braced base is suitable for a small domestic sail, but only if the post, footing, fasteners, and surrounding ground are treated as one structure.
Contents
Before you build
This guide suits a small to medium shade sail, roughly 10 by 12 feet or smaller, installed in firm soil. Check local rules before digging. Some areas require permits for permanent shade structures, and underground utility lines must be located first.
Do not attach the sail to a weak fence, fascia board, deck railing, or single tree branch. Those fixing points can fail before the post does. Plan for a 10 to 15 degree fall between corners so rainwater does not collect in the fabric. Alternating high and low corners gives better tension and a more attractive shape than four corners at one height.
For timber, use pressure-treated structural lumber rated for ground contact. A 6×6 post is a sensible minimum for most small sails; a 4×4 may be adequate only for a short post, small sail, and sheltered location. If the exposed post is more than 8 feet tall, or the site is windy, move up to larger timber or use steel posts and an engineered footing.
Materials and tools
You will need one post per sail corner, concrete, gravel, structural screws or hot-dip galvanized through-bolts, diagonal braces, a post level, shovel or auger, drill, wrench, tape measure, and a ladder. A ground-contact pressure-treated 6×6 post is the usual starting point.
Use exterior-rated hardware. Standard bright drywall screws are not structural and can snap or corrode. For connections, 1/2-inch galvanized bolts with washers are preferable to screws where the joint carries a large load. Use two bolts at each major connection, spaced vertically, rather than one bolt that allows the brace to rotate.
For diagonal bracing, use 2×6 or 4×4 treated timber. A 2×6 brace is easier to handle and strong enough for many small installations when it is properly bolted. Buy extra gravel for drainage and a post cap or sloped top treatment to limit water absorption into end grain.
| Option | Best use | Advantages | Drawbacks |
|---|---|---|---|
| 6×6 timber in concrete | Small residential sail | Affordable, easy to source, simple to repair | Can rot at the ground line; requires careful bracing |
| Timber post with two diagonal braces | Moderate wind or taller posts | Much less sway and twisting | Uses more space and needs more hardware |
| Steel post with engineered footing | Large sail, exposed site, permanent build | Higher strength and durability | More expensive and less forgiving to install |
Set out the post and base
Mark each post location from the sail’s actual corner rings, not just its fabric dimensions. Allow room for the tensioner, typically 12 to 24 inches between the sail corner and the post fixing point. A 10-foot sail may therefore need posts set farther apart than 10 feet.
Dig each footing at least 30 inches deep in ordinary soil, with a wider hole at the bottom if practical. In cold climates, footings usually need to extend below the local frost line to avoid seasonal movement. A common starting size is a 12-inch-diameter hole, but poor soil, tall posts, large sails, and high wind call for a larger engineered footing.
Put 4 to 6 inches of compacted gravel in the bottom. Cut the post long enough to provide the required exposed height plus the buried section. Treat any cut end with a compatible end-cut preservative. Keeping the timber completely above concrete is better for longevity, but it requires a suitable standoff post base and a properly designed concrete pier.
Install and brace the timber
Set the post in the hole and temporarily brace it in two directions with scrap timber. Check plumb on adjacent faces. Mix concrete according to the bag instructions; overly wet concrete is easier to pour but weaker and more prone to shrinkage. Fill around the post, rod the mix to remove voids, and slope the top of the concrete away from the timber.
Do not attach the shade sail while the concrete is green. Wait at least 48 hours for a small post in mild weather, and longer if the mix label specifies it. Full strength develops over about 28 days. The temporary braces must remain in place while the concrete cures.
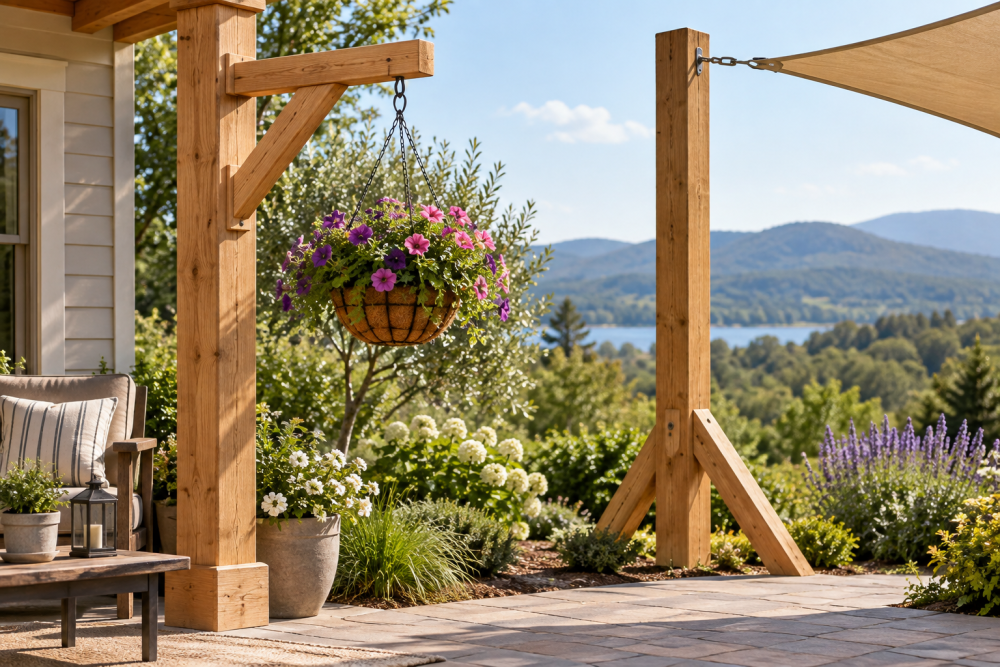
Install permanent diagonal braces from the post to ground-level anchors or a second timber frame. A practical arrangement is two braces on adjacent faces, each meeting the post about one-third of the way down from the sail connection. Cut the brace ends with flat bearing surfaces. Bolt them through the post with washers, and fasten their lower ends to concrete-set anchors or buried, well-braced timber—not just short screws into soil.
For a corner that still moves, add a third brace or build a triangular frame between neighboring posts. The goal is to stop sideways movement, not merely to make the assembly look substantial. If the braces flex when you push the post by hand, they are too small, too long, or poorly connected.
Attach and tension the sail
Install a stainless or galvanized shade sail tension hardware kit at each corner. A turnbuckle or ratchet-style tensioner makes adjustment easier than tying the fabric directly to an eye bolt. Use rated eye bolts or through-bolts passing through the post; small screw-in eye hooks can pull out.
Tension the sail until the fabric is smooth, but do not pull it drum-tight. Excessive tension increases loads on the posts and can tear the corner reinforcement. Inspect the sail after the first windy day and retighten only if it has visibly sagged. A sail left installed through winter storms may need to be removed seasonally, particularly in regions with snow, ice, or hurricanes.
Inspect for failure
Check the ground line for soft timber, cracking concrete, and water trapped against the post. Look for elongated bolt holes, split braces, rusting hardware, and fabric stitching that is beginning to pull apart. A post that leans more than it did at installation is a warning, not a cosmetic issue.
If the base rocks, the concrete has lifted, or a brace connection is splitting, remove the sail immediately and repair the structure before reuse. The cheaper timber option is fine for a modest, sheltered sail when you can inspect it each season. It is not the economical choice for a large sail in open, windy ground; in that situation, a larger footing or professionally designed steel post will cost less than replacing a failed structure.