What's inside
As an Amazon Associate I earn from qualifying purchases. This post may contain affiliate links at no extra cost to you.
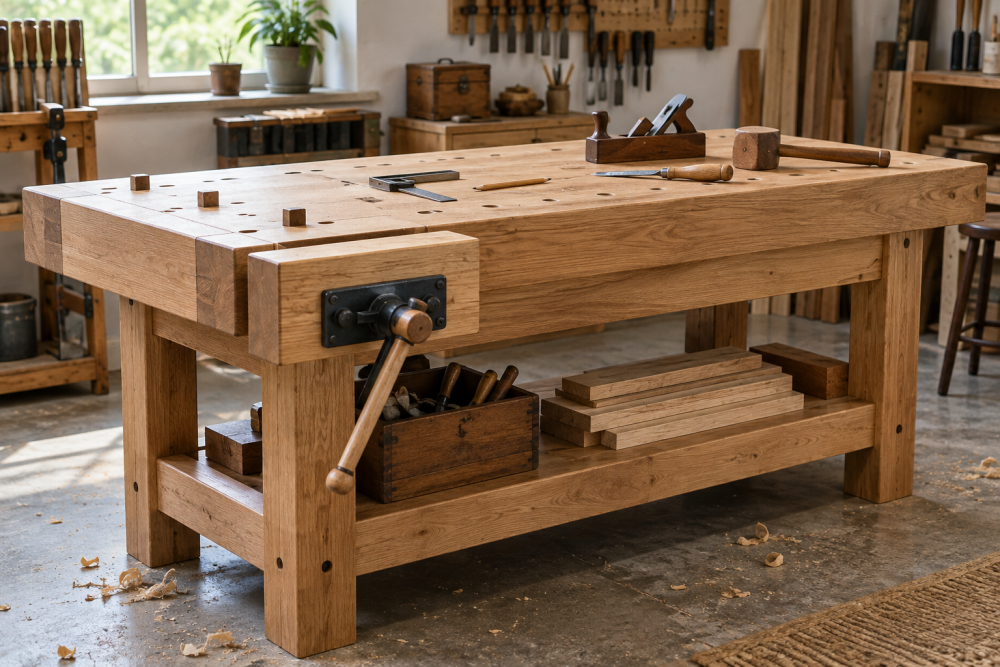
A compact workbench can do useful cabinet, repair, and hand-tool work without taking over a garage. This design has a roughly 48-by-24-inch top, a front vise, and a shallow tool well along the back. It is heavy enough to resist racking, but small enough to move with help. Allow a weekend for building and fitting the vise; finishing can take an extra day.
Contents
Dimensions and layout
Build the bench about 34 inches high, adjusting that figure to suit your height and the work you do. A useful starting point is elbow height minus 3 to 4 inches for hand-planing, or closer to elbow height for assembly and detail work. The top is 48 inches long, 24 inches deep, and about 2 inches thick. Set the tool well at the rear, roughly 4 inches wide and 1½ inches deep. That leaves a 20-inch-deep main work surface.
Plan the vise at the front-left corner if you are right-handed, or front-right if you are left-handed. Keep the jaw flush with the bench’s front edge. Check the vise’s mounting pattern before cutting or drilling; vise hardware varies, and the manufacturer’s instructions take precedence over these general dimensions.
Materials and tools
Use kiln-dried construction lumber for the base and a flat, stable top. Two layers of ¾-inch plywood make an economical top; hardwood strips or solid boards are easier to repair and pleasant to work, but cost more and can move with changes in humidity. Avoid warped stock and boards with loose knots at joints.
For a straightforward build, gather three 2-by-4s for the base, enough ¾-inch plywood for two 48-by-24-inch layers, screws, wood glue, and the vise. A woodworking bench vise is designed to grip wood without the narrow, aggressive faces common on metalworking vises. A metalworking vise can still be used with wooden jaw liners, but its weight and mounting arrangement may not suit a light bench.
You’ll also need a saw, drill, square, clamps, and a straightedge. A set of bar clamps helps hold the laminated top while the glue cures. If you have no clamps, screws can pull the layers together, but fill the pilot holes only after confirming the top is flat.
Choose a top and vise setup
| Top option | Advantages | Trade-offs |
|---|---|---|
| Two layers of ¾-inch plywood | Affordable, quick to assemble, relatively stable | Edges need covering; surface may dent or wear through |
| Solid laminated boards | Can be resurfaced; traditional feel and good screw-holding | More milling and glue-up work; seasonal movement is possible |
| One thick solid slab | Simple if already flat and available | Heavy, expensive, and difficult to flatten without suitable tools |
For a first small bench, plywood is a sensible choice, especially if the bench will mostly support assembly, sharpening, or light handwork. Add a replaceable hardboard skin if you expect glue spills or rough treatment. For frequent planing, prioritize mass and a flat, solid surface; a light top can shift even when the base is well built.
Build the base
Cut four legs to the height needed to reach your target bench height after adding the top. With a 1½-inch plywood top and a 34-inch finished height, make the legs about 32½ inches long. Build two end frames from the legs and 2-by-4 rails, setting the lower rails 5 to 7 inches above the floor to leave room for a foot. Use glue and two structural screws at each rail-to-leg joint, predrilling near board ends to reduce splitting.
Join the end frames with front and rear stretchers. Check the base for square by measuring diagonals; they should match within about ⅛ inch. Add a lower shelf from plywood or boards. It adds useful storage and helps the bench resist racking, but leave space for your feet. If the bench will be moved often, fit locking casters rated for the combined bench, tool, and workpiece weight. Ordinary small casters make the bench less stable under hand-planing loads.
Make the top and tool well
Cut two plywood panels to 48 by 24 inches. Spread a thin, even coat of glue over one panel, align the second on top, and clamp from the center outward. If using screws as temporary clamping pressure, place them away from the future vise and tool-well cuts. Check for flatness before the glue sets; a twisted top is difficult to correct afterward.
Cut the well opening along the back, leaving a 3-inch rear rim and a 1-inch lip at each end. A 4-inch-wide, 36-inch-long opening is a practical starting point. Saw through the top layers and install a shallow tray or plywood bottom beneath the opening, supported by cleats. A removable bottom is easier to clean than a sealed cavity. The well keeps pencils and small tools close, but it also collects shavings and can trap a workpiece’s edge, so keep it covered when you need the full surface.
Install the vise
Place the vise so its fixed jaw is flush with the front edge and its mounting hardware clears the legs and stretchers. Clamp it in position, mark the holes, and drill squarely. Use the supplied bolts or appropriate machine bolts with washers; do not rely on wood screws for a vise that will take repeated clamping force. If the top is plywood, add a hardwood or plywood backing block under the mounting area to spread the load.
Open and close the vise before final tightening. The moving jaw should travel freely without rubbing the leg or apron. If the jaws do not meet evenly, shim behind one mounting point rather than forcing the vise tight. A bench dog kit can extend the vise’s usefulness for holding wide boards, but drill dog holes only after the vise is installed and you have confirmed the holes will miss its screw and hardware.
Finish and check the bench
Ease sharp top edges with sandpaper, then apply a light coat of oil or a clear finish. Avoid a thick, glossy film: it can make parts slide and may chip under clamps. Before use, push hard on each corner and rack the frame by hand. Tighten loose joints and add diagonal bracing or a plywood back panel if it sways.
Test the vise on scrap before clamping finished work. If the bench lifts or moves during planing, bolt it to the floor or add weight to the lower shelf. Recheck fasteners after a few days of use; wood joints can settle, and a loose vise bolt is easier to correct before it enlarges its hole.