What's inside
As an Amazon Associate I earn from qualifying purchases. This post may contain affiliate links at no extra cost to you.
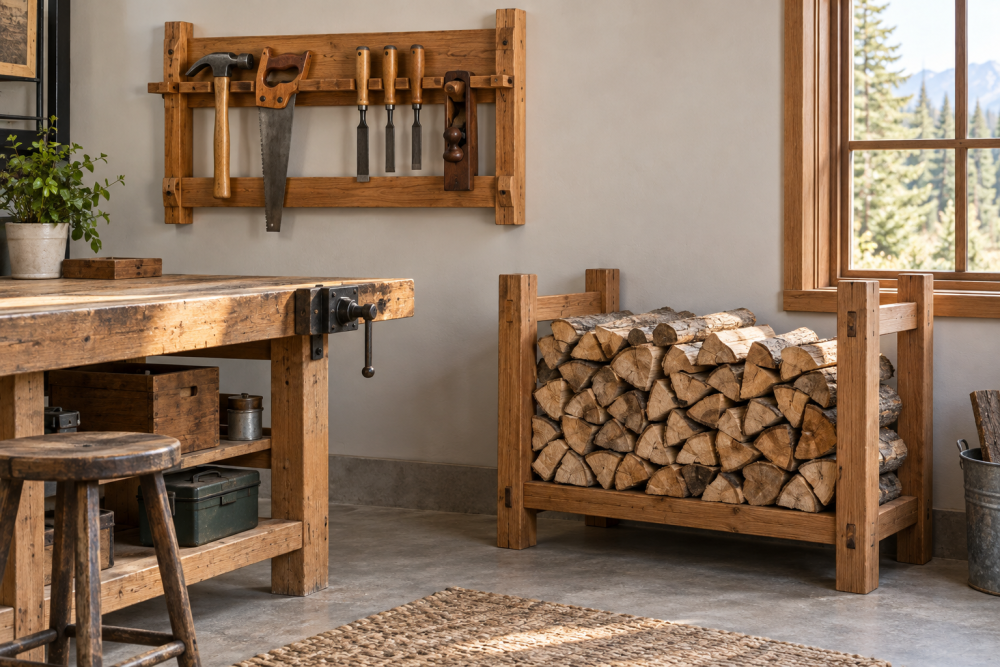
A wooden indoor firewood holder keeps logs off the floor, limits bark and dirt, and makes it easier to carry a few days’ supply from an outdoor stack. The raised base is the important detail: wood sitting directly on the floor can trap moisture, scratch flooring, and leave a damp, dirty rectangle behind.
This project is suitable for a confident beginner. It uses straight cuts, pocket screws or basic butt joints, and inexpensive lumber. The finished holder below is about 24 inches wide, 16 inches deep, and 18 inches high—large enough for a practical indoor load without becoming too heavy to move.
Contents
Plan the Size and Materials
Measure the space beside your stove before cutting. Leave at least 4 inches between the holder and a stove or fireplace unless your appliance manual specifies a greater clearance. Never place a wood rack where sparks, radiant heat, or an open door can reach it.
| Part | Quantity | Suggested material | Finished size |
|---|---|---|---|
| Long side rails | 2 | 1×6 board | 24 inches |
| Short end rails | 2 | 1×6 board | 13 inches |
| Base slats | 3 | 1×4 board | 13 inches |
| Feet or risers | 4 | 2×2 lumber | 3 inches |
These dimensions allow the end rails to fit between the 24-inch side rails. Standard 1x lumber is actually about 3/4 inch thick, so the holder will be roughly 14 1/2 inches deep overall. Buy straight, dry boards with no loose knots near the screw locations. A wood moisture meter is useful if you are bringing logs indoors regularly; firewood below about 20 percent moisture burns more cleanly, while freshly cut wood can add substantial moisture to the room.
You will also need 1 1/4-inch exterior-rated screws, wood glue, sandpaper, a drill, a countersink bit, a square, and a saw. Pocket-hole screws make assembly easier, but ordinary screws through the side rails work if you drill pilot holes carefully. For a holder that will sit on finished flooring, add thin rubber or felt pads under the feet.
Cut and Prepare the Pieces
Cut the two side rails to 24 inches and the two end rails to 13 inches. Cut three base slats to 13 inches. Cut four 3-inch sections from straight 2×2 stock for the feet. The feet raise the bottom slats about 2 1/2 inches above the floor after the 3/4-inch base boards are installed.
Mark each piece as you cut it. Small differences in length can make a box-shaped rack twist, so check the ends with a square. Sand all faces with 120-grit paper, then use 180-grit on the surfaces that will be visible. Round over sharp corners lightly; a full router treatment is unnecessary, and sharp corners are a common source of snagged clothing and chipped finish.
Assemble the Raised Frame
Set the two side rails parallel to each other, standing on their edges. Position an end rail between them at each end. Apply a thin bead of glue to the mating edges, drill pilot holes, and drive two screws through each side rail into each end rail. Keep the top edges flush.
Before the glue sets, measure both diagonals of the frame. If the measurements differ by more than 1/8 inch, push the longer diagonal inward until the frame is square. Wipe away squeezed-out glue with a damp cloth. A rack that is slightly out of square may still hold wood, but its base slats will fit poorly and it can rock on the floor.
Attach one 3-inch foot beneath each corner. Center each foot under the side-to-end rail joint rather than placing it only under a thin board edge. Use glue and two screws per foot, with the screw heads countersunk. If your floor is uneven, use adjustable furniture feet instead of fixed blocks; they cost more but stop a loaded rack from rocking.
Install the Slatted Base
Turn the frame upside down and place the three 13-inch base slats across the end rails. Space them evenly, leaving about 1/2 inch between slats. The gaps let air circulate and allow bark and small debris to fall through instead of collecting against damp logs.
Check that the slats do not extend beyond the frame. Glue is optional here because seasonal changes can make a solid glued panel split. Drill two pilot holes at each end of every slat and fasten them to the end rails with 1 1/4-inch screws. If the holder will carry very heavy hardwood logs, use four base slats or substitute a continuous plywood base with several 1-inch ventilation holes.
Do not make the base completely solid without ventilation. A sealed base can hold condensation under the logs, particularly when cold firewood is brought into a warm room. The raised, open design is cheaper and performs better for normal indoor storage.
Sand, Finish, and Test the Holder
Fill visible screw holes if you want a furniture-like appearance, then sand the assembled rack with 180-grit paper. For a simple finish, apply two thin coats of water-based polyurethane, sanding lightly between coats. It dries faster and has less odor than many oil finishes. If the rack will only be used in a utility room, a penetrating wood oil is adequate and easier to refresh, but it offers less protection from muddy or wet logs.
Allow the finish to cure fully before bringing the rack indoors. Put felt or rubber pads under all four feet and load the rack gradually. Check for flexing, loose screws, and rocking. A properly assembled holder should carry roughly 50 to 75 pounds, depending on the lumber and joinery. Do not stack logs above the side rails; a high, unstable pile can roll onto the floor or toward the appliance.
When Buying a Rack Makes More Sense
Build this holder when you want a specific width, matching woodwork, or a rack that can be repaired. Buy one when you need a metal frame near a high-heat appliance, have no safe cutting area, or need a covered outdoor-to-indoor carrier. A wooden indoor firewood holder is fine for a dry room, but inspect its feet and base ventilation before buying.
For a simple build, inexpensive pine is sufficient. Hardwood costs more and resists dents, but it does not make wet firewood safe to store indoors. Keep only a few days’ supply inside, remove visibly moldy or insect-infested logs, and sweep debris from beneath the rack regularly. If you need a mat under it, compare fireplace hearth floor protector mats by heat rating and size rather than appearance alone.