What's inside
As an Amazon Associate I earn from qualifying purchases. This post may contain affiliate links at no extra cost to you.
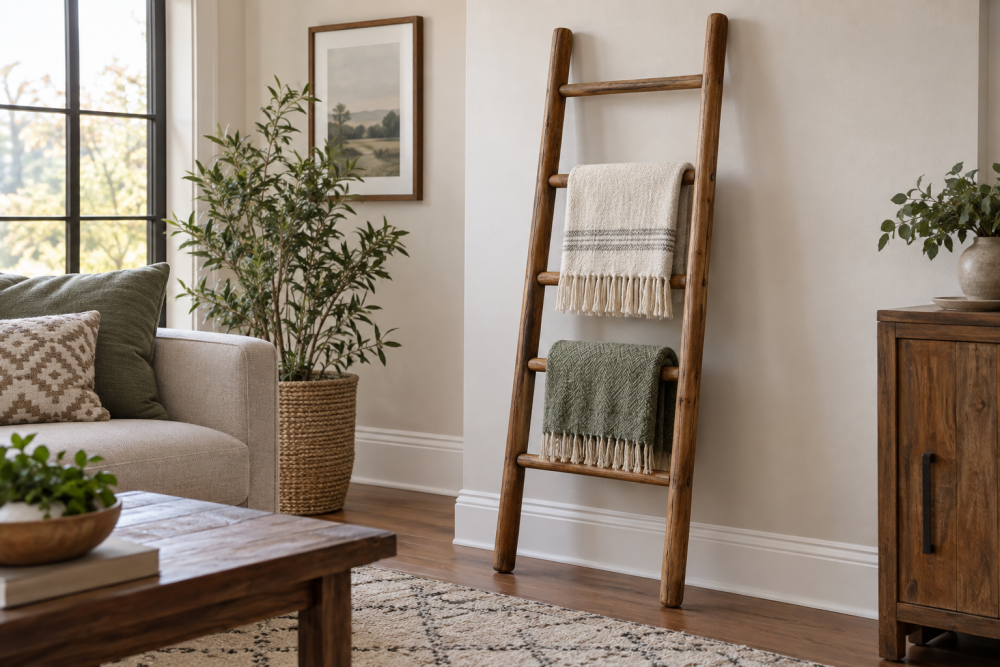
An indoor clothes-drying ladder is a simple weekend woodworking project: two long side rails joined by several dowels, with a finish that can tolerate damp laundry and occasional drips. It leans against a wall when in use and stores flat when the weather improves. The design below is sized for a typical laundry room, bathroom, or apartment, but you can shorten it for a tighter space.
Contents
Project overview
This ladder is best treated as a drying rack, not a climbing ladder. The recommended finished size is about 60 inches tall, 18 inches wide, and 3 inches deep at the rails. Six rungs provide enough hanging space for shirts, towels, and small items without making the ladder excessively heavy.
| Feature | Recommended choice | Why it matters |
|---|---|---|
| Skill level | Beginner to intermediate | Requires accurate drilling and basic edge treatment |
| Wood | Clear pine, poplar, or straight-grained hardwood | Affordable options work if they are dry and free of major knots |
| Finished size | 60 inches tall by 18 inches wide | Fits most rooms while holding several garments |
| Expected load | About 20 to 25 pounds, spread across the rungs | Wet laundry is much heavier than dry clothing |
| Estimated time | 4 to 6 hours, plus finish-drying time | Most of the time goes into sanding and finishing |
Materials and tools
Buy two 1-by-3 boards, each 6 feet long, for the side rails. The actual size of standard 1-by-3 lumber is about 3/4 by 2-1/2 inches. Also buy six 1-inch-diameter hardwood dowels, each at least 24 inches long. Hardwood dowel is less likely to dent or sag than a soft pine dowel.
You will need wood glue, 120- and 180-grit sandpaper, a tape measure, square, pencil, drill, a 1-inch Forstner or brad-point bit, clamps, and a saw. A 1-inch Forstner bit makes cleaner, flatter-bottomed holes than a standard twist bit. A drill press is helpful but not required.
For the finish, water-based polyurethane is the practical choice for most homes. It dries faster and smells less than oil-based varnish. If you prefer a natural appearance, use a hardwax oil, but it generally offers less protection against standing water and requires more maintenance. You can compare water-based wood finish options before buying.
Cutting list and layout
Cut both side rails to 60 inches. Cut six rungs to 16-1/2 inches. This length leaves roughly 3/4 inch of rung entering each rail while keeping the outside width near 18 inches.
Mark the rung centers on one rail at 8, 17, 26, 35, 44, and 53 inches from the bottom. The 9-inch spacing works for shirts, towels, and trousers. If you plan to hang bulky sweaters, increase the spacing to 11 inches and use five rungs instead.
Transfer the marks carefully to the second rail. The holes must line up; even a small mismatch can twist the frame. Use a square to draw a short cross-line at every mark. Mark the inside face of each rail so the holes are drilled from matching sides.
Drill and assemble the ladder
Clamp each rail securely to a workbench. Drill six holes in each rail, centered across the 2-1/2-inch width. For a clean joint, drill about 3/4 inch deep in each rail. Put masking tape on the bit as a depth stop, or use the drill press depth stop. Do not drill through the rails; exposed holes on the outside collect moisture and look unfinished.
Test-fit every rung before applying glue. If a dowel will not enter by hand with firm pressure, lightly sand its end. Do not force it with a hammer. A tight dowel can split a pine rail, especially near the edge. If a joint is loose, use a thin shim of wood or replace the rung rather than relying on a large amount of glue.
Apply glue inside the holes and to the ends of the dowels. Assemble the rails and rungs on a flat surface. Check that the ladder is square by measuring diagonally from corner to corner; the two measurements should be within about 1/8 inch. Clamp across the rails, using scrap blocks to prevent dents. Wipe away squeeze-out with a damp cloth, then leave the assembly clamped for at least 30 minutes and undisturbed for several hours.
Sand and finish
Once the glue is fully dry, sand the rails and rungs with 120-grit paper, followed by 180-grit. Ease every corner with two or three light sanding passes. Sharp corners are uncomfortable against walls and can snag clothing. Pay special attention to the rung ends and any glue residue, because finish will highlight those defects.
Apply two or three thin coats of water-based polyurethane. Sand lightly with 220-grit paper between coats if the surface feels rough. Keep the ladder horizontal while finishing so runs do not collect at the lower ends of the rails. Let the final coat cure according to the label before bringing damp laundry into contact with it; “dry to the touch” is not the same as fully cured.
Placement and safe use
Attach four small rubber or felt pads to the bottom ends and the wall-contact areas. They reduce slipping, protect paint, and leave an air gap behind the ladder. Keep the ladder on a level floor and lean it against a solid wall, not a loose door or thin partition.
Never stand on the rungs. Wet towels and jeans can weigh several pounds each, so distribute heavy items rather than loading one rung. If the rails flex noticeably, a rung loosens, or the ladder slides when lightly pulled, unload it and repair the problem before using it again. A small wall anchor or hook can hold the top in place if the room has children, pets, or a busy walkway.
Wood choice and seasonal trade-offs
Clear pine is the cheapest sensible option and is fine for a lightly used winter drying rack. Its softer surface dents easily, and knots can make drilling unpredictable. Poplar costs more but paints smoothly and is usually more consistent. Oak or maple costs more still, adds weight, and makes sense when the ladder will be used year-round or moved frequently.
During humid summer weather, leave space around the ladder and avoid storing it damp against a wall. In winter, it can help reduce dryer use, but indoor humidity may rise quickly in a small room. Open a window or run the bathroom exhaust fan when possible. The finish protects the wood from brief dampness; it does not make the ladder suitable for constant soaking.