What's inside
As an Amazon Associate I earn from qualifying purchases. This post may contain affiliate links at no extra cost to you.
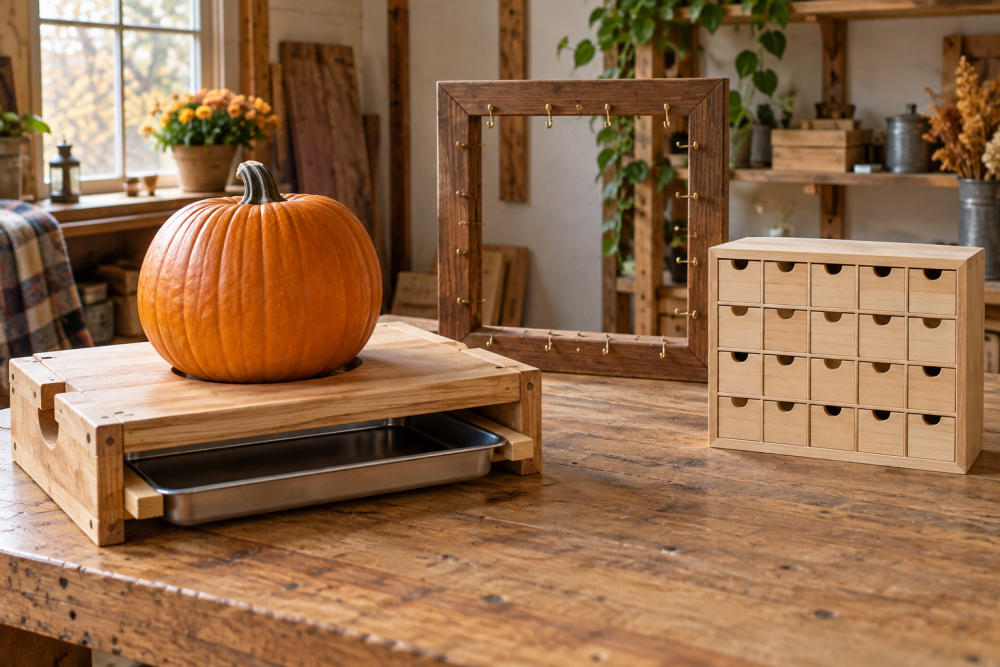
A carving station keeps pumpkin guts off the floor and gives you a steady place to work. This simple bench-height version uses common lumber, a removable bucket, and a sloped catch tray. It is sized for one adult or older child; adjust the height if your household needs a different fit.
Contents
Dimensions and design
The finished station is about 30 inches wide, 24 inches deep, and 34 inches tall. The top has a 12-by-14-inch opening over a bucket. A shallow tray around the opening catches seeds and strings that miss. The top and tray are removable for cleaning, and the bucket lifts out from underneath.
Use exterior-rated plywood or ordinary construction lumber if the station will stay indoors and be stored dry. Pumpkin juice is wet and acidic, so seal the wood before use and wipe it down afterward. This is a seasonal work surface, not a food-preparation counter.
Materials and tools
- One 2-by-4-foot sheet of 3/4-inch exterior plywood for the top, tray, and shelf
- Four 2-by-2s, each 8 feet long, for legs and rails
- One 5-gallon bucket, about 12 inches across at the rim
- Wood screws: 1-1/4-inch and 2-1/2-inch, plus four corner braces or scrap blocks
- Water-resistant glue, sandpaper, and a water-based exterior or porch-and-floor finish
- A drill/driver, circular saw or jigsaw, tape measure, square, and clamps
A 5-gallon utility bucket is inexpensive and easy to replace. A round bucket is less fussy than building a custom box, but check its rim diameter before cutting the opening. A jigsaw is useful for the opening; a handsaw can do the straight cuts if you do not own a circular saw.
Cut list
Cut the plywood into a 30-by-24-inch top, a 30-by-8-inch rear tray wall, two 24-by-4-inch side tray walls, and a 20-by-20-inch bucket shelf. From the 2-by-2s, cut four 33-inch legs, two 27-inch front and back rails, and two 21-inch side rails. The rail lengths assume the frame is built between the legs; check your actual stock dimensions before cutting.
Use the offcuts to make four triangular corner blocks, roughly 4 inches on each side. These stiffen the frame without adding much weight. Wear eye protection when cutting, and support plywood near the cut so the waste piece cannot pinch the blade.
Build the frame
Lay two legs on a flat surface. Fit a 27-inch rail between them, with its top edge 2 inches below the top of the legs. Glue the joint, drill pilot holes, and drive two 2-1/2-inch screws through each leg into the rail. Repeat for the opposite pair, then join the sides with the 21-inch rails. Keep the frame square by measuring diagonally between opposite corners; the two measurements should match within about 1/8 inch.
Fasten the corner blocks inside the frame. Mount the plywood shelf roughly 10 inches above the floor, leaving enough room beneath it for the bucket to slide out. If you expect children to lean heavily on the station, add a cross rail under the shelf; the extra support is worth the small increase in build time.
Make the top and catcher
Mark a 12-by-14-inch rectangle in the center of the top. Before cutting, set the bucket under the mark and confirm its rim will sit below the plywood rather than snagging the cut edge. Drill a starter hole inside one corner, cut with a jigsaw, and sand the opening smooth. Keep at least 7 inches of plywood at the front and sides so the remaining top does not flex easily.
Attach the tray walls around the top’s back and sides with glue and 1-1/4-inch screws. Leave the front open so scraps can be swept into the bucket. To encourage scraps toward the opening, shim the rear edge of the top about 1/2 inch higher than the front. Check that the bucket still fits beneath the hole. If the slope is too steep, wet seeds will run off; a slight tilt is enough.
Choose a catcher setup
| Setup | Advantages | Trade-offs |
|---|---|---|
| Bucket under an open cutout | Cheap, quick to build, easy to empty | Some stringy scraps may catch on the plywood edge |
| Removable plastic basin on the shelf | Wide opening and easy cleanup | Can shift while scraping; measure before building |
| Fixed plywood box | Can be made to fit the station closely | Holds moisture, takes longer to clean, and is less convenient to remove |
For most families, the bucket is the practical choice. A wide plastic wash basin can be better for large pumpkins, but only if its rim fits the opening and it can still be lifted out. Avoid a fixed wooden catcher: pulp left in corners can sour and stain the grain.
Finish and test the station
Sand the top and tray walls to 120 grit, rounding sharp corners. Apply two thin coats of water-resistant finish, following the label’s drying times. Let the finish cure fully before carving; a surface that feels dry may still transfer odor or tackiness. Do not use a finish that is not intended for a work surface likely to get wet.
Set the top on the rails and secure it with four screws from below, or use removable clips if you want easier cleanup. Put the bucket on the shelf, then press down on each corner of the top. If it rocks, shim the frame or add a screw; wobble can make carving tools slip. Test the opening with a handful of leaves or paper scraps before using a pumpkin. Confirm debris drops cleanly into the bucket and the bucket can be removed without lifting the station.
Use and storage
Place the station on a level floor, keep knives pointed away from the body, and have children carve only with direct adult supervision. Empty the bucket before it becomes heavy; a full bucket of wet pulp is awkward and can pull the shelf loose. After carving, remove the bucket and top, scrape off residue, wash with mild soap, and dry all parts before storing. If the finish is scratched through, sand the spot lightly and reseal it before the next season.