What's inside
As an Amazon Associate I earn from qualifying purchases. This post may contain affiliate links at no extra cost to you.
Contents
Planning and Dimensions
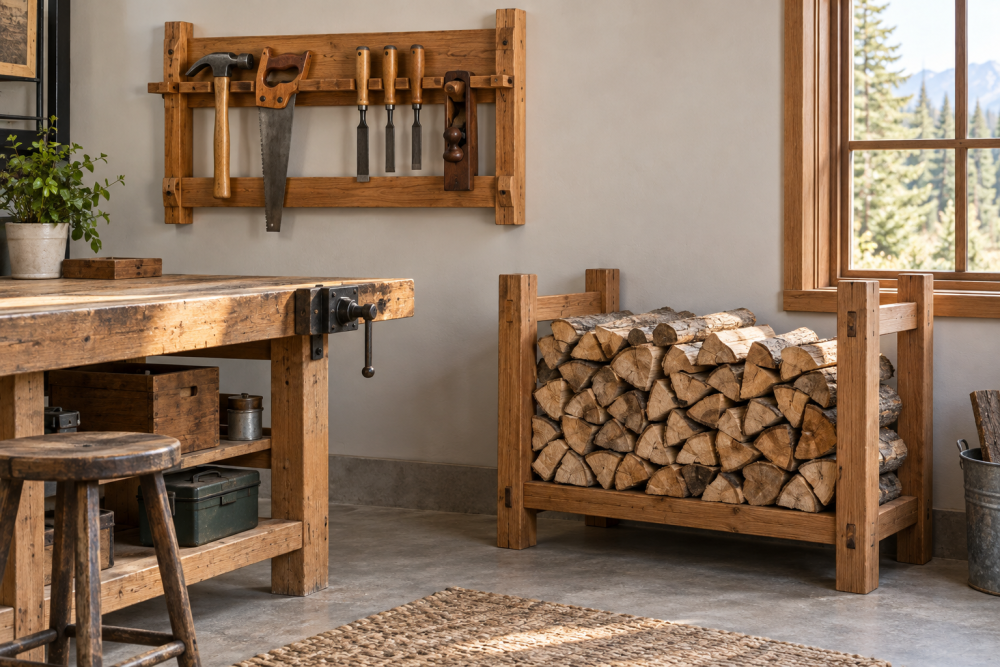
This is a simple, strong project: a wooden cradle that holds firewood off the floor, with metal brackets carrying the load instead of complicated joinery. The wood keeps the look warm, the brackets do the heavy lifting. Build it 30 to 36 inches wide, 16 inches deep, and 18 to 24 inches tall and it will hold enough wood for 2-3 days of burning without dominating a living room or crowding a porch.
Size it to your fireplace. A good rule is to make the holder 4 inches narrower than your hearth or the wall niche where it will sit, and no taller than 24 inches if you plan to stack split oak or hickory. Above that height, a narrow 16-inch-deep holder gets tippy when loaded unevenly. If you need more capacity, go wider (up to 48 inches) rather than taller.
Expect this holder to carry 80 to 120 pounds when full. Dry hardwood runs about 25-30 pounds per cubic foot stacked, so a 32″ x 16″ x 20″ pile is easily 100 pounds. That dictates your bracket choice. Don’t rely on thin decorative shelf brackets rated for 25 pounds each.
Materials and Hardware
For indoor use, kiln-dried 2x4s, 1x6s, or 2x6s in pine or Douglas fir are fine and cheap. For a covered porch or outdoor woodshed, use cedar, white oak, or pressure-treated pine and pair it with coated or stainless hardware. Avoid untreated pine outside. It will wick moisture from concrete and rot at the feet within one season.
You will need four heavy duty steel L-brackets at least 10 inches per leg, 3/16-inch thick steel, with a diagonal gusset. The gusset is what prevents bending. Flat 90-degree brackets without a brace will slowly open up under load. Look for brackets rated for 150+ pounds per pair when mounted into studs or with proper anchors. Four brackets gives you a real-world margin of about 300 pounds total.
For fasteners, use #10 or #12 pan-head wood screws if driving into wood framing, 1-1/4 inch for the bracket-to-wood connection and 2-1/2 inch structural screws for the frame itself. If you mount the holder against a masonry wall, use sleeve anchors instead of plastic plugs. For any outdoor build, switch to exterior coated structural wood screws or stainless. Plain zinc screws will rust and stain the wood in months.
Choosing Wood and Brackets
Not every combination makes sense. This comparison covers the common options for a holder that actually gets used daily:
| Material Combo | Cost | Strength / Durability | Best For |
|---|---|---|---|
| Pine + Powder-Coated Steel Brackets | Low ($35-$55) | Good indoors, dents easily, will warp if wet | Living room, budget build |
| Douglas Fir + Heavy Steel Brackets | Medium ($50-$75) | Very strong, stiffer than pine, heavier | Large indoor holder (36-48″ wide) |
| Cedar + Black Powder-Coated Brackets | Medium-High ($70-$100) | Naturally rot-resistant, lighter, softer surface | Covered porch or cabin |
| White Oak + Galvanized/ Stainless Brackets | High ($110-$160) | Extremely durable, water resistant, hard to dent | Outdoor or permanent install |
The cheaper pine option is fine if the holder stays dry indoors and you don’t drag logs across it. You don’t need hardwood for strength here because the metal brackets carry the shear load. Spend the extra money on thicker steel and better screws before you upgrade the wood species.
Tools and Cut List
You don’t need a shop full of tools. A miter saw or circular saw with a speed square, a drill/driver, a tape measure, and a 48-inch level will handle the whole build. A random orbit sander makes finishing faster but is optional. If you use a circular saw, clamp a straight edge as a guide to keep the base cuts square. Out-of-square cuts are the main reason these holders rock on hard floors.
Cut list for a 32-inch wide indoor model:
Base: Two 32-inch long 2x4s (front and back rails), Three 14-inch 2x4s (cross stretchers). Top cradle: Two 32-inch 2x4s (upper side rails). Uprights: Four 18-inch 2x4s (vertical legs). Optional slats: Three 32-inch 1x4s for the bottom shelf to keep bark from falling through. Sand all pieces to 120 grit before assembly. Break sharp edges with a light pass so they don’t splinter when you toss wood in.
Step-by-Step Build
Build the rectangular base first. Lay the two 32-inch rails parallel and fit the three 14-inch stretchers between them, one in the center and one 2 inches in from each end. Drive two 2-1/2 inch screws per joint, pre-drilling near ends to avoid splitting. Check for square by measuring diagonals. They should match within 1/16 inch. If they don’t, the brackets will fight you later.
Attach the four uprights. Stand an 18-inch leg vertically at each corner of the base, inside the rails. Fasten with two screws through the base rail into the end grain, plus one toe-screw from the side for rack resistance. Keep the legs plumb. A common failure is leaning legs that make the holder look twisted once loaded.
Mount the brackets. Each corner gets one L-bracket tying the upright to the base rail and upper rail. Position the bracket so its gusset faces inward (hidden) and the top leg sits flush under the 32-inch upper rail. Drill pilot holes for every bracket hole, then drive 1-1/4 inch screws. Don’t substitute shorter screws here. You need at least 1 inch of thread in solid wood. If a bracket hole lands on a knot, shift the bracket 1/2 inch. Screws in knots don’t hold.
Install the upper rails and bottom slats. Set the two 32-inch upper rails between the uprights at 17 inches above the base, secured through the brackets and with one additional screw per upright. Space the 1×4 bottom slats evenly across the base stretchers with a 1/2-inch gap for airflow and debris fall-through. Leave the bottom open if you want easier sweeping underneath.
Do a load test. Place the empty holder on a flat floor. It should not rock. Add 50 pounds of wood, then check each bracket for flex or screw pull-out. If you see the bracket gap open at the bend, your brackets are too light. Replace them rather than adding more screws.
Common Failures and How to Avoid Them
The first failure mode is floor damage. Dragging a loaded holder across tile or hardwood will gouge the finish. Add stick-on felt pads or screw-on furniture glides to the bottom of all four feet, even if it feels stable without them. For outdoor concrete, use flat rubber pads so it doesn’t walk.
The second is moisture rot at the feet. Indoor holders pick up meltwater from snow-covered logs. Seal the end grain on the feet with two coats of polyurethane or spar urethane even if you’re leaving the rest natural. Outdoors, elevate the whole holder on composite shims 1/4 inch off the ground so it never sits in puddles.
The third is splitting at the bracket screws. This happens when you drive large screws too close to the end of a 2×4 without a pilot hole. Always pilot with a 7/64-inch bit for #10 screws, 1/8-inch for #12s, and keep screws at least 3/4 inch from board ends. If you are using hardwood like oak, pilots are non-negotiable.
Finishing and Placement
For indoor use, a natural finish with two coats of water-based polyurethane is durable enough for bark abrasion and easy to clean. If you want color, use an oil-based stain, let it cure 48 hours, then topcoat. Avoid wax-only finishes near a fireplace; they soften with heat and collect soot.
For outdoor or semi-outdoor placement, use spar urethane or exterior penetrating oil. Both tolerate temperature swings better than indoor poly. Reapply annually if the holder gets direct sun. And keep any wooden holder at least 36 inches from the fireplace opening unless the hearth manufacturer specifies otherwise. Radiant heat will dry and crack wood quickly at closer distances and creates a fire hazard if embers jump.
If your holder will sit on carpet, consider adding a thin plywood floor under the slats to catch bark and ash. It adds 10 minutes to the build and saves a lot of vacuuming.