What's inside
As an Amazon Associate I earn from qualifying purchases. This post may contain affiliate links at no extra cost to you.
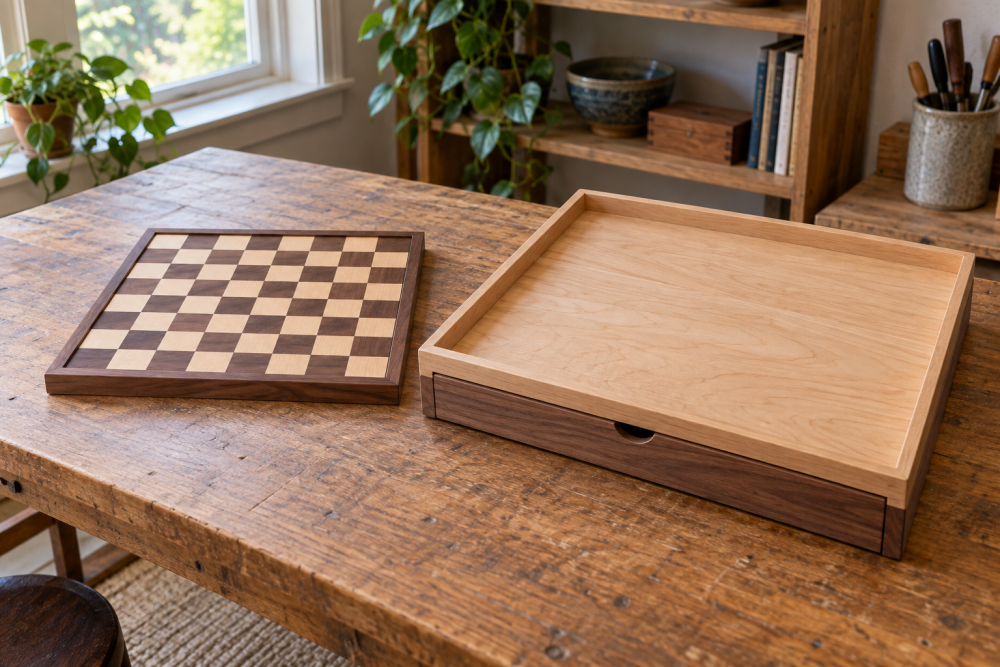
A wooden chessboard can live outdoors if you design it to shed water, use weather-resistant materials, and bring the pieces inside between games. This version has 2-inch squares, a low raised border, and a removable board panel that can dry separately. The border helps keep pieces on the playing surface, but it should not trap rain.
Contents
Size and layout
Eight squares at 2 inches each make a 16-inch playing field. Add a 1½-inch border on each side for an overall board size of 19 by 19 inches. A ¾-inch-thick panel is sturdy without making the board cumbersome. The border should stand about ½ inch above the playing surface: enough to stop a piece sliding off, but low enough to avoid catching hands and sleeves.
Plan for a chess set with a king base no wider than about 1¾ inches. If you have a set already, measure its largest base before cutting. Bigger pieces need larger squares; 2¼-inch squares produce a 18-inch playing field and a 21-inch board with the same border.
Materials and tools
Use rot-resistant lumber for the board and frame. Cedar is light and easy to work; redwood is another suitable choice where available. For the contrasting squares, use two naturally different woods, or use one species and stain one set of squares. A dark outdoor stain is easier to maintain than paint, which can chip at the many square edges. Avoid pressure-treated lumber for the playing surface: it may be wet or unstable when bought, and it is not a pleasant surface for handling game pieces.
You will need enough ¾-inch stock for a 16-inch square panel, plus four pieces for the border. A table saw or circular saw with a guide helps make consistent strips; a miter saw, square, drill, exterior-rated screws, waterproof wood glue, and sanding supplies complete the basic setup. A water-resistant exterior wood glue is useful for the panel, but do not depend on glue alone for the frame joints.
Choose a board material
| Material | Advantages | Trade-offs |
|---|---|---|
| Cedar | Light, easy to cut, naturally durable | Soft surface dents; color varies |
| Redwood | Good outdoor durability and appearance | Can cost more and be harder to find |
| Exterior plywood | Stable and quick to cut as one panel | Edges need sealing; veneer can peel if water gets in |
For a first build, cedar is a sensible compromise. Exterior plywood is acceptable for a covered patio and a tight budget, but seal every edge and inspect it regularly. For a board left in exposed weather, solid rot-resistant wood is the safer choice.
Make the checkerboard panel
Cut eight strips of each color, each 2 inches wide and a little over 16 inches long. Lay them side by side, alternating colors, to form a striped panel. Mark the strips in order before moving them; it is easy to lose the pattern while glue is wet. Spread a thin, even coat of waterproof glue on the edges, clamp the strips flat between cauls, and check that the panel stays square. Do not overtighten the clamps: they can bow the panel or squeeze out nearly all the glue.
After the glue cures according to its label, trim the ends square. Crosscut the panel into eight 2-inch strips. Flip every other strip end-for-end, then reassemble them to make the alternating pattern. Glue and clamp again, checking the grid with a framing square. Once cured, trim the outer edges so the panel measures exactly 16 by 16 inches. Sand lightly; aggressive sanding can blur the joints and round the crisp square edges.
If milling 16 strips feels like too much work, buy a pre-made panel or use a single wood surface with painted squares. That saves time, but paint will need touch-ups sooner where pieces scrape across it.
Build the raised border
Cut two border rails to 19 inches and two to 17½ inches. The shorter rails fit between the longer ones, making a 19-inch outside dimension. Use ¾-inch-thick stock around 1½ inches wide. Dry-fit the frame around the panel before fastening; the panel should sit inside with roughly ⅛ inch of clearance overall. Wood expands and contracts with humidity, and a tight frame can split or buckle the board.
Join the corners with exterior screws driven through pilot holes, or use simple half-lap joints if you have the tools and want a cleaner look. Attach the rails to one another, not tightly to the panel. Small blocks or short cleats fixed to the inside of the frame can support the panel while allowing it to move. Keep a small drainage gap underneath or at a lower edge, and do not caulk the panel into a sealed tray. Trapped water is a common cause of swelling and failed glue joints.
Sand and finish
Break sharp edges with 120-grit paper, then finish with 180 grit. Round the outside corners slightly to reduce splintering. Remove dust before applying a finish intended for exterior wood. A penetrating exterior oil is easy to refresh but may need attention every season; a film-forming varnish can last longer under cover but may peel if water gets beneath it. Follow the product directions for coats and drying time, including on the underside and edges.
Choose a finish that will not make the squares glossy or slippery. Test it on offcuts first, especially if you stain one color. A penetrating exterior wood stain or oil is a practical option for a board that will be stored under cover. Let the finish cure fully before setting pieces on it.
Seasonal care and troubleshooting
Store the board flat under a roof when it is not in use, and bring the chess pieces indoors. Wipe standing water off rather than leaving it to dry in the sun. At the start of each season, check for raised grain, loose corners, peeling finish, and dark spots around joints. Recoat when water no longer beads on the surface, or follow the finish maker’s maintenance schedule.
If the panel cups, first move it somewhere dry and ventilated; do not force it flat with screws. If a square joint opens, remove loose finish and dirt, then repair it only after the wood is dry. A border that holds water needs a drainage gap or a lower opening, not more sealant. These small details determine whether the board remains a usable patio game or becomes a warped panel after its first wet spell.