What's inside
As an Amazon Associate I earn from qualifying purchases. This post may contain affiliate links at no extra cost to you.
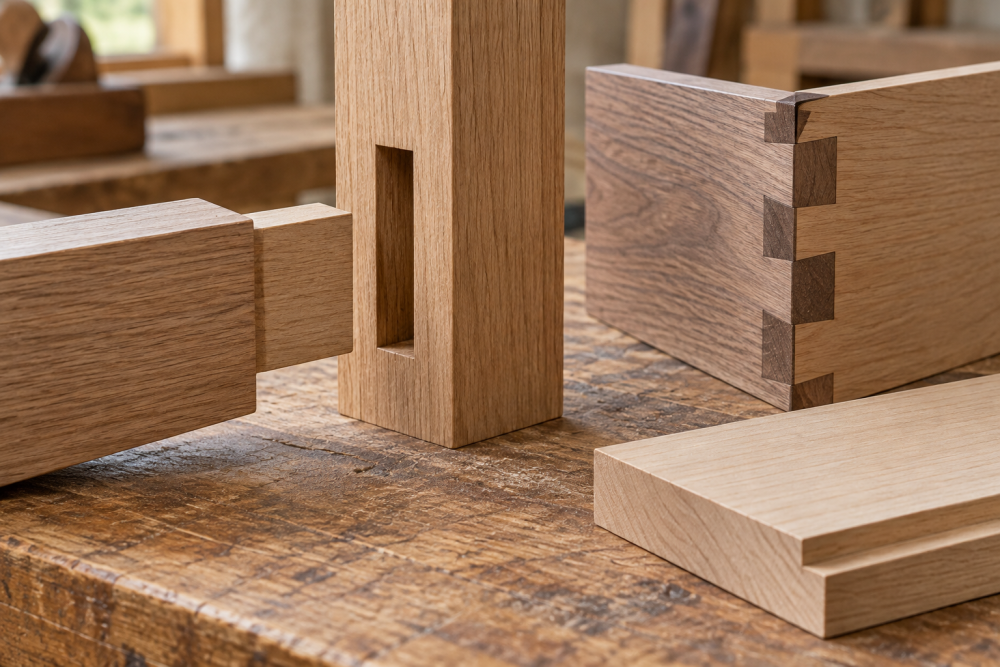
A small drawer is a good place to learn dovetails: the parts are manageable, and a joint that is slightly imperfect can still work well. The choice is less about which method is “better” and more about your priorities. Hand-cut dovetails need few tools and reward practice; routed dovetails can produce repeatable joints quickly, but call for a jig, a router, and careful setup.
As an Amazon Associate we earn from qualifying purchases at no extra cost to you.


Contents
Choose by your priorities
For one drawer, hand-cutting is usually the economical route if you already own a saw and chisels. A router setup makes more sense when you expect to build several drawers, want consistent spacing, or need to repeat the same joint across a project. Either method can make a strong drawer. Fit, grain direction, and sound glue-up matter more than whether the tails were cut by hand or machine.
| Factor | Hand-cut | Routed |
|---|---|---|
| Upfront cost | Low if you own basic hand tools | Higher: router, jig, and often template guide or bits |
| Setup | Mark and cut each joint | Adjust jig, bit depth, and board position |
| Repeatability | Depends on your marking and sawing | High after a test cut and reliable setup |
| Best fit | One-off drawers and skill-building | Multiple drawers and uniform joints |
| Common failure | Overcut baselines or loose pins | Wrong depth, poor clamping, or mismatched stock thickness |
Plan the drawer and choose the wood
For a typical small drawer, use sides around 1/2 inch thick and a front and back of the same thickness. A drawer about 6 inches tall is comfortable to work on and gives enough room for several tails. Keep the front grain running horizontally, and arrange the side grain so the tails run across the end grain of the front. That interlocking layout resists the front pulling away under use.
Use straight, dry stock with matching thickness. A difference of even 1/32 inch can throw off a router jig and make hand marking less reliable. If you are buying lumber for a single drawer, inexpensive poplar is a reasonable choice: it cuts cleanly, paints well, and is often cheaper than cherry or maple. Avoid twisted boards and brittle, knot-filled ends, which can split as you pare or rout the joint.
Hand-cut dovetails: fewer purchases, more practice
You need a marking gauge, a fine-tooth saw, a square, a sharp chisel, and a mallet. A marking gauge helps score a consistent baseline around the stock. A coping saw is useful for clearing waste between tails, though careful chisel work can do the job too.
Mark the board thickness on the ends, then lay out a modest pattern: for a 6-inch drawer side, three or four tails are a practical starting point. Make the tails first, saw just to the waste side of the lines, and stop at the baseline rather than cutting through it. Remove waste in thin layers with a sharp chisel. Use the finished tails to mark the pins on the mating board; this transfers the actual shape rather than relying on two separately measured layouts.
The most common beginner mistake is cutting past the baseline. That creates a visible gap at the joint shoulder, and glue will not conceal it. Another is chopping aggressively from one face, which can splinter the back edge. Pare toward the center from both sides. Test-fit often: the joint should seat with firm hand pressure or a few light mallet taps, not require heavy pounding. If it is too tight, pare the pin cheeks in small increments. If it is loose, forcing glue and clamping pressure into the gap rarely makes a durable repair.
Routed dovetails: faster once the jig is set
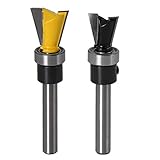
A router and dovetail jig can cut matching pins and tails with a guided bit. The jig’s instructions determine the setup; different systems use different templates, guides, and cutting sequences, so do not assume a bit or template from one setup will suit another. A router dovetail jig is an added expense, but it can be worthwhile if you will use it for a series of drawers.
Clamp the pieces square and flush as the jig specifies, then make a test cut in scrap of the same thickness. Adjust bit depth in small steps; a change of about 1/64 inch can noticeably affect fit. A joint that is too loose may need a slightly shallower cut or a different jig adjustment, while one that will not seat may be too tight. Confirm the setup with scrap before routing your drawer parts. Secure the work, keep the router base flat, and make the cut at a controlled pace; rushing can burn the wood, chatter, or pull the router off line.
Routed joints are repeatable only when the setup is repeatable. Stock thickness, board position, bit sharpness, and clamping all matter. A jig does not automatically fix bowed stock or a board that slips during the cut. Budget time for test cuts, especially on your first drawer.
Glue-up and drawer bottom
Dry-fit the complete box on a flat surface before applying glue. Check that the corners close and the diagonals are within about 1/16 inch of each other. Apply a thin film of wood glue to the mating surfaces, assemble the box, and use clamps only to close the joints and hold the drawer square. Excessive pressure can bow thin sides or force a joint out of alignment. Wipe away squeeze-out before it hardens, and recheck the diagonals while the glue is workable.
For a small drawer, a 1/4-inch plywood bottom is a practical choice. It is stable and can sit in a groove, or be fitted to the underside if the design allows. A solid-wood bottom can work too, but allow for seasonal movement if it is captured in grooves. Do not glue a solid bottom rigidly along all edges unless the construction is designed to accommodate that movement.
What to buy for the job
If you are hand-cutting, prioritize a sharp chisel and a saw that tracks accurately over a large specialty kit. A set of bevel-edge chisels is useful, but for this drawer you mainly need one or two sizes that stay sharp. If you already own a router and plan to build several drawers, compare jig cost and compatibility before buying; if this is a single painted utility drawer, simple screws and glue or a basic rabbet joint may be perfectly adequate. Dovetails are worthwhile when you want their mechanical interlock, their appearance, or the practice—not because every small drawer requires them.