What's inside
As an Amazon Associate I earn from qualifying purchases. This post may contain affiliate links at no extra cost to you.
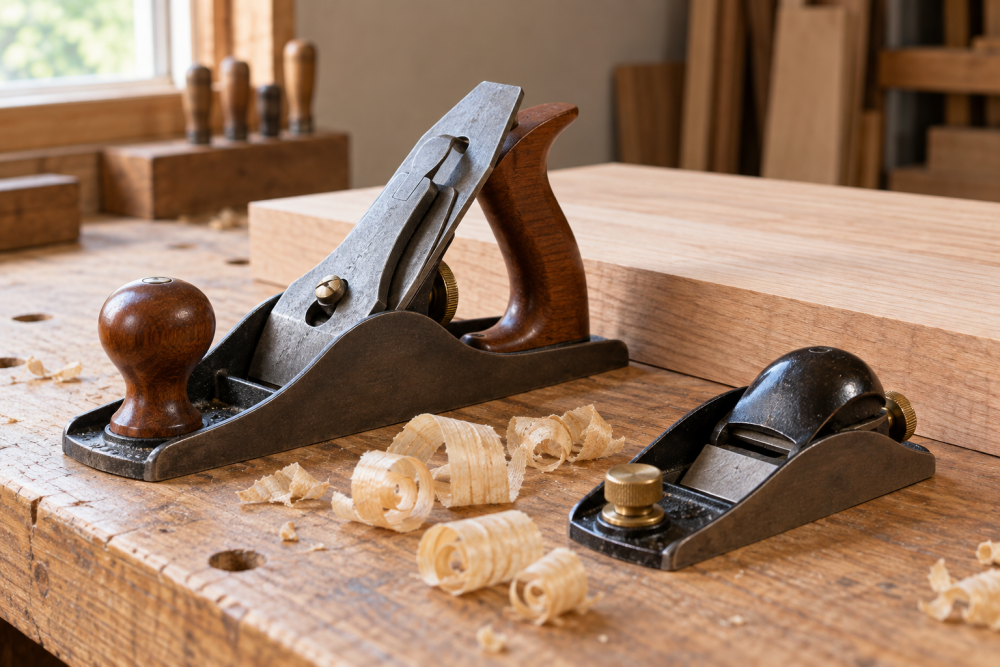
A wall-mounted hand plane rack keeps the tools visible and easy to reach, while a low front rail helps stop them from sliding off. This version holds four planes on a cleat-mounted hardwood shelf. It suits a beginner with a saw and drill; a table saw makes the cuts quicker, but isn’t required.
Contents
Size and layout
The plan below makes a rack about 24 inches wide, 8 inches deep, and 6 inches tall. It holds four planes with their soles down and handles facing out. Measure your own tools before cutting: a No. 4 bench plane is often around 9 inches long, while larger planes may need more shelf depth or spacing. For a longer plane, increase the shelf depth to 10 inches and check that its center of gravity stays behind the front rail.
Leave about 5½ inches between dividers for typical bench planes. If you want to store a jointer plane, build a separate wider bay rather than squeezing it into the same spacing. Keep the rack low enough that you can lift a plane straight up without reaching over a bench or other obstacle.
Materials and tools
Use straight, dry ¾-inch plywood for the shelf and backboard, plus hardwood for the dividers and front rail. A softwood rail is acceptable if it is smooth and has no knots near the fasteners. The rail is a stop, not a clamp: it should catch a plane’s toe if the shelf is bumped, without pressing against the blade or sole.
- ¾-inch plywood: one shelf, 24 by 8 inches; one backboard, 24 by 6 inches
- Hardwood: one front rail, 24 by 1¼ inches; three dividers, 1½ by 5 inches
- One ¾-inch plywood wall cleat, 24 by 3 inches, cut at a 45-degree bevel
- Wood glue, 1¼-inch screws, 2½-inch structural screws, and sandpaper
- Drill, countersink, square, tape measure, saw, and level
A sheet of cabinet-grade plywood gives a flatter shelf than low-cost construction sheathing. But if you can find a small, flat offcut with sound edges, that is enough for this project.
Choosing a front rail
A solid rail is simple and durable. A narrow strip of clear plastic makes it easier to see the plane’s toe, but it scratches and needs careful drilling to avoid cracks. For most shops, hardwood is the more forgiving choice. The rail’s height matters more than its material: 1 to 1¼ inches is enough to catch a sliding plane without hiding it.
| Rail type | Advantages | Trade-offs |
|---|---|---|
| Hardwood strip | Easy to cut, screw, and replace | Hides a little of the plane’s toe |
| Clear acrylic | Plane remains visible behind the stop | Can crack if drilled too close to an edge |
| No rail | Fastest and cheapest | Tools can slide off if the shelf is bumped |
Cut and assemble the rack
Cut the shelf and backboard square. Sand the shelf’s front edge and round its corners slightly; sharp plywood corners chip easily. Place the backboard along the shelf’s rear edge, apply glue, and fasten it with screws driven from the backboard into the shelf. Drill pilot holes first. Plywood edges split readily, especially if screws are driven close to an edge.
Mark three divider positions across the shelf: one at each end and one centered between them. Set the dividers perpendicular to the backboard, with their fronts stopping about ¾ inch behind the planned rail. Glue and screw them through the shelf. Check each divider with a square before the glue sets. Dividers that lean can pinch a plane or make it sit at an angle.
Fasten the front rail across the shelf’s front edge, with its top roughly 1 inch above the shelf. Use glue and screws from the front, countersinking the heads. Keep the rail low enough that it cannot touch a plane’s cutting edge. If you use a metal-bodied plane, add a thin cork or leather pad to the shelf so the sole does not rest on a hard screw head or abrasive grit.
Mount it securely
Cut a 45-degree bevel along one long edge of the wall cleat and a matching bevel on the cleat attached to the back of the rack. The wall half’s bevel should face upward and out; the rack half hooks over it. This French-cleat arrangement spreads the load and makes the rack removable. A purchased French cleat wall-mount kit is convenient, but a plywood cleat is sufficient for a small rack if it is fastened into studs.
Find two studs and mark their centers. Level the wall cleat, then drive at least two 2½-inch structural screws into the studs; do not rely on drywall anchors for a rack holding metal planes. Use more screws if the cleat spans additional studs. Hang the rack, check that it sits flat, and add a short locking screw through the rack cleat into the wall cleat if the rack could be lifted accidentally.
Fit, test, and finish
Set each plane in its bay and confirm that you can lift it without striking the neighboring tool. A divider gap that is too narrow is a common failure: the plane may wedge in place, tempting you to pull sideways and chip the divider. Widen a bay or remove a small amount from a divider rather than forcing the tool in.
Push the rack firmly from the front and sides before loading it. Then place the heaviest plane in the center and test the rail by nudging the rack gently. The tool should not pass over the rail, but it should lift out without snagging. Sand exposed edges and apply a thin coat of paste wax or a durable clear finish, keeping finish off the plane soles if it is still tacky.
For a quicker build, skip the dividers and mark four parking positions on the shelf. That costs less and works if you store only one plane size, but tools can knock together and shift sideways. Dividers take extra cutting and fitting; they are worth it when the rack will hold several planes of different widths.