What's inside
As an Amazon Associate I earn from qualifying purchases. This post may contain affiliate links at no extra cost to you.
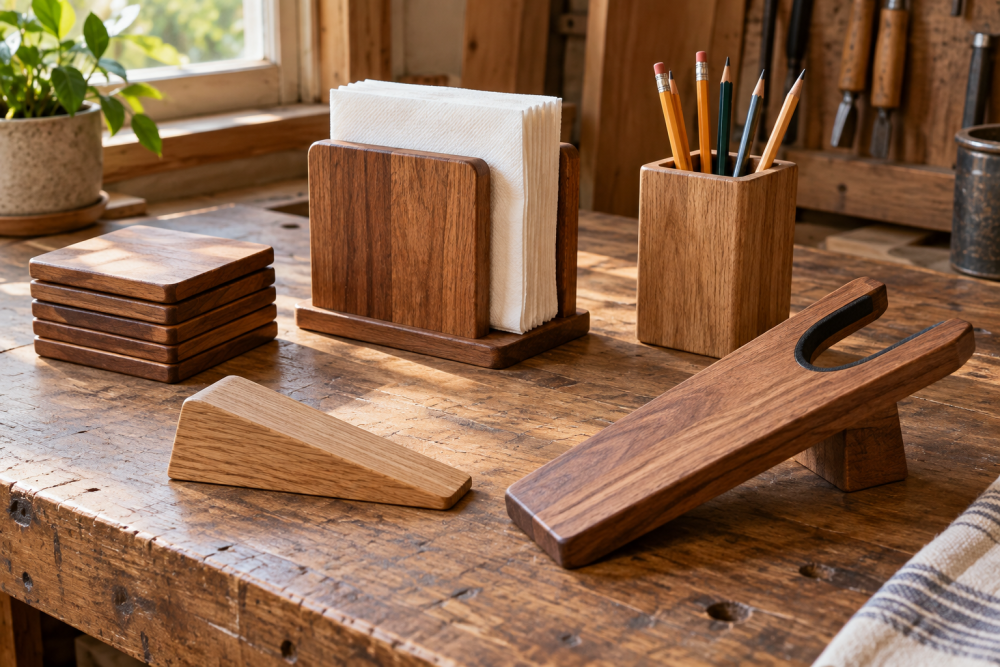
A boot jack is a simple lever: your heel sits in a padded notch while the other foot holds the board down. This version uses a replaceable felt pad, so grit or wear won’t force you to rebuild the jack. It takes about an hour to make, plus glue-drying time, and needs only basic shop tools.
Contents
Size and materials
The dimensions below suit most adult boots. Make the notch wider if you regularly wear broad work boots; check the fit with a boot before cutting. Use a straight, dry piece of hardwood about 18 inches long, 5½ inches wide, and ¾ to 1 inch thick. Oak, maple, and ash resist dents better than soft pine. Pine still works for occasional indoor use, but it can mark or split sooner around the notch.
You’ll also need wood glue, sandpaper, and a piece of dense wool or wool-blend felt about ⅛ to ¼ inch thick. A staple gun with ¼-inch staples is a practical way to attach the pad so you can replace it later. A small tin of rounded upholstery tacks can work if you don’t have a stapler, but avoid sharp fasteners near the boot-contact area.
Tools and safety
Use a saw to cut the outline, a drill with a ½-inch bit to start the notch, and a rasp or file to smooth it. A jigsaw makes the curved cut easy; a handsaw and coping saw are fine if that’s what you own. A wood rasp and file set is useful for shaping the notch without leaving sharp corners. Clamp the board before drilling or sawing, wear eye protection, and keep your hands out of the blade’s path.
Lay out and cut the board
Mark a centerline down the board. At one end, mark a U-shaped notch 3 inches deep and 2 inches wide at its opening. The notch narrows to about 1¼ inches at the bottom, with a rounded end rather than a square corner. These dimensions give the boot heel room while keeping enough wood on each side for strength.
Drill a ½-inch hole at the rounded end of the notch. Saw from the board’s end toward that hole on each side, staying just outside your pencil line. Remove the waste, then use a rasp to bring the sides to the line. Round the top edges of the notch generously; a sharp edge can scrape leather and concentrates force where the wood is thinnest.
Cut the opposite end into a shallow, rounded taper if you like, but keep the overall length at least 17 inches. A longer board gives the planted foot more leverage and makes the jack less likely to tip. Ease the board’s outside edges with sandpaper, then smooth the boot-contact area through 120- and 180-grit paper. Check for splinters with a cloth before applying a finish.
Choose a finish
For a jack used indoors, a few coats of wipe-on polyurethane protect the wood from damp soles and muddy floors. Let each coat dry as directed and sand lightly between coats if the label calls for it. Keep finish off the area where the felt will sit, or let it cure fully before attaching the pad.
Hardwax oil is another option, especially if you prefer a low-build finish that is easy to touch up. It generally needs more frequent maintenance than a film finish. Raw wood is acceptable for a low-cost utility jack, but it absorbs dirt and moisture more readily. Whatever you choose, don’t coat the felt contact surface with a slick finish that could let the boot slide.
Attach the replaceable pad
Cut felt to cover the inside curve and both sides of the notch, leaving about ⅛ inch of wood visible around the edge. This keeps the pad from catching and peeling when a heel is pulled out. Press the felt into the notch and mark where it folds. Trim small relief cuts at the curves rather than stretching the material; stretched felt tends to wrinkle and loosen.
Staple the felt around the notch’s outer perimeter, placing staples about ¾ inch apart. Set them flush and keep every staple at least ⅛ inch from the felt edge. If the felt is thick, use a staple length that penetrates the wood without emerging through the underside; test on a scrap of the same thickness first. The staples should hold the pad, not bear the boot’s full force. If you prefer a nail-free surface, use a removable hook-and-loop strip, but expect it to collect lint and need replacement sooner than staples.
Pad attachment options
| Attachment | Advantages | Trade-offs |
|---|---|---|
| Staples | Inexpensive, quick to install, easy to remove | Requires a stapler; staples must stay clear of the heel path |
| Hook-and-loop strip | No exposed metal; pad comes off quickly | Adhesive can weaken, and the strip traps lint |
| Glue | Clean appearance and simple setup | Replacing the felt is harder and may damage the wood |
For replacement material, a dense wool felt sheet is a sensible choice because it cushions the heel without feeling spongy. Craft felt is cheaper and adequate for light use, but thin synthetic sheets can compress or tear faster. Buy a small piece first if you’re unsure; the pad needs to be firm enough that the heel doesn’t bottom out against the wood.
Test and adjust
Put the jack on a nonslip floor, set one heel into the padded notch, and press down on the board with the other foot. Pull the boot off slowly the first time. If the jack lifts or slides, move your planted foot closer to the notch and check that the board is long enough. A rubber strip under the bottom can help on a smooth floor, but it is unnecessary on a rug or rough entryway floor.
If the notch pinches the boot, widen it in small steps with the rasp. If the heel slips out, check that the notch is deep enough and that the felt hasn’t folded over the edge. Inspect the wood around the narrow end of the notch occasionally for cracks. Replace the felt when it thins, tears, or starts pulling away; remove the old staples carefully, cut a new pad to fit, and fasten it in the same way.