What's inside
As an Amazon Associate I earn from qualifying purchases. This post may contain affiliate links at no extra cost to you.
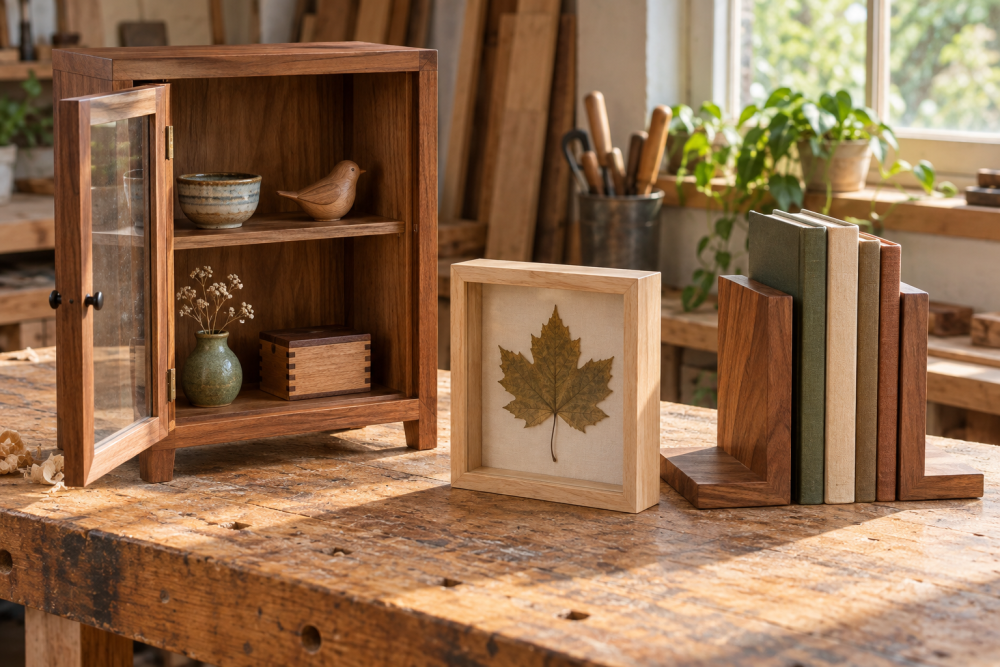
These angled-support bookends are a useful first woodworking project because they require only straight cuts, a few drilled holes, and basic assembly. Each bookend is an L-shaped piece: a vertical back keeps the books upright, while a sloped support runs from the base toward the back. The angle gives the pair a cleaner look than a simple square block and helps the bookends resist tipping.
Contents
Project overview
The finished pair is sized for ordinary paperbacks and hardcovers: about 8 inches tall, 6 inches deep, and 3/4 inch thick. You can scale the height up for large art books, but taller bookends need a wider or heavier base. Plan on 2 to 3 hours for cutting, drilling, sanding, and finishing, not including overnight drying time.
| Material choice | Advantages | Trade-offs |
|---|---|---|
| Pine or poplar board | Inexpensive, easy to cut and drill | Soft edges dent easily; pine may have knots |
| Oak or maple board | Harder, more durable, better visible grain | Costs more and takes more effort to sand |
| 1/2-inch plywood | Stable and economical; little seasonal movement | Edge layers remain visible unless covered or painted |
For a painted first project, pine, poplar, or plywood is fine. If you want a clear finish, choose a board with straight grain and no loose knots. A poplar wood board is a practical middle ground: it machines easily and paints well.
Materials and tools
Buy one straight board approximately 1 inch by 8 inches by 4 feet. The actual thickness will probably be about 3/4 inch. You will cut four pieces:
- Two bases, each 6 inches long by 7-1/4 inches wide
- Two backs, each 8 inches long by 7-1/4 inches wide
- Two angled supports, each 6 inches long by 3 inches wide
The 7-1/4-inch width allows the pieces to be cut from a nominal 1-by-8 board. You will also need wood glue, eight 1-1/4-inch wood screws, sandpaper in 120 and 180 grit, a square, pencil, drill, countersink bit, and clamps. A circular saw, jigsaw, or handsaw will work. A small woodworking clamp set is useful, but heavy-duty clamps are unnecessary for this project.
Cut and mark the parts
Cut the bases and backs with square ends. Measure from one edge rather than relying on the board’s printed dimensions. Check each cut with a square; an end that is only a few degrees out of square can make the bookend rock.
For the angled supports, cut two rectangles 6 by 3 inches. Mark a diagonal from one corner to the opposite corner, then cut along the line. Each rectangle produces two triangular supports, so you will have four triangles. Keep the two best-matching triangles for the visible sides and save the others as spares or test pieces.
Mark the inside face of every part with a pencil. This prevents accidentally making a left-hand part when you need a right-hand one. Lightly break every sharp edge with 120-grit paper. Do not round the joining edges; flat faces make stronger glue joints.
Assemble each bookend
Lay one base flat and stand one back along its rear edge. The back should be centered across the base, leaving roughly 3/4 inch of base extending on both sides. Apply a thin, continuous bead of glue to the mating edge, then clamp the pieces together.
Drill two pilot holes through the base into the back, placing them about 1-1/2 inches in from each side. Use a bit slightly smaller than the screw’s solid shaft, and countersink the holes so the screw heads finish just below the surface. Drive the screws slowly. Overdriving can strip the wood or pull the back out of square. Wipe away glue squeeze-out with a damp cloth.
After the base and back are secured, fit one triangular support against the inside corner. The long diagonal edge should contact the back, and the short vertical edge should sit on the base. Position it about 1 inch in from the side edge. Mark and drill two pilot holes through the support: one into the base and one into the back. Add glue to both contact edges, then install the two screws.
Repeat on the other side of the same bookend with the second triangle. Build the other bookend as a mirrored pair. Before the glue sets, place both pieces on a flat surface and check that the backs are vertical and the bases do not rock.
Sand and finish
Let the glue cure according to its label, usually at least 30 minutes before careful handling and several hours before heavy sanding. Trim dried glue with a chisel or scrape it away; sanding large glue spots can leave shiny areas that refuse to accept stain.
Sand all surfaces with 120 grit, then finish with 180 grit. Stop at 180 for paint or clear coat. Sanding much finer can reduce finish adhesion. Ease the outside corners slightly, but leave the bottom edges mostly flat so the bookends sit securely.
For the simplest finish, brush on two coats of water-based polyurethane, sanding lightly with 220 grit between coats. Paint is more forgiving if the wood includes mismatched grain or plywood edges. If the bookends will sit on delicate furniture, add thin cork or felt pads under the bases. Use a self-adhesive felt pad sheet rather than thick rubber feet, which can make the bookends wobble.
Common problems and fixes
The bookend rocks: One base edge is uneven, or glue has hardened underneath it. Sand the high corner on a flat surface. Do not compensate with a thick pad unless the problem is minor.
The back leans: The joint was clamped without checking it. If the glue is still soft, reset it with a square. Once cured, add a small shim at the base or remake the joint; forcing the back straight can split the wood.
Screws split the wood: The pilot hole was too small, too close to an edge, or missing entirely. Drill pilot holes at least 1 inch deep and keep them 3/8 inch or more from an edge when possible.
The supports look uneven: The diagonal cuts were not identical. Clamp the triangles together and sand their edges as a group, or use a scrap triangle as a template before marking the second piece.
For a heavier pair, glue thin steel or lead-free metal plates beneath the bases, keeping them fully covered and flush. That is usually unnecessary for novels, but worthwhile if the bookends will hold tall, tightly packed books or sit where they can be bumped.