What's inside
As an Amazon Associate I earn from qualifying purchases. This post may contain affiliate links at no extra cost to you.
Contents
Why Seasonal Moisture Matters
Outdoor glue-ups fail for two main reasons: the wood moves after assembly, or the adhesive never cures properly. Fall and winter make both problems more likely. Cooler air slows chemical reactions, while damp conditions can leave boards wet at the surface even when their average moisture content looks acceptable.
For most exterior projects, aim for wood at roughly 12% to 16% moisture content before glue-up. The correct target depends on your local climate, but the key is consistency: boards being joined should usually be within 2% moisture content of one another. A cheap moisture meter is useful for comparing boards, even if its absolute reading is not laboratory-accurate. Check several spots on each board, not just the end grain.
As an Amazon Associate we earn from qualifying purchases at no extra cost to you.
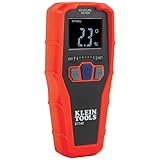
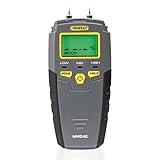


Do not glue boards that are visibly wet, covered with condensation, or recently brought in from rain. Surface moisture can dilute water-based glue and prevent it from forming a strong bond. It can also make boards slide under clamp pressure.
Fall Glue-Ups: Manage Damp Air and Temperature Swings
Fall is often the easier season for outdoor woodworking, but it has a narrow daily window. Daytime temperatures may be suitable while nights bring condensation. A board glued at 3 p.m. can still be uncured when the temperature drops below 50°F overnight.
Work under a roof or in a garage with the doors open for ventilation. Keep the wood off concrete and away from open ground, where it can absorb moisture. If you must work outside, choose a dry day and start after morning condensation has evaporated. A surface temperature around 60°F to 75°F is comfortable for most wood glues.
With ordinary exterior PVA glue, such as a Type I waterproof formulation, allow at least 24 hours in clamps for a fall glue-up. Extend that to 48 hours when temperatures are near 50°F, humidity is high, or the assembly is thick. The glue may feel hard at the surface while remaining soft inside the joint.
Fall temperature swings also affect fit. A board can gain or lose measurable moisture overnight, changing its width across the grain. For wide panels, leave them slightly oversized and trim after the assembly has stabilized. Do not force a cupped board flat with excessive clamp pressure; that stores stress in the panel and often causes cupping after the clamps come off.
Winter Glue-Ups: Temperature Is the Limiting Factor
Winter is not automatically off-limits, but most common wood glues are. Many PVA adhesives should not be applied below about 50°F, and freezing before the glue has cured can permanently weaken the joint. Even if the bottle recommends a lower application temperature, curing slows dramatically near that limit.
Never store water-based glue in an unheated shed where it can freeze. Repeated freezing can ruin the adhesive. Keep it indoors, and bring the lumber and glue into the same heated space long enough to equalize. One day is a reasonable minimum for ordinary boards; thick timbers may need several days.
Heated garages create a different problem. Warm air holds more moisture, and that moisture can condense on cold lumber. Let the wood warm gradually while stickered with spacers. Glue only after the surface feels dry and a moisture meter shows that the boards are reasonably stable.
For winter work, a heated shop is usually cheaper than replacing a failed project. If the space cannot stay above 55°F during application and the first 24 hours, postpone a PVA glue-up or use an adhesive specifically rated for cold-weather curing. Read the technical data sheet rather than relying on a label that only says “waterproof.”
Choosing an Adhesive
| Adhesive | Fall use | Winter use | Main trade-off |
|---|---|---|---|
| Exterior PVA | Good above 50°F with dry wood | Usually poor below 50°F | Inexpensive and easy, but sensitive to cold during cure |
| Polyurethane glue | Works with lightly damp surfaces | Some formulas tolerate cooler conditions, but check the label | Foams, needs clamping, and does not fill large gaps reliably |
| Two-part epoxy | Reliable when accurately mixed and kept warm | Can work in cool conditions with a slow cure | More expensive, messy, and less convenient for long panel glue-ups |
For ordinary outdoor furniture, exterior PVA is usually the best value when conditions are warm and controlled. Buy a waterproof exterior wood glue for projects exposed to rain, but remember that no glue compensates for poor joinery or end-grain joints.
Polyurethane glue is not a magic winter solution. It needs moisture to cure, but excess water can create a weak, foamy bond. Apply a light mist only if the instructions call for it, and clamp firmly. The cured foam outside the joint is not structural filler.
Epoxy is useful for repairs, end-grain situations, and assemblies that cannot be kept warm with PVA. A two-part woodworking epoxy can be warmed before mixing, but do not heat it enough to shorten the working time unexpectedly. Cold epoxy becomes thick and traps bubbles; warm epoxy cures faster and may run from vertical joints.
A Reliable Seasonal Glue-Up Process
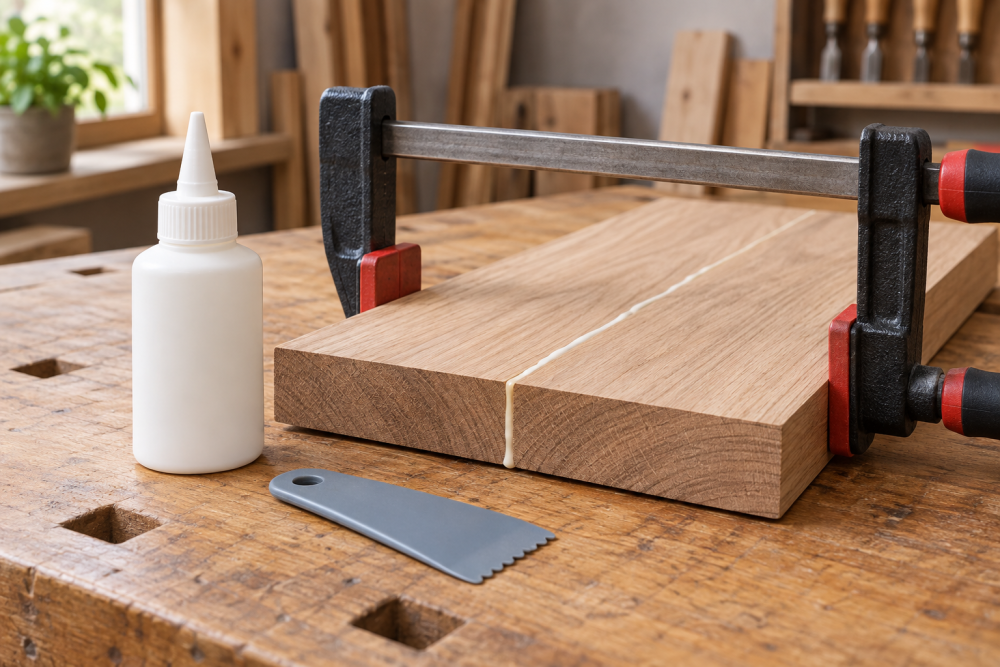
First, measure the wood and inspect every mating surface. Joint freshly milled edges shortly before assembly, because rough or oxidized surfaces reduce contact. Dry-fit the complete assembly and mark clamp positions before opening the glue bottle.
Next, check the forecast for the entire cure period, not just the hour of assembly. Avoid glue-ups when rain, freezing temperatures, or overnight condensation are expected. Set up on a flat surface, use cauls on wide panels, and cover the assembly without sealing it in plastic. Plastic can trap condensation against the joint.
Apply a thin, even film. A properly spread layer should wet the surfaces without pooling. Assemble promptly, then tighten clamps until you see a small, continuous bead of squeeze-out. More pressure is not better; excessive force can starve the joint and squeeze out too much adhesive.
After unclamping, leave the project indoors or under cover for another 24 to 48 hours before machining. Trim squeeze-out with a scraper after it becomes rubbery, rather than smearing wet glue across the surrounding wood.
When to Postpone the Project
Postpone the glue-up if the wood is colder than the adhesive’s minimum temperature, if surfaces are damp, or if the boards differ significantly in moisture content. Also wait when a panel will be installed immediately in a much drier or wetter environment. A day spent acclimating lumber is cheaper than rebuilding a split panel.
For beginners, fall is the better season: use dry, stable lumber, exterior PVA, and a covered workspace. Intermediate woodworkers can handle winter glue-ups with a heated shop, moisture checks, and an adhesive selected for the actual temperature. If you need a simple way to monitor conditions, a wood moisture meter with a shop thermometer provides more useful information than guessing from the calendar.