What's inside
As an Amazon Associate I earn from qualifying purchases. This post may contain affiliate links at no extra cost to you.
Cold weather does not make glue-ups impossible, but it changes how much time you have to position parts, how long clamps need to stay on, and whether a joint will cure properly at all. The useful number is not just the air temperature: wood, glue, and the work surface all need to be warm enough. Plan projects around those conditions, and winter can be a good time for careful indoor builds rather than a season of failed joints.
As an Amazon Associate we earn from qualifying purchases at no extra cost to you.


Contents
Know the temperature limits
Check the label for the adhesive’s minimum application temperature and its open and clamp times. For common yellow PVA woodworking glues, many manufacturers specify a minimum around 50°F (10°C), but the exact figure varies by product. That minimum is not a promise of a fast, dependable cure. At low temperatures, PVA thickens, spreads less evenly, and can take much longer to develop strength. If glue or wood is below the stated limit, a joint may remain weak even after an overnight clamp.
Measure the actual materials with a thermometer, not just the thermostat. A cold board brought in from an unheated shed can stay chilly for hours. Let stock acclimate in the shop until it is near room temperature; for a modest project, several hours may be enough, while thick lumber may need longer. Avoid applying glue to wood that is damp from condensation.
Choose projects by season
Fall is usually the easier season for glue-heavy work. Moderate shop temperatures suit PVA glue, and you can assemble panels, boxes, drawers, and frames without building a heated enclosure. It is also a good time to prepare stock for winter projects: mill parts, label them, and store them indoors so they are ready to assemble.
Winter favors projects that can be built in stages or assembled in a heated space. Small boxes, organizers, tool trays, and jigs use manageable glue-ups and are easier to bring indoors. Large tabletops and wide panels are possible, but they demand more clamps, more room, and a reliable way to keep the assembly warm through the manufacturer’s recommended cure period. If you cannot control those conditions, use winter for dry fitting, cutting, and sanding, then glue when the shop warms.
Compare seasonal work
| Workshop condition | Good fit | Watch for |
|---|---|---|
| Fall, roughly 55–70°F (13–21°C) | Panel glue-ups, carcasses, frames, and other multi-joint assemblies | Cool nights can slow curing; check the parts and glue temperature |
| Heated winter shop, at or above the glue’s stated minimum | Small projects and planned assemblies with controlled cure time | Cold lumber, drafts, and a cold bench can still chill the joint |
| Unheated winter shop, below the stated minimum | Dry fitting, milling, layout, and mechanical assembly | Do not expect extra clamp time to fix a glue-up made below the limit |
These ranges are planning guides, not substitutes for the product label. A stable temperature matters: a joint that starts warm and then sits in a freezing shop is still at risk.
Make the glue-up repeatable
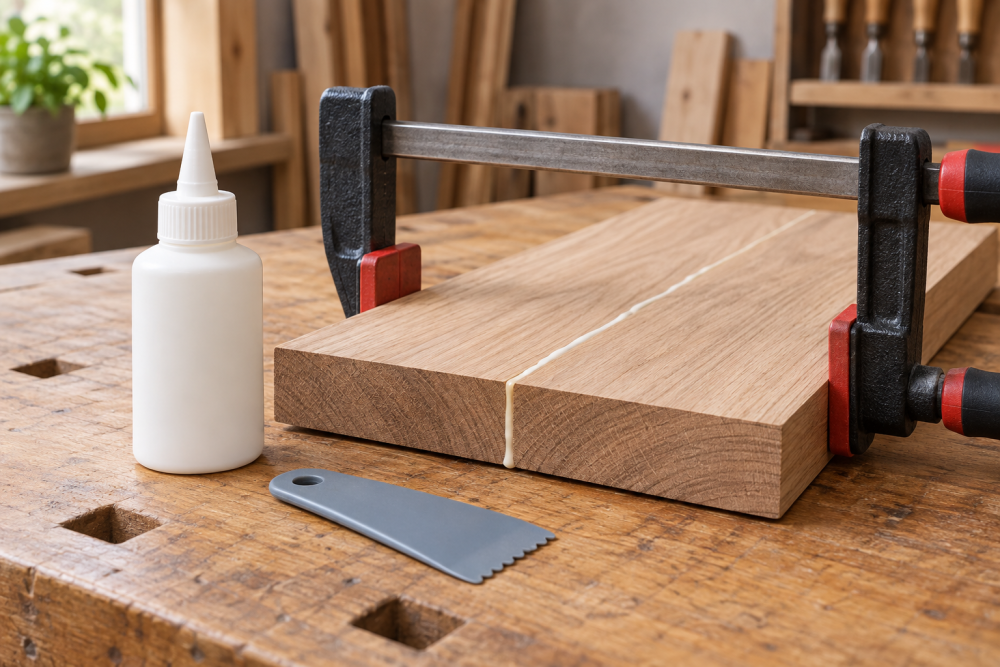
Do a complete dry run before opening the bottle. Arrange clamps, cauls, and parts in order; check that joints close without force; and set out a damp cloth or scraper for squeeze-out. In cold conditions, glue may have a shorter practical working window because it is harder to spread and parts take longer to seat. Work in small batches rather than coating every joint at once.
Use enough glue for an even film without flooding the joint. Tight clamps should close the joint and keep it aligned, not crush the wood or squeeze out nearly all the adhesive. For a panel, alternate clamps above and below the work and use straight cauls if the boards tend to cup. Check alignment before walking away. Follow the label’s clamp time, and give the assembly extra time before machining or loading it when the shop is cool.
A thermometer near the bench is a simple way to track conditions. If the space swings sharply overnight, a small thermostatically controlled heater can help maintain a steady temperature, but keep it clear of glue, solvents, dust, and wood piles. A blanket over a curing assembly may reduce drafts, but it cannot make a freezing joint warm enough from the inside. For occasional winter work, a basic indoor digital thermometer is usually a more useful first purchase than a specialized glue warmer.
Choose glue and clamps for the job
For ordinary indoor furniture and shop projects, standard PVA glue is often the economical choice when the shop and materials are within its temperature range. There is no benefit to buying a more expensive adhesive just because it is winter if you can bring the parts into a warm room. A set of reliable woodworking bar clamps is more valuable for many projects than a premium glue: clamps need enough reach and pressure to close the joints without bowing the assembly.
Where an assembly may be exposed to moisture, choose an adhesive rated for that service and follow its instructions. Water-resistant or polyurethane glues are not automatic cold-weather fixes. Each has its own temperature limits, working time, cleanup method, and handling risks. Polyurethane glue also foams as it cures; the foam is not a substitute for a tight-fitting joint, and squeeze-out can be messy. Compare the label with the project’s exposure and shop conditions before buying.
Spot and fix problems early
Common warning signs include glue that has turned unusually thick or lumpy, joints that slide when clamped, gaps that remain after pressure is applied, and panels that shift out of alignment. Do not try to rescue a poor fit by adding more clamp force. Release the assembly if necessary, clean up, correct the fit, and start again with warm materials and fresh adhesive. If a joint has cured in conditions outside the glue’s stated limits, test a sample or remake the joint rather than trusting it in a load-bearing part.
That makes the seasonal decision straightforward: schedule precision glue-ups for fall or a stable heated shop, and use the coldest days for cutting, fitting, and project prep. When you can hold the materials above the adhesive’s minimum temperature through assembly and cure, winter projects are practical. When you cannot, waiting is cheaper than rebuilding.