What's inside
As an Amazon Associate I earn from qualifying purchases. This post may contain affiliate links at no extra cost to you.
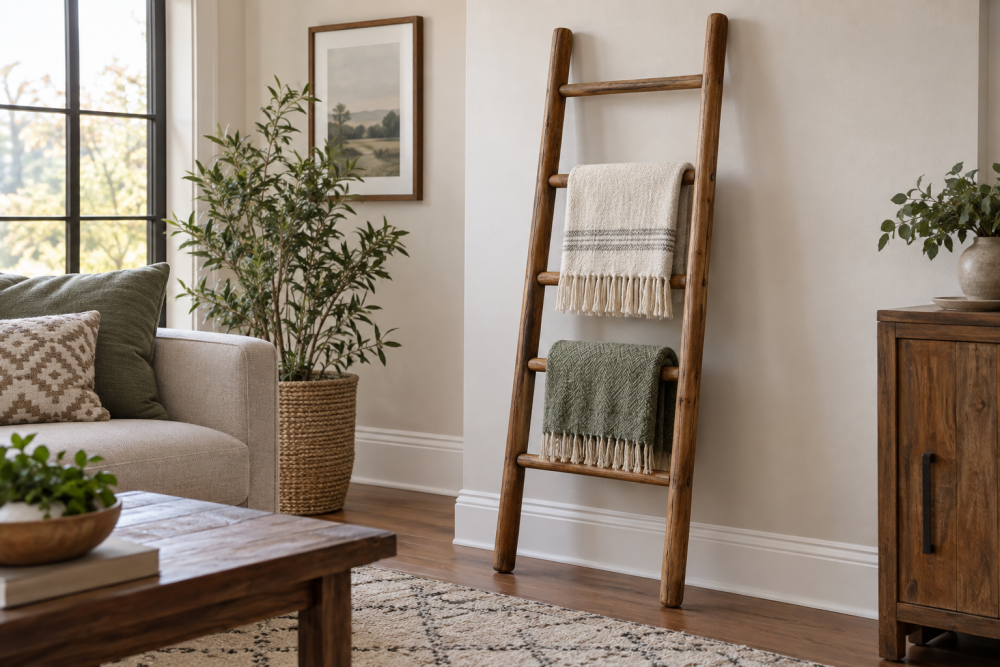
A wooden bathroom storage ladder is one of the easiest useful woodworking projects for a beginner. It leans against the wall, takes up little floor space, and gives you several levels for towels, baskets, toilet paper, or small plants. Unlike a wall cabinet, it does not require complicated joinery or much wall modification.
This plan makes a ladder approximately 68 inches tall, 18 inches wide, and 12 inches deep at the floor. Adjust the height if your bathroom has a low ceiling or limited space around the toilet.
Contents
Materials and tools
Use straight, dry lumber. Clear pine is inexpensive and easy to cut, while poplar costs more but paints smoothly. Cedar resists moisture, although its strong color and odor do not suit every bathroom. Avoid construction lumber with large knots or twisting; a warped side rail makes the ladder rock and prevents the rungs from sitting square.
| Material | Quantity | Purpose |
|---|---|---|
| 1×3 lumber, 8 feet long | 2 | Side rails |
| 1×2 lumber, 6 feet long | 2 | Rungs and lower brace |
| Wood glue | 1 small bottle | Strengthening joints |
| 1 1/4-inch screws | About 20 | Holding rungs during assembly |
| Sandpaper, 120 and 180 grit | 1 each | Smoothing the wood |
You will also need a tape measure, pencil, square, handsaw or miter saw, drill, 1/8-inch drill bit, countersink bit, clamps, and a level. A pair of woodworking corner clamps is helpful but not essential. A scrap board and ordinary bar clamps work just as well.
Cut list and layout
Cut the two 1×3 side rails to 68 inches. Cut four rungs from the 1×2: two at 16 1/2 inches and two at 14 1/2 inches. The shorter upper rungs create a slight taper, which helps the ladder sit against the wall without looking bulky. Cut one more 1×2 piece at 16 1/2 inches for a low stabilizing brace.
These dimensions use actual board sizes of approximately 3/4 by 2 1/2 inches and 3/4 by 1 1/2 inches. Mark the rung locations on the inside faces of both rails. Starting 10 inches up from the bottom, mark positions at 10, 24, 38, and 52 inches. Put the brace 3 inches above the bottom ends.
Keep the marks identical on both rails. An easy method is to place the rails side by side, align their ends, and mark across both boards with a square. Number the pieces if necessary. Reversing one rail during assembly is a common beginner mistake and leaves the rungs sloping.
Cut and prepare the parts
Make square cuts. If using a handsaw, draw the cut line around the board and check the blade against the square as you start. Test-fit every piece before drilling. Sand the cut ends with 120-grit paper, then soften all exposed edges with a few passes. A 1/8-inch roundover is enough; sharp corners become unpleasant hooks for towels and can damage skin.
Dry-fit the ladder on a flat floor. Place the rails parallel, with the wider 16 1/2-inch rungs at the lower positions and the 14 1/2-inch rungs higher up. Check that the rails are not bowed in opposite directions. If one board rocks badly, replace it rather than trying to force it flat with screws.
Assemble the ladder
Apply a thin layer of glue to each rung end and position it between the rails. Use the square to check that each rung is perpendicular to the rail. Drill two pilot holes through each rail into every rung end, then countersink the holes slightly. Drive the 1 1/4-inch screws until the heads sit just below the surface.
Do not skip the pilot holes. The 1×2 rung ends are narrow, and screws driven directly into them can split the wood. If a split starts, remove the screw, add a pilot hole farther from the edge, and replace the rung if the damage is severe. Glue alone is not a good choice here because bathroom ladders are frequently bumped and loaded from one side.
Install the lower brace between the rails, 3 inches above the floor ends. This piece limits side-to-side movement and keeps the ladder from folding or shifting. If you plan to store heavy baskets, add a second brace directly below the lowest full rung.
Sand and finish for bathroom conditions
Sand the assembled ladder with 120-grit paper, followed by 180 grit. Focus on screw-hole edges, rung corners, and end grain. Wipe off dust with a slightly damp cloth and let the wood dry completely before finishing.
For a painted ladder, use a stain-blocking primer followed by two thin coats of bathroom-rated interior paint. For a natural finish, use three thin coats of water-based polyurethane, sanding lightly with 220-grit paper between coats. A water-based polyurethane finish dries faster and yellows less than oil-based products, though oil-based polyurethane can offer a slightly warmer appearance.
Seal the bottom ends especially well. They are most likely to contact damp flooring. Do not place the ladder directly in a shower or where water regularly splashes. Finish slows moisture absorption; it does not make indoor lumber waterproof.
Place and secure the ladder
Set the ladder on a level, dry floor and lean it against the wall. The rails should contact the wall evenly. If the wall is painted drywall, add clear rubber or felt pads to the rail tops and floor ends. These protect the finish and reduce sliding, but they are not a substitute for securing the ladder.
For a bathroom used by children, or for a ladder carrying heavy baskets, attach the top to a wall stud with a furniture anti-tip strap. A furniture anti-tip strap is inexpensive insurance. Do not rely on a drywall-only anchor if the ladder can be pulled forward. Keep the bottom at least 2 inches away from a toilet, vanity, or radiator so towels do not catch and the ladder can be cleaned behind.
Storage options and maintenance
Hang towels directly over the rungs, or add baskets with straps or hooks. Open baskets are better than tightly sealed bins because they allow damp towels to dry. Keep the total load modest—about 25 pounds is reasonable for this light ladder when it is secured at the top. Inspect the screws and finish every few months. Tighten loose screws, wipe up standing water, and touch up any chipped finish before moisture reaches the bare wood.
If you need more storage, widen the ladder or add removable shelves, but understand the trade-off: each shelf increases weight and makes the ladder more likely to tip. For a first project, the open-rung version is cheaper, easier to clean, and less likely to trap bathroom moisture.