What's inside
As an Amazon Associate I earn from qualifying purchases. This post may contain affiliate links at no extra cost to you.
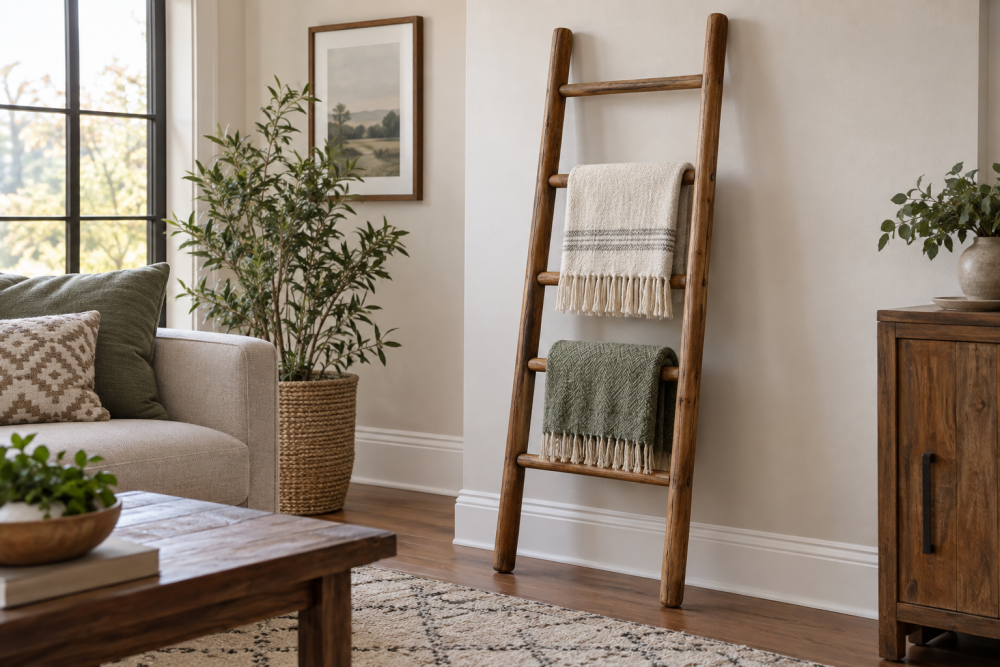
A wooden blanket ladder is a useful beginner project because it needs only straight cuts, basic joinery, and a small amount of sanding. The flat side-rail design is especially forgiving: two wide boards form the sides, while round or square rungs span between them. Unlike a tapered ladder, it gives you more usable hanging space and does not require angled cuts.
Contents
Project Overview and Finished Size
This plan makes a ladder approximately 60 inches tall, 18 inches wide, and 3 1/2 inches deep. It is intended for displaying or storing lightweight blankets, quilts, and throws. It is not a climbing ladder, step stool, or structural support.
| Part | Quantity | Finished size |
|---|---|---|
| Side rails | 2 | 3/4 x 3 1/2 x 60 inches |
| Rungs | 4 | 3/4 x 1 1/2 x 18 inches |
| Wood screws | 8 | 1 1/4-inch, suitable for wood |
Use a select pine board for the rails if you want the lowest cost and easy cutting. Clear pine is simple to work with, but it dents easily. Poplar costs more and usually has fewer knots, making it a better choice for painted ladders. Oak or maple is stronger and more durable, although that strength is unnecessary for blankets and makes drilling slightly harder.
Materials and Tools
Buy one 1×4 board at least 60 inches long for the side rails. The actual size of a nominal 1×4 is usually about 3/4 by 3 1/2 inches. Buy one 1×2 board at least 72 inches long for the four rungs, or use a 3/4-inch wooden dowel if you prefer round rungs.
You will also need a tape measure, pencil, combination square, handsaw or circular saw, drill, drill bit for pilot holes, screwdriver bit, clamps, wood glue, and sandpaper. A 120- and 220-grit sandpaper assortment is enough for this project. A random-orbit sander saves time but is not required.
Choose screws with a head that will not easily pull through the side rails. Trim-head screws are neat, but ordinary exterior-rated wood screws work if you countersink them slightly and fill the holes. Avoid drywall screws; they are brittle and can snap while driving.
Cutting and Layout
Cut the two rails to exactly 60 inches. Cut four rungs to 18 inches. Check each end with a square. A slightly angled cut makes the ladder twist and leaves gaps at the joints, so take time here rather than trying to correct the problem during assembly.
Mark the rung locations on the inside face of both rails. Starting 8 inches from the bottom, mark the centers at 8, 22, 36, and 50 inches. This gives 14 inches between rung centers and leaves a 10-inch section above the top rung. The spacing is wide enough for folded blankets without making the ladder look crowded.
Place the rails parallel on a flat work surface, inside faces up. Transfer the marks carefully so every rung is level. A scrap block cut to 14 inches can act as a quick spacer, but still measure the first and last locations. Do not rely on the apparent edge of a board; factory edges are not always perfectly straight.
Step-by-Step Assembly
1. Dry-fit the parts. Set each rung between the rails and check that the ends touch both sides. If a rung is too long, trim it gradually. Forcing a long rung can bow the rails outward and produce a twisted frame.
2. Drill pilot holes. Clamp the first rung in position and drill through the outside of each rail into the rung. Keep the drill centered across the rail’s 3 1/2-inch width. A pilot hole should be slightly smaller than the screw’s solid center shaft. Without pilot holes, pine commonly splits at the ends of the rungs.
3. Glue and screw the joints. Apply a small amount of wood glue to each rung end, position it on the marks, and drive one screw through each rail. Wipe away squeeze-out immediately. Too much glue creates a visible ridge and does not make the joint meaningfully stronger.
4. Check for square. Measure diagonally from one outside corner to the opposite corner, then compare that measurement with the other diagonal. If the numbers differ by more than about 1/8 inch, push the frame into alignment before the glue sets. Clamp a diagonal corner temporarily if needed.
5. Let the glue cure. Leave the ladder flat for at least 30 minutes, or follow the glue manufacturer’s instructions. Do not pick it up by one rail while the glue is wet. That can rack the frame and weaken every joint.
Sanding and Finish Options
Round over the sharp outer edges with 120-grit sandpaper, then sand all visible surfaces. Follow with 220 grit if you want a smoother painted or stained finish. Pay special attention to the rung ends and the lower corners, where rough fibers can catch blankets or scratch flooring.
For a quick indoor finish, use two thin coats of water-based polyurethane. Sand lightly with 220 grit between coats if the surface feels rough. Paint is a good way to hide mismatched boards and filled screw holes; use a primer first on pine or poplar. If the ladder will sit near a damp entryway, an interior water-based finish is preferable to leaving the wood raw, though it still should not be stored outdoors.
A water-based polyurethane finish dries faster and has less odor than oil-based polyurethane. Oil-based finish can bring out the color of oak or walnut, but it takes longer to dry and may amber pale wood. For a blanket ladder used in a bedroom, the cheaper water-based option is usually the sensible choice.
Common Failure Modes
The most common problem is splitting at the rung ends. Prevent it with pilot holes, screws placed near the center of the rail, and enough wood left around the hole. A second problem is uneven rungs caused by marking only one rail and guessing on the other. Mark both rails from the same reference end.
If the ladder rocks on the floor, check the bottom rail corners with a square and sand the high corner gradually. Do not shorten an entire rail unless it is clearly cut wrong. If the ladder will lean against a wall, add rubber or felt pads to the bottom ends. These protect floors and reduce sliding, but they do not make the ladder safe to climb.
What to Buy and When to Save
Buy straight, dry boards and reject pieces with a visible bow, twist, or large loose knot. You can save money with construction-grade pine if the ladder will be painted and viewed from a distance. Spend more on clear boards when the wood will be stained, because filler and paint cannot hide every defect.
A pair of 12-inch bar clamps is useful for holding rails and rungs during assembly, but beginner plans do not require specialty joinery tools. A hand saw, drill, and square are sufficient. The finished ladder is best used as a decorative storage piece beside a sofa, in a bedroom, or in a guest room—especially during the colder months when blankets are in daily use.