What's inside
As an Amazon Associate I earn from qualifying purchases. This post may contain affiliate links at no extra cost to you.
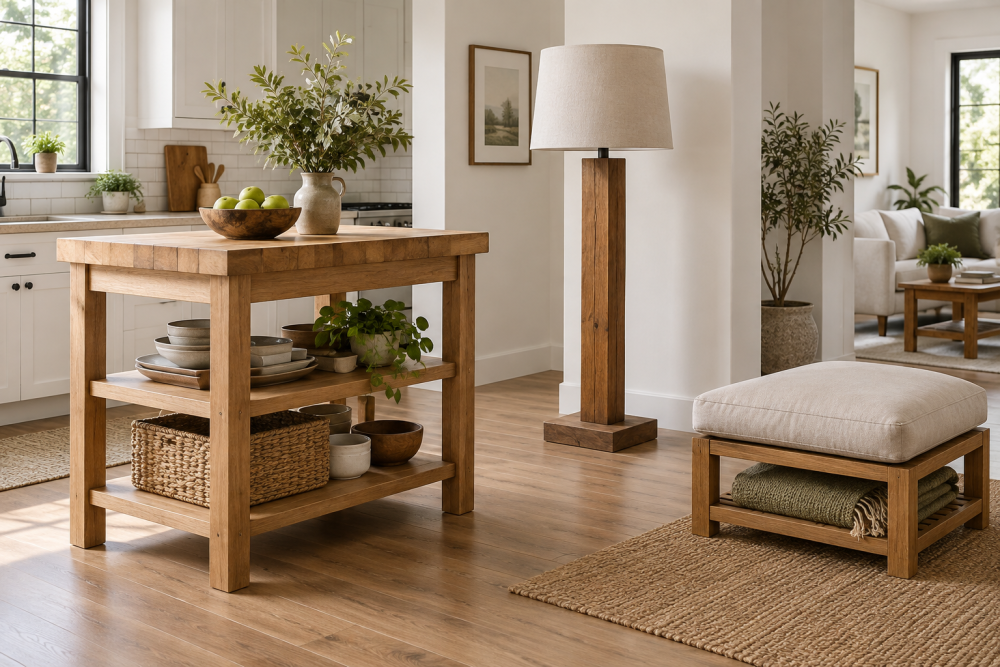
This floor cushion stand keeps a large cushion off the floor while leaving open space underneath for blankets, books, or a basket. It is a straightforward weekend project for a beginner with a saw, drill, and sander. The finished stand is essentially a shallow, strong box: a slatted top supports the cushion, four corner legs carry the load, and side rails keep the frame square.
The plan below makes a stand approximately 24 inches wide, 24 inches long, and 10 inches high. That size suits a common 22- to 24-inch floor cushion. Measure your cushion before cutting. The top should be 1 to 2 inches larger than the cushion in both directions so the cushion does not hang over the edges.
Contents
Materials and tools
Use straight, dry lumber. Clear pine is inexpensive and easy to work, while poplar gives you a smoother painted surface. For a budget build, ordinary construction lumber is acceptable if you reject boards with major twists, cracks, or loose knots.
- Two 1×4 boards, 8 feet long, for the side rails, end rails, and legs
- One 1×3 board, 8 feet long, for the slatted top
- 1 1/4-inch exterior-rated or coated screws
- Wood glue
- 120- and 180-grit sandpaper
- Paint, stain, or clear finish
- Measuring tape, square, pencil, drill, and countersink bit
- Miter saw or circular saw with a guide
- Clamps
A pocket-hole jig makes the frame faster to assemble, but it is not essential. You can drive screws through the rails into the legs after drilling clearance holes. If you want cleaner hidden joinery, compare a basic pocket-hole jig for woodworking. A cheap jig is fine for this project; accuracy matters more than brand.
Cut list and design choices
For a 24-by-24-inch stand, cut the following pieces:
| Part | Quantity | Length | Purpose |
|---|---|---|---|
| Side rails | 2 | 21 inches | Run between the front and rear legs |
| End rails | 2 | 21 inches | Run between the side legs |
| Legs | 4 | 10 inches | Support the frame |
| Top slats | 6 | 24 inches | Support the cushion |
| Top cleats | 2 | 21 inches | Support the slats underneath |
These dimensions assume nominal 1×4 lumber is about 3 1/2 inches wide and nominal 1×3 lumber is about 2 1/2 inches wide. Six slats with roughly 3/8-inch gaps make a ventilated top. If your cushion is heavy or regularly used by two adults, add a third underside cleat across the center or reduce the slat gaps.
Open storage is the main trade-off. Wide openings are convenient for baskets and blankets, but fewer rails make the stand more likely to rack from side to side. The four rails in this plan provide reasonable stiffness without closing the storage area.
Cut and prepare the parts
Cut one board at a time and check each piece against the cut list. A circular saw and clamped straightedge can produce accurate cuts; a miter saw is quicker but not required. Mark the best-looking face of every part before assembly.
Sand all faces and edges with 120-grit paper, then smooth visible surfaces with 180 grit. Slightly round the exposed top edges. This prevents sharp corners from catching fabric or scratching a floor. Do not over-sand the ends of the rails, because loose joints are a more serious problem than minor saw marks.
Inspect the 10-inch legs carefully. If one is shorter than the others, the stand will rock. Set the pieces together on a flat surface and trim any outlier so all four match within 1/16 inch.
Assemble the frame
Build two identical side assemblies first. Position two legs upright and place a side rail between them, with the top of the rail 1 1/2 inches below the top of the legs. This recess leaves room for the top slats and creates a small raised edge around the cushion.
Apply a thin coat of glue to each rail end. Clamp the rail between the legs, check that it is square, and drive two 1 1/4-inch screws through each leg into the rail. Drill pilot holes first, especially near the ends of pine boards. Without pilot holes, the legs can split and the screws may pull the joint out of alignment.
Repeat for the second side assembly. Then connect the assemblies with the two end rails at the same height. Measure diagonally from corner to corner. Adjust the frame until both diagonal measurements match within 1/8 inch before the glue sets.
If you use pocket holes, put them on the inside faces of the rails. This keeps the exterior clean, but the screw pockets reduce the amount of solid wood around the joint. For a stand that will be dragged often, traditional screws through the legs are more forgiving.
Install the slatted top
Turn the frame upside down and attach the two 21-inch cleats inside the side rails, flush with the rail tops. Space them evenly from the ends. These cleats support the slats and stop them from sagging. Use glue and screws, driving through the rails into the cleats.
Turn the frame upright and lay the six slats across the top. Use a 3/8-inch scrap spacer between each board. Center the layout so the end overhang is equal on both sides, then check that the slats are parallel. Drive two screws through each slat into each cleat. Countersink the heads slightly; proud screws can damage a cushion.
For a softer appearance, ease the slat corners with sandpaper. If the cushion is thin, add a fabric-covered foam pad to the slats or use closer spacing. Large gaps can telegraph through a thin cushion and feel uncomfortable.
Finish and test the stand
Fill visible screw holes if you plan to paint. Remove dust, then apply two thin coats of paint or clear finish, sanding lightly between coats. A water-based polyurethane dries quickly and is practical for indoor use. For a covered porch, use an exterior finish, but do not leave ordinary pine furniture exposed to repeated rain.
Let the finish cure fully before adding the cushion. Test the stand on the floor and push it from each side. If it rocks, identify the short leg and sand its bottom gradually. If the frame flexes diagonally, check the corner screws and add a narrow rear brace beneath one end rail. That brace slightly reduces the opening but is better than a stand that shifts under load.
For storage, use a low basket or folded blankets rather than heavy tools. Keep the load centered and below the rails. The open design is easy to access, but it is not intended to support a person sitting directly on the bare slats.