Key takeaways
- A patient, step-by-step guide to building an end-grain-safe edge-grain cutting board in a small home shop, from stock prep through the final oil and wax finish.
What's inside
- Step 1: Choose wood that will not poison, warp, or wreck your knives
- Step 2: Mill the strips flat, square, and identical
- Step 3: Glue up under real pressure, with the right adhesive
- Step 4: Flatten the panel without a planer
- Step 5: Sand, round the edges, and raise the grain
- Step 6: Apply a food-safe finish that you can actually maintain
- Common mistakes that ruin an otherwise good board
- Frequently asked questions about building a cutting board
- Where to spend and where to save
- Step 1: Choose wood that will not poison, warp, or wreck your knives
- Step 2: Mill the strips flat, square, and identical
- Step 3: Glue up under real pressure, with the right adhesive
- Step 4: Flatten the panel without a planer
- Step 5: Sand, round the edges, and raise the grain
- Step 6: Apply a food-safe finish that you can actually maintain
- Common mistakes that ruin an otherwise good board
- Frequently asked questions about building a cutting board
- Where to spend and where to save
As an Amazon Associate I earn from qualifying purchases. This post may contain affiliate links at no extra cost to you.
Most failed cutting boards fail in the same two places: the glue line and the moisture. A board that comes apart at a seam after six months was almost always clamped with too little pressure or too much glue squeeze-out trapped in a starved joint. A board that cups like a potato chip was almost always finished on one face only, or soaked in a sink. Learning how to build a cutting board is really learning to control those two variables. The woodworking is straightforward.
This tutorial walks through an edge-grain board roughly 12 inches by 18 inches and 1 1/4 inches thick, built from strips glued face to face. Edge grain is the right first project: it is far more forgiving than end grain, needs no specialty jig, and can be flattened with hand tools if you do not own a planer or a drum sander. Everything below assumes a modest home shop with a table saw or a circular saw and a straightedge, a few clamps, a random orbit sander, and a block plane.
As an Amazon Associate we earn from qualifying purchases at no extra cost to you. Product prices and availability are accurate as of the date shown and are subject to change.


Step 1: Choose wood that will not poison, warp, or wreck your knives
Stick to closed-grain hardwoods. Hard maple is the traditional choice because the pores are tight enough that they do not harbor much of anything, and the Janka hardness sits in a sweet spot: hard enough to resist scarring, soft enough that it does not dull a blade quickly. Cherry, walnut, and beech all work. Avoid open-pored woods like red oak and ash, which trap food in the vessels, and avoid anything oily, exotic, or unknown, since a few tropical species cause skin and respiratory reactions.
Buy 4/4 stock (nominal 1 inch, usually about 13/16 inch after surfacing) and plan on the finished thickness being the width of your strips. For a 1 1/4 inch thick board, rip strips 1 1/4 inches wide and glue them on edge so the growth rings stand up. Buy about 25 percent more board feet than the math says, because you will lose material to rips, snipe, and the occasional strip with a hidden defect.
The one thing worth checking before you cut anything: moisture content. Lumber that came from an unheated garage in the humid months will move after you glue it. If you have a pin meter, look for 7 to 9 percent. If you do not, let the stock sit indoors in the room where you will work for at least a week, stacked with spacers so air moves on all four sides.
| Wood | Why it works for boards | Watch out for |
|---|---|---|
| Hard maple | Tight pores, ideal hardness, light color | Can burn on the saw, sand carefully |
| Walnut | Beautiful contrast, stable, easy to work | Softer, shows knife marks sooner |
| Cherry | Very stable, ages to a rich color | Blotches under some finishes |
| Beech | Cheap, tight-grained, historically used | Moves more with humidity swings |
| Red oak | Not recommended | Open pores trap food and moisture |
Step 2: Mill the strips flat, square, and identical
A glue-up is only as good as the mating surfaces. If the edges are not straight and square, clamp pressure closes the gap by bending the strips, and that stored tension is exactly what pops a joint later.
Rip your strips a hair over 1 1/4 inches, then joint one face and one edge if you have a jointer. Without a jointer, take a different route: rip strips slightly oversize, then run each mating edge over a fresh table saw blade with a good rip fence, or clean the edges with a few passes of a hand plane against a straightedge check. A 40-tooth or higher blade in good condition leaves a surface that glues fine straight off the saw. A dull or misaligned blade leaves burnished, wavy edges that will not bond.
Cut strips 2 inches longer than the finished 18 inches. The extra length gives you room to trim the inevitable misalignment at the ends after glue-up. Then lay the strips out on the bench and shuffle them until the color and grain read the way you want. Mark a big triangle across the top faces so you can reassemble the same order after applying glue.
Flip alternating strips so the growth ring curves face opposite directions. Any residual cupping then fights itself instead of compounding across the width.
Parallel jaw clamps for panel glue-ups
This is the one purchase that genuinely changes the outcome. Parallel jaw clamps keep their heads square to the bar under load, so pressure goes into the joint rather than bowing the panel. Pipe clamps and F-style clamps work, but they tend to tilt and lift the panel off the bench. You want four to six clamps in the 24 inch range for a board this size, spaced roughly every 5 to 6 inches along the length. Buy them in pairs over time if the cost stings; they outlast every other tool in the shop.
Step 3: Glue up under real pressure, with the right adhesive
Use a waterproof or water-resistant PVA. Titebond III is the common pick because it is FDA-approved for indirect food contact and rated waterproof, which matters on a surface that gets wiped down constantly. Titebond II works. Regular yellow glue is the weakest choice here.
Dry-clamp the whole assembly first, with no glue. Ten minutes spent finding a twist now saves a ruined panel later. Look down the length: the top faces should form one plane, and every seam should close with light clamp pressure alone.
Then work fast. Open time for PVA is roughly 10 minutes at 70 degrees, less in a warm shop. Apply glue to one face of each joint and spread it to full coverage with a cheap silicone spreader or a scrap of wood. Full coverage is the goal, not a thick layer. You want a continuous film that produces a small, even line of squeeze-out along the seam. A dry patch is a hidden failure point.
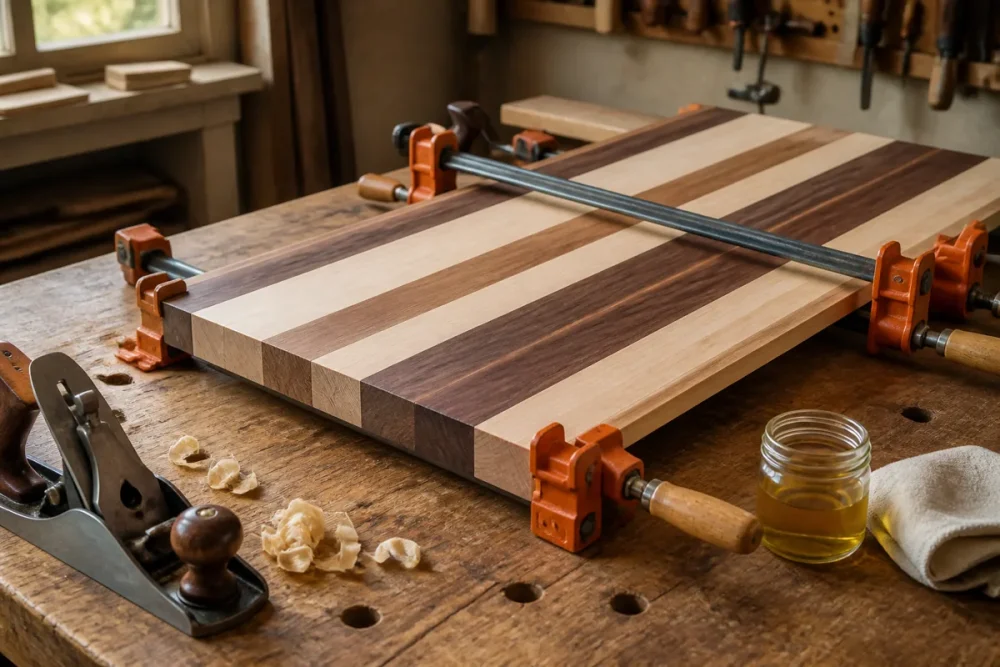
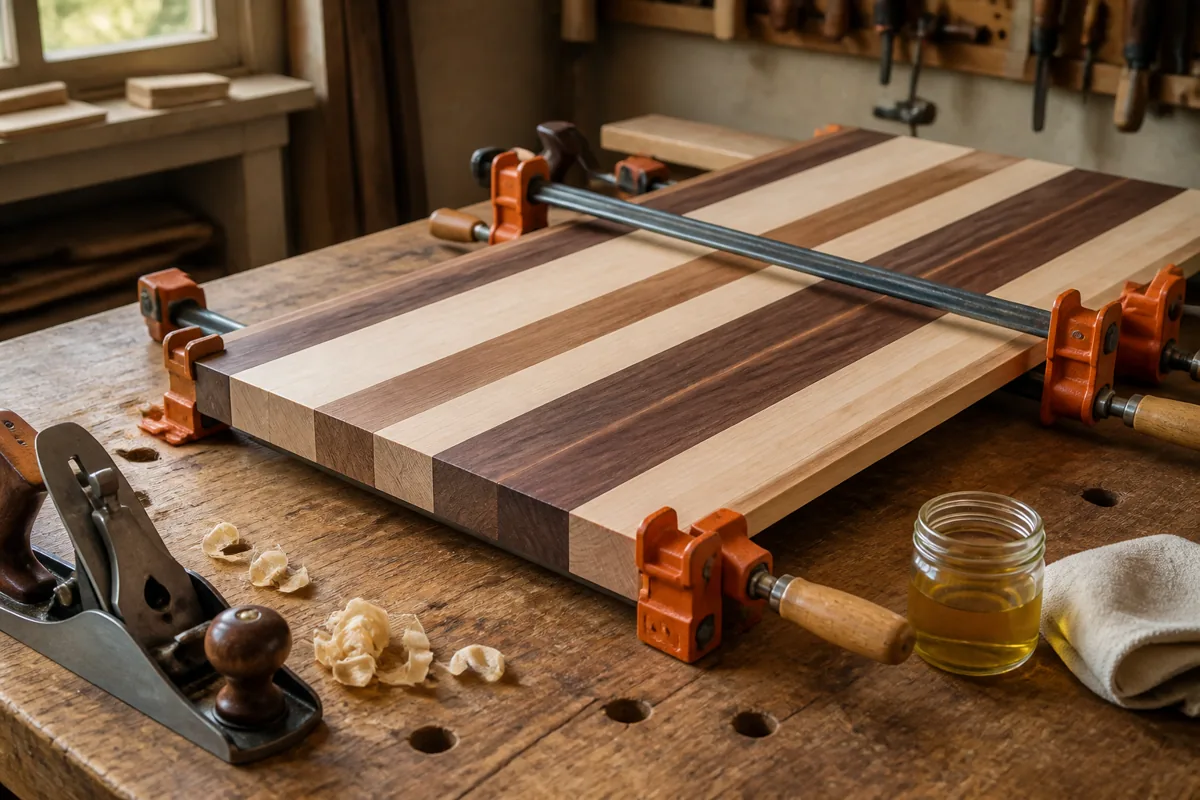
Clamp alternating above and below the panel to balance the forces, and tighten to roughly 100 to 150 PSI, which for hard maple means firm hand pressure on the handle, not both hands and a grunt. Cauls clamped across the width at each end keep the strips from stepping out of plane. Leave it clamped for at least an hour, then let it cure a full 24 hours before flattening. PVA reaches most of its strength quickly but continues to harden, and planing a green glue line gums up everything.
Scrape the squeeze-out with a putty knife once it turns rubbery, around 45 to 60 minutes in. Wet glue smears into the pores; fully cured glue chips out and takes fibers with it.
Step 4: Flatten the panel without a planer
A 12-inch wide panel will not fit through a benchtop planer, and running a glued-up board through one invites tearout at the glue lines anyway. Two workable methods for a home shop:
Hand plane method. Set a No. 4 or No. 5 with the iron sharp and the mouth fairly tight. Plane diagonally across the panel first, roughly 45 degrees to the grain, working the high spots down. Diagonal strokes cut across alternating grain directions without diving in. Check with a straightedge every few passes, then finish with light passes along the length. Expect 20 to 30 minutes for a first board.
Router sled method. Build a simple sled: two parallel rails clamped to a torsion box or a flat sheet of MDF, with a plywood carriage riding on top holding the router. Use a 1 to 1 1/2 inch bottom-cleaning bit, take 1/32 inch per pass, and move in overlapping passes across the width. It leaves faint ridges that sand out in a few minutes.
Whichever method, flatten the second face too, and take the same amount off each side. Removing material unevenly leaves an unbalanced panel that will cup.
Trim the ends square last, at the 18-inch finished length, using a crosscut sled or a circular saw with a clamped guide. Cutting the ends after flattening means you cut off the snipe and misalignment rather than working around it.
- ✔ Edge grain is dramatically easier to flatten than end grain
- ✔ A hand plane leaves a better surface than any sander
- ✔ No specialty jigs or wide machines required
- ✔ Mistakes are recoverable while the panel is oversize
- ✘ Hand planing hard maple is genuinely tiring work
- ✘ A router sled requires building a jig before you build the board
- ✘ Sanding through a glue line leaves a visible shiny streak
Step 5: Sand, round the edges, and raise the grain
Start at 80 grit only if the surface still shows plane tracks or router ridges; otherwise begin at 120. Work 120, 150, 180, then stop at 220. Going finer closes the pores and slows oil absorption without improving feel. Keep the sander flat and moving, and do not linger at the glue lines.
Round every edge and corner. Sharp arrises chip, and a chipped edge is where a board starts to look old. A 1/8 inch roundover bit in a router is fastest; 60 seconds of hand sanding per edge accomplishes the same thing. Do not forget the underside edges, since that is what your hands grip.
Then raise the grain: wipe the entire board with a damp cloth, let it dry for 30 minutes, and sand lightly with 220 again. Water swells the crushed fibers that sanding pressed down. If you skip this, the first wash will raise them instead and the board will feel fuzzy.
If you want juice grooves or hand grips, cut them now with a core box bit and a template, staying 1 to 1 1/2 inches in from the edges. Be honest about whether you want them, because grooves are one more thing to scrub.
Step 6: Apply a food-safe finish that you can actually maintain
There is no film finish that belongs on a cutting surface. Polyurethane and varnish will be sliced through by a knife, and once water gets under the film it lifts and turns cloudy. The standard is a penetrating oil, either food-grade mineral oil or a mineral-oil-and-beeswax blend.
Flood the first coat. Pour mineral oil on generously, spread it with a rag or your hand, and keep the surface wet for 20 to 30 minutes, adding more wherever it soaks in and goes dull. Then wipe off everything that has not absorbed. Wait 4 to 6 hours and repeat. Three to four coats over two days is typical for a new board, and the end grain at the ends will drink far more than the faces.
Finish with a board butter, meaning a mineral oil and beeswax paste, buffed on thin and polished with a clean cloth. The wax does not seal the board so much as slow the rate at which water moves in and out, which is what actually prevents cupping and cracking.
Avoid tung oil and linseed oil products marketed for furniture, since most contain metallic driers. Genuine 100 percent tung oil is food safe but takes weeks to cure and goes rancid-smelling if applied too thick. Never use vegetable, olive, or nut oils from the kitchen. They oxidize and turn the board sour.
Food-grade mineral oil and beeswax board conditioner
Buy the mineral oil in a larger bottle than you think you need, because the first three coats on a new board absorb a surprising volume, and every board in the house wants a re-oil every month or two. A separate tin of beeswax paste is worth having, but if you would rather buy one product, a combined conditioner does both jobs adequately. Skip anything labeled as a sealer or a hard-wax film for cutting surfaces.
Common mistakes that ruin an otherwise good board
Too little clamp pressure. The most common failure. If you cannot see a small, even bead of squeeze-out along every seam, that joint is starved somewhere.
Oiling one face only. Moisture then enters and leaves at different rates on the two faces, and the board cups within weeks. Finish all six surfaces, every time.
Using the wrong wood. Red oak looks great and holds bacteria in its open pores. Pine dents under a fingernail. Reclaimed lumber of unknown origin may carry treatments you cannot see.
Sanding to 400 grit. Feels luxurious dry, absorbs almost no oil, and the finish then sits on the surface and wears off in patches.
Skipping the grain raise. The board feels perfect until its first wash, then goes rough and needs sanding again after it is already finished.
Gluing damp lumber. Joints that were perfect in July open in January when the heat comes on and the wood shrinks across its width.
Frequently asked questions about building a cutting board
How thick should a cutting board be? For a general-purpose board, 1 1/4 to 1 1/2 inches is the sweet spot. Thinner than about 1 inch and the board is prone to cupping and feels flimsy under a knife. Much thicker than 2 inches and it gets heavy enough that people stop taking it to the sink, which is its own hygiene problem. Serving and charcuterie boards can drop to 3/4 inch since they take no knife work.
Can I build a cutting board without a planer or jointer? Yes, and most people do. A table saw with a sharp blade and a properly set fence produces glue-ready edges, and a router sled or a hand plane flattens the panel afterward. The router sled costs an afternoon to build from scrap and then serves for every wide panel you ever glue up. The real requirement is enough clamps and straight, dry stock.
How often should I re-oil a cutting board, and can it go in the dishwasher? Never the dishwasher. The heat and prolonged soaking will open the glue lines and crack the wood, often on the first run. Wash by hand with soap and warm water, rinse, and stand it on edge to dry so both faces dry evenly. Re-oil whenever the surface looks dull or pale, which usually means monthly for a board in daily use and every few months for one that mostly sits.
Where to spend and where to save
If your budget is limited, put it into clamps and a sharpening setup before anything else. A sharp plane iron and clamps that stay square will get you a good board out of a table saw and a sander. A wide drum sander is a genuine luxury and not a prerequisite. Buy lumber from a real hardwood dealer rather than the big-box rack, since the price per board foot is usually lower and the stock is properly dried.
Build the first board out of plain maple, learn where your process leaks, and save the walnut for the second one. The skills here transfer directly to tabletops, panels, and every other glue-up you will ever do.
Check prices on Amazon →