What's inside
As an Amazon Associate I earn from qualifying purchases. This post may contain affiliate links at no extra cost to you.
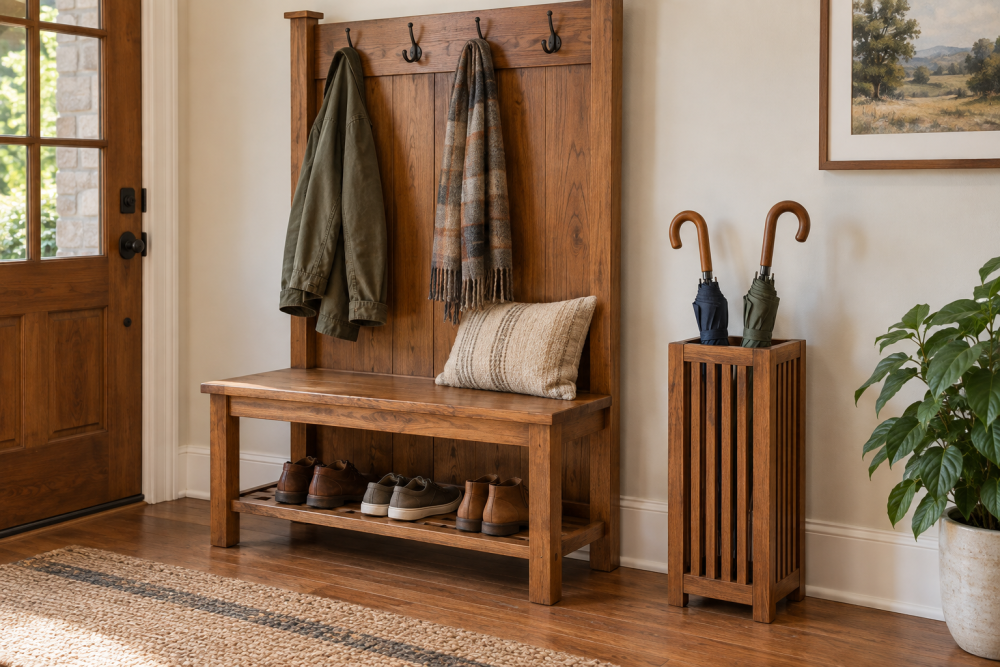
This plan makes a compact umbrella stand for a small entryway: a wood frame holds a removable plastic drip tray, while a row of dividers keeps umbrellas from leaning into the door. The finished stand is about 12 inches wide, 7 inches deep, and 24 inches tall. Those dimensions suit a few umbrellas without taking up much floor space; measure your entryway and largest umbrella before cutting.
Contents
Design and materials
The build uses straight boards, a plywood base, and simple butt joints. A waterproof tray is the part that catches water; the wood frame only supports it. That distinction matters because even sealed wood can swell or stain if water sits on it for days.
Buy one 1-by-8 board, 8 feet long, for the sides and top, plus a 12-by-12-inch piece of 1/2-inch exterior-grade plywood for the base. Actual 1-by lumber is about 3/4 inch thick. You will also need a 1-by-2 board about 30 inches long for dividers, wood glue, and 1 1/4-inch screws. A small plastic boot tray can serve as the drip tray; check its outside dimensions against the frame before buying.
There are two practical tray approaches. A removable insert is easier to clean and replace. A shop-made tray can look more integrated, but its seams need careful sealing and it is less forgiving if the finish fails.
| Tray option | Advantages | Trade-offs |
|---|---|---|
| Plastic boot tray | Low cost, removable, no waterproofing work | Must fit the opening; visible rim may sit above the frame |
| Sealed plywood pan | Can be sized to the frame and finished to match | More labor; leaks or standing water can damage the wood |
Tools and cut list
Use a saw, drill, tape measure, square, clamps, and 1/8-inch drill bit for pilot holes. A random-orbit sander is convenient, but sanding by hand works on this small project. If you need to buy a saw, a basic circular saw is enough; a miter saw makes repeated square cuts quicker, but is not necessary.
Cut the following pieces:
- Two sides: 24 inches long, 7 inches wide.
- Top: 10 1/2 inches long, 7 inches wide.
- Base: 10 1/2 inches long by 7 inches deep.
- Three dividers: 6 1/4 inches long from the 1-by-2.
The 10 1/2-inch top and base fit between the two 3/4-inch sides, giving a 12-inch outside width. The base dimensions assume the tray is no larger than 10 1/2 by 7 inches. If your tray needs more room, adjust the top, base, and divider lengths together. Leave about 1/8 inch of clearance around the tray so it lifts out without binding.
Build the frame
Sand the board faces and cut ends to 120 grit before assembly. Mark the top and base positions on the inside faces of both sides. Set the top flush with the upper ends. Position the base so its upper surface sits 1 1/2 inches above the bottom ends; that creates a shallow toe space and leaves room for the tray underneath.
Apply a thin bead of glue to each joint, clamp the frame square, and drill two pilot holes through each side into the top and base. Drive the screws until snug, not so hard that they split the board or pull the joint out of square. Check both diagonals: if they differ by more than about 1/8 inch, adjust the clamps before the glue sets.
Fasten the plywood base between the sides with glue and screws. Keep its top surface level with the marked 1 1/2-inch position. If the tray’s rim is taller than its bottom, check that the tray can still slide into the opening; a tray that wedges against the sides will be frustrating to remove for cleaning.
Add umbrella dividers
Set the three 1-by-2 dividers on the base, running from front to back. Space them evenly across the width, leaving roughly 2 1/2 inches between divider centerlines. These create four loose bays. Shift the spacing if you mainly store wide golf umbrellas or narrow folding umbrellas. Avoid making the bays too tight: wet umbrella fabric needs room to dry, and handles should lift out without catching.
Predrill through the base and screw upward into each divider, using screws short enough not to break through the top. A 1 1/4-inch screw is suitable for a 1/2-inch base and a 3/4-inch-thick divider, but test on an offcut if your materials differ. Keep the screw heads below the tray’s seating surface so they do not rock or puncture it.
Finish and test
Ease sharp edges with 120- or 150-grit sandpaper, then remove dust. Apply two or three thin coats of a water-resistant clear finish, following the product’s recoat and cure times. Pay particular attention to end grain and the bottom edges. A water-based polyurethane finish is a straightforward indoor option; it dries relatively clear, though it still needs full curing before the stand gets wet.
Place the tray in the frame and pour in about 1/2 cup of water to check that it sits flat and does not spill during removal. Dry the tray and inspect the wood after a day. If water has reached bare edges, add another coat of finish after sanding lightly. Do not rely on finish to turn a leaking homemade pan into a reliable container.
Use and maintenance
Set the stand on a level floor, away from a door swing. Empty and wipe the tray regularly, especially in freezing weather when meltwater and road salt collect quickly. If the stand rocks, check the floor before trimming its legs; a thin felt pad under one corner is an easy fix. Keep the wood dry between uses, and the simple removable-tray design should need little more than occasional cleaning and a touch-up coat where the finish gets scratched.