What's inside
As an Amazon Associate I earn from qualifying purchases. This post may contain affiliate links at no extra cost to you.
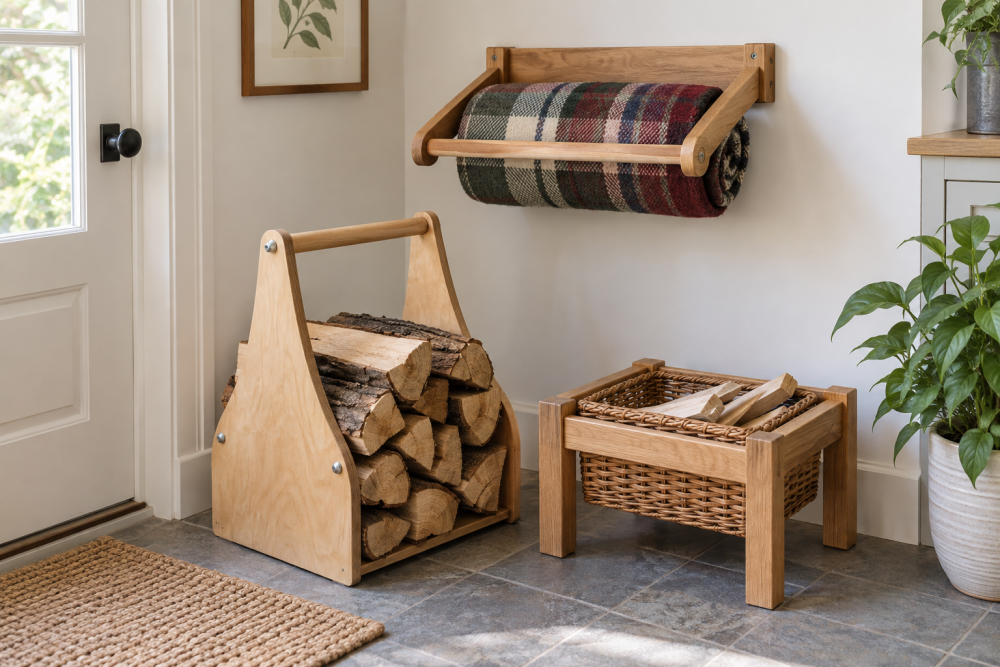
A compact kindling basket stand keeps a small supply of split wood off the floor and makes it easier to carry a basket without bending down. This version has a 14-by-12-inch top frame, four short legs, and open sides. It suits a small indoor basket, not a full firewood load. Build it from dry, straight lumber and keep the stand well away from the stove or fireplace; the stand does not make stored wood fireproof.
Contents
Size, load, and layout
The finished stand is about 14 inches wide, 12 inches deep, and 8 inches tall. Those dimensions fit many compact kindling baskets while leaving the sides open for airflow. Measure your basket first: make the top frame at least 1 inch wider and deeper than the basket’s base. If the basket has narrow feet, check that they land on the frame rather than between boards.
Plan for a modest load of roughly 20 to 25 pounds, including the basket. That is enough for kindling and a few small splits, but not a heavy bin of logs. The frame and legs below are sized for that use when joined securely. Avoid standing or sitting on the finished piece.
Materials and tools
Use one straight 1-by-3 board, preferably dry pine or poplar, and a short piece of 2-by-2 stock for the legs. A 1-by-3 is actually about ¾ by 2½ inches; a 2-by-2 is about 1½ inches square. Select boards without large knots near the cuts or joints. Hardwood costs more and is not necessary for a stand that stays indoors and carries a light load.
You’ll also need wood glue, 1¼-inch screws, sandpaper, a drill, a saw, a square, a tape measure, and a countersink bit if available. A basic set of woodworking clamps helps hold the frame square while fastening, but careful assembly on a flat surface works if you don’t own them. A pack of 1¼-inch wood screws is suitable; avoid longer screws that could break through the ¾-inch frame boards.
Cut list and material choices
| Part | Quantity | Cut size | Use |
|---|---|---|---|
| Long rails | 2 | 14 inches | Top frame, front and back |
| Short rails | 2 | 10½ inches | Top frame, sides |
| Legs | 4 | 8 inches | Support frame at corners |
The short rails fit between the long rails, giving an outside frame about 14 by 12 inches. Check the actual board width before cutting; if it differs from 2½ inches, set the short rail length to the desired outside depth minus twice the board width. Pine is inexpensive and easy to work, but dents readily. Poplar is a little tougher and usually costs more. Either is fine; paying extra for hardwood has little benefit for this project unless appearance or repeated heavy use matters.
Build the top frame
Cut the rails square and sand the cut ends. Lay the two long rails parallel on a flat bench, then fit a short rail between them at each end. Check the outside dimensions and use a square to confirm each corner. Drill two pilot holes through each long rail into the end of each short rail. Pilot holes matter in narrow stock: driving screws without them can split the rail or push the joint out of square.
Add a thin film of glue to each mating end, then drive two screws into each corner. Wipe off squeezed-out glue. Recheck the diagonals: measure from opposite corners of the frame. If the two measurements differ, nudge the frame until they match before the glue sets. A frame that is out of square can rock on the legs and make the basket sit crooked.
Attach and level the legs
Turn the frame upside down. Place one leg inside each corner, with its top flush to the underside of the frame and its outer faces aligned with the frame edges. Drill two pilot holes through each rail into the leg. Add glue at the joint and fasten with 1¼-inch screws. Keep the screws centered in the leg; screws too close to an edge can split it.
Set the stand upright on a flat floor and test for rocking. If one leg is slightly long, mark the amount and trim its bottom gradually. Don’t try to correct a loose joint by shortening a leg. Tighten or rebuild the joint instead. Press down on each corner and then the center of the frame; any creaking or visible movement calls for a closer look before loading it.
Sand, finish, and use safely
Sand the edges and corners with 120-grit paper, then finish with 180 grit if you want a smoother feel. A bare, well-sanded stand is perfectly serviceable indoors. If you use a finish, choose one intended for interior wood and let it cure fully according to its label before bringing it near stored kindling. Avoid thick coatings that can remain tacky or transfer to the basket.
Place the stand on a level, dry floor and keep it outside the appliance’s required clearance zone. Follow the stove or fireplace manual for clearance distances; they vary by appliance and surrounding materials. Don’t store kindling where sparks, hot embers, or a warming stove can reach it. Check the stand occasionally for loose screws, split legs, or moisture damage. If the basket is substantially heavier than the planned load, increase the leg size and use a stronger frame rather than relying on extra finish or longer screws.