What's inside
As an Amazon Associate I earn from qualifying purchases. This post may contain affiliate links at no extra cost to you.
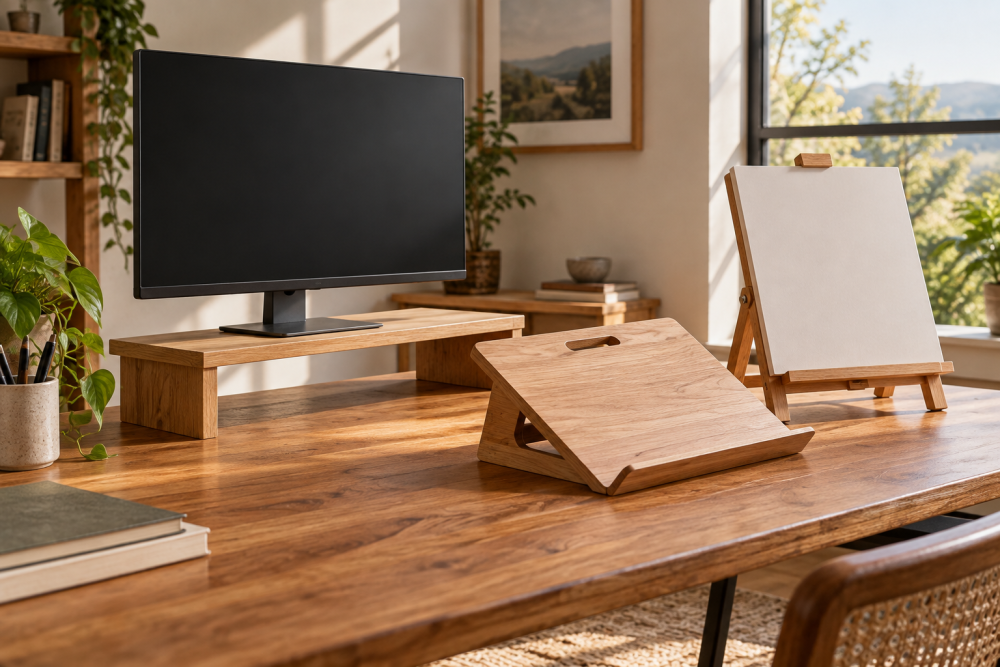
A desktop drawing board is useful for sketching, drafting, lettering, and detail work, but a flat board quickly becomes uncomfortable. This version uses a hinged back support and a row of adjustment stops, so you can change the angle without buying a drafting table. It is a suitable weekend project for a beginner with basic woodworking tools.
Contents
Project Overview
The finished board is 24 inches wide by 18 inches deep. That size fits most desks while leaving room for a standard 18-by-24-inch drawing sheet with a small border. The top tilts from flat to approximately 35 degrees. A removable ledge at the front keeps paper, rulers, and pencils from sliding downhill.
| Feature | Recommended choice | Why it matters |
|---|---|---|
| Top | 1/2-inch plywood or MDF | Flat, stable, and inexpensive |
| Back support | 3/4-inch hardwood strip | Handles repeated adjustment better than thin plywood |
| Adjustment system | Five routed or screwed stops | More secure than relying on friction alone |
| Surface finish | Clear water-based polyurethane or hard-wax oil | Protects the board without making it excessively slippery |
For the top, cabinet-grade plywood is the best all-around choice. MDF is cheaper and very smooth, but its edges damage easily and it becomes heavy. Solid wood looks better but may cup or twist with seasonal humidity changes. If you buy plywood, a 1/2-inch birch plywood panel is a practical option.
Materials and Tools
You will need one 24-by-18-inch panel for the top, one 18-by-2-by-3/4-inch hardwood strip for the front ledge, one 20-by-2-by-3/4-inch hardwood strip for the rear support, two 18-inch piano-hinge leaves or three small butt hinges, and five 1-by-2-inch hardwood stop blocks. Use 1-inch or 1 1/4-inch screws, wood glue, sandpaper, and finish.
The basic tools are a tape measure, square, pencil, drill, countersink bit, clamps, and saw. A router makes the adjustment stops look cleaner, but it is not necessary. A small wood clamps set helps hold the ledge and hinges accurately while you work.
Cut and Prepare the Parts
Cut the top to 24 by 18 inches. Check both diagonals with a tape measure; if they differ by more than 1/8 inch, the panel is not square. Correct it now, because a crooked front edge will be noticeable when you tape paper to the board.
Round the top’s exposed corners with a 1/4-inch round-over bit or sand them by hand. Break every sharp edge with 120-grit sandpaper, then finish with 180 grit. Do not over-sand the face. A slightly toothy surface holds paper better than a polished one.
Cut the front ledge to 18 inches long. A 1 1/2-inch-wide ledge is enough to stop paper without taking too much working area. Ease its top corners and sand the face smooth. If you plan to use the board for technical drawing, keep the ledge low and square; a tall lip can interfere with a T-square.
Install the Hinge and Ledges
Position the front ledge flush with the lower edge of the drawing surface. Apply a thin bead of glue and drive screws from the underside of the panel into the ledge. Drill pilot holes first. Without pilots, the ledge can split, especially near its ends.
Place the rear support across the underside, about 2 inches from the back edge. Attach it with a piano hinge or two butt hinges. The support should fold flat beneath the board and swing out toward the desk. Leave roughly 1/16 inch of clearance at each end so seasonal movement does not make the hinge bind.
A continuous 18-inch stainless steel piano hinge spreads the load well. Small hinges are cheaper and work fine if you use three, but they require more careful alignment.
Make the Angle Adjustment
Turn the board upside down and mark five stop positions along the underside, centered from left to right. The first stop should produce about 8 degrees, followed by approximately 15, 22, 29, and 35 degrees. Exact angles are less important than evenly spaced, stable positions.
There are two ways to make the stops. The easiest is to glue five hardwood blocks across the board, each one perpendicular to the rear support. Space them so the support rests against one block at a time. Use 1-by-2-inch blocks with their 2-inch dimension running front to back. Round their upper edges slightly so the support seats consistently.
For a cleaner version, cut a shallow 3/4-inch-wide by 1/4-inch-deep groove for each position and glue in a hardwood stop. This resists sliding better, but it requires a router or careful chisel work. Do not make the grooves too deep; removing too much material weakens the panel.
Test every position before applying finish. Push firmly on the front ledge. If the support creeps or pops out, enlarge the stop height by 1/8 inch or add a narrow retaining strip. A board that shifts while you draw is more frustrating than one with fewer angle settings.
Finish and Test the Board
Apply two thin coats of water-based polyurethane to the top, ledge, and exposed edges, sanding lightly with 220-grit paper between coats. A water-based polyurethane wood finish dries quickly and has little odor, making it a good choice for an indoor build. Let the final coat cure for at least 48 hours before taping paper to it.
Place the board on a desk and test it with a stack of books under the rear support. Check that all four corners remain supported and that the board does not rock. Put your hands on the upper half and apply moderate downward pressure. If the panel flexes noticeably, add a second support rail under the center or use 3/4-inch plywood instead.
Seasonal and Skill-Level Notes
Build this project indoors during winter if possible, when the material is dry and stable. In humid summer conditions, leave a small gap between the underside hardware and the desk rather than forcing parts tight. MDF is fine for a low-cost indoor board, especially if the edges are sealed twice. Choose plywood if the board will be moved often or stored in a garage.
Beginners should use the simple block-stop method. More experienced woodworkers can add a recessed pencil tray, a parallel-rule mounting strip, or a cork-covered face. Avoid adding heavy accessories to the upper edge: they raise the center of gravity and can make the board tip when set to its steepest angle.