What's inside
As an Amazon Associate I earn from qualifying purchases. This post may contain affiliate links at no extra cost to you.
Contents
Why Summer Is the Best Time to Practice
Exterior finishes are easiest to learn when the weather is warm, dry, and predictable. Summer gives you longer working days, but it also creates problems that show up quickly: finish dries too fast in direct sun, wood moves with humidity, and a damp board can trap moisture under paint or stain.
The best learning projects are small enough to finish in one or two days. You want simple joinery, several exposed surfaces, and enough area to practice brushing, wiping, sanding, and recoating. A project that uses eight to fifteen board feet of lumber is usually large enough to teach useful lessons without wasting a gallon of finish.
As an Amazon Associate we earn from qualifying purchases at no extra cost to you.


Before starting, check the product label for temperature and humidity limits. As a general target, apply exterior finish between 50 and 90 degrees Fahrenheit, out of direct sun, with no rain expected for at least 24 hours. Avoid coating wood that is visibly wet or that feels cold and clammy in the morning.
Best Projects by Skill Level
| Project | Skill level | What you learn | Typical finish time |
|---|---|---|---|
| Simple planter box | Beginner | End sealing, brushing, and treating end grain | 1–2 days |
| Outdoor bench | Intermediate | Surface preparation, multiple coats, and horizontal wear | 2–4 days |
| Shutter or garden gate | Intermediate | Coating edges, joints, and movement-prone panels | 2–3 days |
| Small porch table | Advanced | Even color, film finishes, and maintenance planning | 3–5 days |
Beginner Project: A Simple Planter Box
A planter box is the most forgiving project because the inside does not need furniture-quality finishing. Build a box roughly 18 inches long, 8 inches wide, and 8 inches tall from cedar, pressure-treated lumber, or an exterior-rated softwood. Use 1-inch-thick boards if you want a sturdy box, and drill several 3/8-inch drainage holes in the bottom.
Sand the visible faces to 120 grit. Do not polish exterior wood to 220 grit; a slightly open surface gives penetrating stain something to grip. Ease sharp edges with one or two light passes of sandpaper. Sharp corners shed finish first and are easy to miss with a brush.
Apply finish before assembly if the design has tight inside corners. Coat every end grain surface twice, allowing the first coat to soak in before applying the second. End grain absorbs finish much faster than the face of a board and is a common entry point for water.
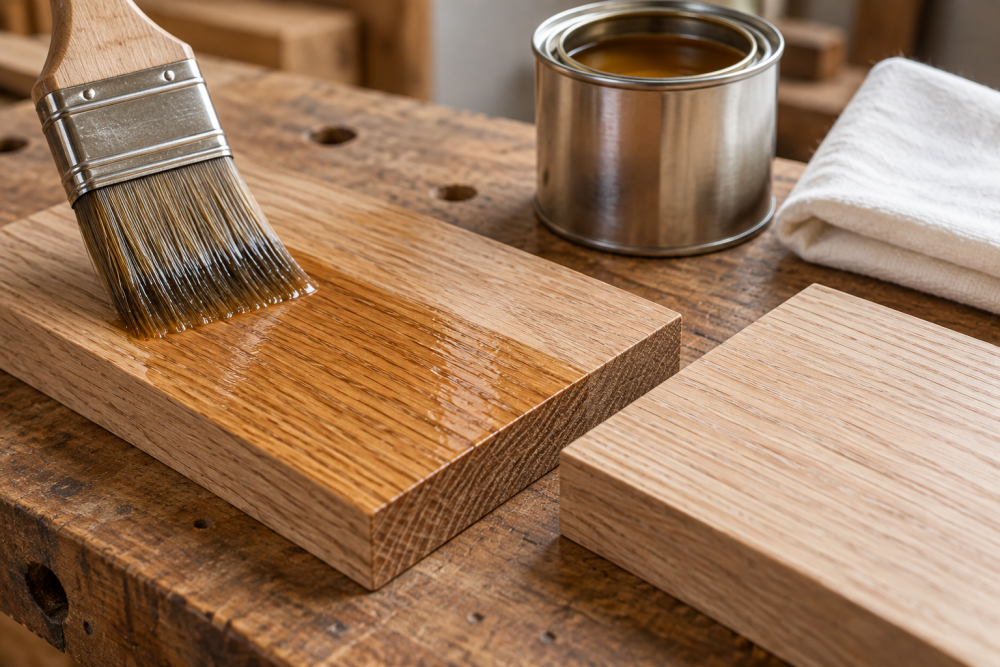
For a beginner, a penetrating exterior wood stain is easier than paint or varnish. It will not create a thick film that can peel, and maintenance usually means cleaning and adding another coat. The trade-off is less protection from abrasion and a shorter color life on sunny surfaces.
Intermediate Project: Outdoor Bench
An outdoor bench teaches more about preparation because the seat is a high-wear, horizontal surface. A basic bench can use two 2-by-6 seat boards, four legs, and lower stretchers. Round over or heavily ease the front edges of the seat; a sharp edge will wear through a film finish quickly.
Dry-fit the parts before finishing, then mark the faces that will be difficult to reach after assembly. Sand the seat to 120 or 150 grit, remove dust with a vacuum, and wipe with a clean, slightly damp cloth if the product allows it. Do not use a soaking-wet rag immediately before coating.
For a painted bench, use an exterior wood primer and paint. Primer is especially worthwhile over pine, fir, and treated lumber, where extractives or resin can discolor the topcoat. Apply two thin topcoats rather than one heavy coat. Heavy paint can skin over while remaining soft underneath, leading to fingerprints, sticking, and early peeling.
Use a brush with synthetic bristles for water-based paint. Work in sections and maintain a wet edge. If the paint starts dragging or becomes tacky, stop rather than repeatedly brushing it; wait for better conditions or move into shade. Direct sun can make a good finish look permanently ridged.
Intermediate Project: Garden Gate or Shutter
A gate or shutter is useful for learning how wood movement affects a finish. Build the frame with loose space around any inset panel. Do not glue a solid panel tightly into a frame; seasonal expansion can split the frame or force joints apart.
Finish all six sides of each part, including the bottom edges and the ends of rails and stiles. These hidden areas are not optional. If water enters from an unfinished edge, it can push the finish off from underneath.
A solid-color stain is a good middle ground for this project. It hides uneven color better than a clear finish but usually wears more gracefully than a thick paint film. A solid-color exterior stain is also a practical choice when the lumber has mismatched grain or minor surface defects.
Advanced Project: Small Porch Table
A porch table is the best summer project for learning a clear or lightly tinted finish. Use cedar, cypress, or a stable, dry hardwood, and keep the top simple. Wide, edge-glued panels are harder to finish successfully because they move more across their width.
Sand progressively to 150 or 180 grit, then inspect the surface under angled light. Wipe-on finishes make uneven sanding obvious. Apply thin coats and lightly scuff between coats only when the label calls for it. Sanding too aggressively can cut through the finish on corners and leave visible dull spots.
For a more durable film, consider an exterior spar urethane. It offers better water resistance and a smoother surface than penetrating stain, but it demands more preparation and maintenance. Once the film cracks or peels, you generally need to sand back damaged areas before recoating. It is a poor choice for a rough-sawn project or any piece you do not want to maintain.
Summer Application and Maintenance
Keep boards off the ground on stickers while they acclimate and while finish dries. Leave at least 1/4 inch of space beneath stacked pieces so air can circulate. Do not stack finished parts until they are no longer cool, tacky, or strongly solvent-smelling.
Expect the first maintenance check after one summer, especially on horizontal surfaces and south-facing sides. If the finish is faded but still sound, clean it and apply another compatible coat. If you see peeling, black mildew, or gray, fuzzy wood, repair the problem before recoating. Covering failure with a fresh coat only delays it.
The cheaper option is often fine: a basic penetrating stain costs less and is easier to renew than spar urethane. Spend more on primer, brushes, or better surface preparation when the project will see heavy use. A careful 20-minute sanding and a fully coated end grain will usually do more for service life than an expensive finish applied over dust or damp wood.