What's inside
As an Amazon Associate I earn from qualifying purchases. This post may contain affiliate links at no extra cost to you.
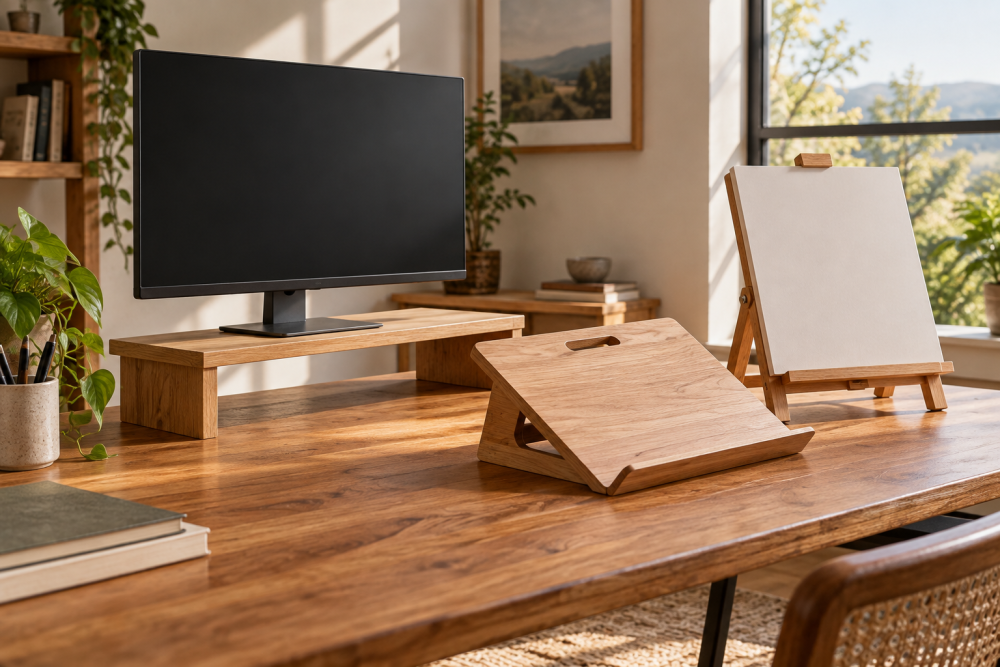
A plywood laptop riser is a useful first project: it needs only straight cuts, a handful of holes and a little sanding. This design lifts the back of a laptop about 2 inches while leaving the front edge low, with ventilation openings beneath the computer. It suits a compact laptop and a desk with enough room for a fixed stand.
Contents
Dimensions and fit
The stand is 12 inches wide and 10 inches deep, with a 1½-inch-high front rail and 3½-inch-high rear rail. Side supports slope between them, tilting the top roughly 11 degrees. The 12-by-10-inch top works for many laptops up to about 14 inches, but check your computer before cutting: leave at least ½ inch of clearance around its footprint. For a larger laptop, widen the stand to the laptop’s width plus about 1 inch.
This is a raised platform, not an adjustable ergonomic stand. A higher screen position may help, but the keyboard will be angled. For long typing sessions, pair it with a separate keyboard and mouse.
Materials and tools
Use ½-inch plywood for the top and side supports; ¾-inch stock is a sturdier choice if the stand will carry a heavy laptop or be moved often. A small project panel is usually enough. Construction-grade plywood is inexpensive, but its voids can break through during drilling and its rough veneer takes more sanding. Baltic birch or a good cabinet-grade panel costs more and gives cleaner edges.
You’ll also need two ½-by-1½-inch hardwood strips for the front and rear rails, wood glue, four small screws for the rails, sandpaper and a finish. A jigsaw or handsaw can cut the parts; a drill and ½-inch bit make the vents. A pair of woodworking clamps is helpful, though not essential if you can hold the pieces securely while the glue sets.
| Top material | Cost and work | Best fit |
|---|---|---|
| ½-inch construction plywood | Lowest cost; may have voids and rough veneer | A budget stand or a first practice project |
| ½-inch cabinet-grade plywood | Cleaner faces and edges; costs more | A neat finish without adding much weight |
| ¾-inch plywood | Heavier and stiffer; takes longer to drill | A larger stand or frequent handling |
Cut the parts
Cut one top panel to 12 by 10 inches. Cut two side supports with a 10-inch bottom edge, a 1½-inch front height and a 3½-inch rear height. Mark the sloping top edge between the two heights, then cut both supports to the same shape. A cardboard template helps keep the pair identical.
Cut the front rail to 12 inches and the rear rail to 12 inches. Set the rails between the side supports, with their lower edges aligned to the bottoms of the supports. The front rail creates a shallow stop so the laptop cannot slide forward; the rear rail braces the high end. Dry-fit the pieces before gluing. If the top panel overhangs the sides, check that it is centered and that the rails do not obstruct the laptop’s ports.
Drill the ventilation
Mark a grid of ½-inch holes on the top panel, keeping the holes at least 1 inch from each edge and ¾ inch from each other. A useful pattern is three rows of five holes, centered across the panel. That leaves plenty of material around the holes while allowing warm air to escape.
Clamp the panel over scrap wood and drill straight through. The scrap backing reduces tear-out on the underside. If you only have a larger bit, fewer ¾-inch holes can work, but avoid cutting so much away that the top feels flexible. A narrow jigsaw slot is quicker for some builders, though it leaves rougher edges and can weaken the panel more than a spaced hole pattern.
Assemble the stand
Sand the cut edges and smooth both faces, starting with 120-grit paper and finishing with 180 grit. Round the front corners slightly so they are less likely to catch a sleeve or scratch a desk. Apply glue to the ends of each rail, position them between the supports, and clamp. Add one screw through each side into each rail; drill pilot holes first to reduce splitting.
Place the top panel across the supports and center it. Check that the slope faces the right direction and that the vent holes are not covered by a rail. Apply glue to the support edges and fasten the top with short screws from above or below. If driving screws from above, countersink them so they sit flush; never let a screw tip protrude into the laptop area. Use screws short enough not to emerge through the plywood.
Before finishing, set the laptop on the stand and gently push it forward. If it slides past the front rail, raise the rail slightly or add a thin strip of cork to its inside face. A strip of cork also reduces scratches, but avoid thick, soft padding that blocks airflow or makes the laptop rock.
Finish and check
Seal the plywood with a water-based polyurethane or wipe-on finish, following the label’s drying times. Keep finish out of the ventilation holes and let it cure fully before setting a computer on the stand. A water-based wood finish is a practical choice indoors because it has less odor than many oil-based finishes.
Place the finished stand on a level desk and test it with the laptop closed, then open. It should not rock, and the front stop should hold the computer without covering its touchpad or ports. Check the laptop’s underside vents: if they sit directly over solid plywood, shift the hole pattern or add more openings. Ventilation holes improve the path for air, but they cannot fix a laptop whose intake vents are blocked elsewhere.
For a non-slip base, stick thin cork or rubber pads under the four corners. Cheap adhesive felt is fine on a stationary desk, but it can compress or peel if you move the stand often. In that case, use screw-on rubber feet or replaceable adhesive feet and check them periodically.