What's inside
As an Amazon Associate I earn from qualifying purchases. This post may contain affiliate links at no extra cost to you.
Contents
Choose a Plan That Fits Your Desk
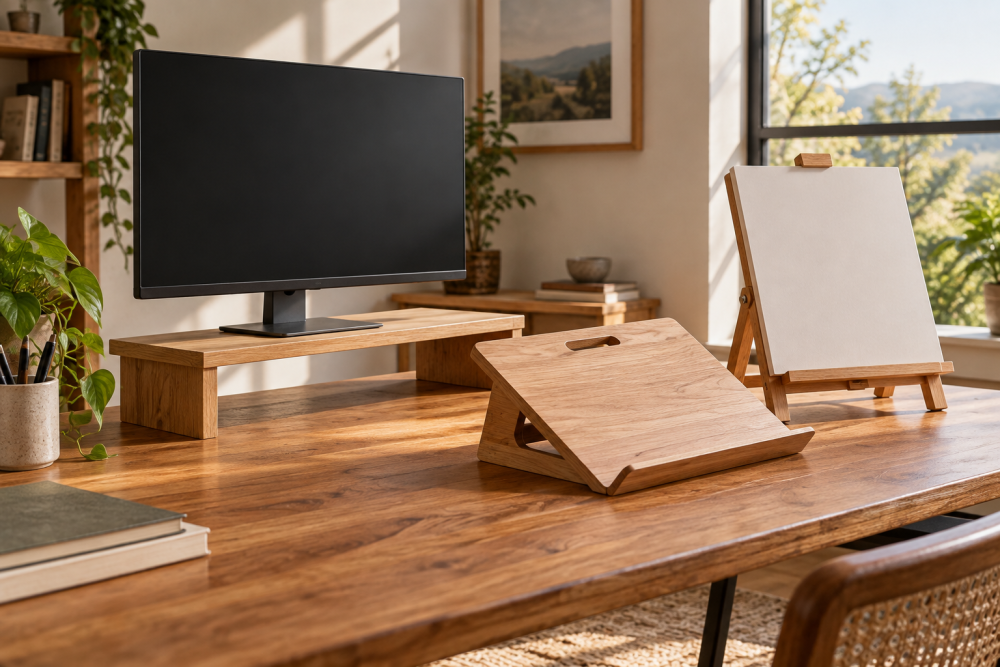
A solid-wood monitor riser is a straightforward beginner project: two legs or side supports, a top, and one or more openings for cables. The important decisions are the riser height, the wood’s width, and how you will prevent the top from sagging or sliding.
For most desks, a 3- to 5-inch-high riser works well. Measure your seated eye level before cutting. Your monitor’s top edge should be roughly level with your eyes, though glasses, posture, and a second monitor may change that target. Leave enough clearance underneath for a keyboard, notebook, or small laptop.
| Plan | Typical size | Best for | Main trade-off |
|---|---|---|---|
| Simple shelf | 24 x 9 x 4 inches | One monitor and a compact keyboard | Least storage and simplest construction |
| Wide shelf | 36 x 10 x 4 inches | Two smaller monitors or a monitor and speakers | Needs thicker stock or a center support |
| Drawer-style riser | 24 x 10 x 5 inches | Storage for drives, pens, and accessories | More parts and more opportunities for misalignment |
For a first build, use the simple shelf unless you specifically need storage. A 24-inch-wide riser is easier to keep square and is less likely to sag. If you plan to support a heavy ultrawide monitor, use a center divider or increase the top thickness to 1 inch.
Materials and Tools
Buy a clear, flat hardwood board such as maple, oak, beech, or poplar. A 3/4-inch board is adequate for a riser up to about 24 inches wide when the supports are placed near the ends. Avoid construction lumber unless you are willing to sort through boards and tolerate knots, dents, and movement.
You will need one top approximately 24 x 9 x 3/4 inches and two side supports approximately 9 x 3 1/2 x 3/4 inches. Add a 3/4-inch-thick center support if the top will be wider than 30 inches or carry unusually heavy equipment. A small amount of wood glue, 1 1/4-inch screws, sandpaper, and finish complete the basic materials.
A circular saw with a straightedge is enough for cutting. A drill, drill bits, countersink bit, clamps, square, tape measure, and pencil are also useful. For the cable openings, a 1 1/4- to 2-inch hole saw gives a clean result. If you do not own one, a wood hole saw kit is usually cheaper than buying several individual sizes.
A random-orbit sander speeds up surface preparation, but sanding by hand is perfectly acceptable for this project. The cheaper option is fine if you only build occasional small projects; just start with 120-grit paper and finish with 180-grit.
Cut and Prepare the Parts
Cut the top and supports as squarely as possible. If you use a circular saw, clamp a straight board as a guide rather than trying to follow a pencil line freehand. Check each cut with a square. A support that is even 1/8 inch out of square can make the riser rock or force the top out of alignment.
Mark the cable openings before assembly. The simplest arrangement is one opening near the back center, but two openings—one behind each monitor—are cleaner when cables come from different sides. Keep each hole at least 2 inches from an end and 1 1/2 inches from the back edge so the wood does not split or become weak around the opening.
Use a desk cable grommet if you want a finished edge. A plastic grommet is inexpensive and hides slightly rough hole-saw cuts. If you prefer an all-wood look, drill the hole, sand its edge with folded sandpaper, and ease the rim with a small round-over bit or sanding block.
Assemble the Riser
Set the top upside down on a flat surface. Position the supports 2 inches in from each end. Mark their locations on the underside, then drill two pilot holes through the top for each support. Use a drill bit slightly smaller than the screw’s solid shaft. Countersink the holes so the screw heads finish flush or slightly below the surface.
Apply a thin, even coat of wood glue to the top edge of each support. Clamp the supports in place, check that they are parallel, and drive the screws. Do not over-tighten; excessive force can strip the wood or pull the supports out of square. Wipe away squeezed-out glue with a damp cloth before it dries.
For a wide riser, install a center support in the same way. It should run front to back and touch the underside of the top. This support improves stiffness, but it reduces the open storage space underneath. Another option is a front-to-back stretcher near the rear, though it may interfere with cables and a monitor arm.
Make the Cable Openings Work
Test the riser with your actual cables before applying finish. A 1 1/4-inch hole fits a single power cable and video cable, but 2 inches is more practical for several thick cables or a USB hub. Drill from the finished side until the pilot bit emerges, then finish from the opposite side. This reduces tear-out around the hole.
If the riser slides on a smooth desk, add thin rubber or cork pads under the supports. Buy self-adhesive rubber bumper pads rather than gluing felt to the entire underside. Four pads are enough for a small riser; use six if the shelf is wide. Pads also compensate for tiny differences in support height, but they will not fix a seriously uneven assembly.
Sand and Finish
Break every sharp edge with 120-grit sandpaper, then sand the visible surfaces with 150- and 180-grit paper. Do not polish the surface excessively before finishing; many finishes bond better to a lightly abraded surface. Remove dust with a vacuum and a clean, slightly damp cloth.
For a beginner-friendly finish, wipe-on polyurethane or hardwax oil is easy to apply. Oil gives a natural feel but offers less resistance to standing water. Polyurethane provides better protection from coffee, cleaning spray, and damp mugs. Use a wipe-on polyurethane wood finish if the riser will see daily desk use.
Apply two or three thin coats, lightly sanding between coats according to the label. Allow the finish to cure fully before placing a monitor on it. A riser that feels dry can still be soft enough to mark under concentrated monitor feet. Finally, check it on the desk with the monitor installed, route cables through the openings, and confirm that the top does not wobble before relying on it.