What's inside
As an Amazon Associate I earn from qualifying purchases. This post may contain affiliate links at no extra cost to you.
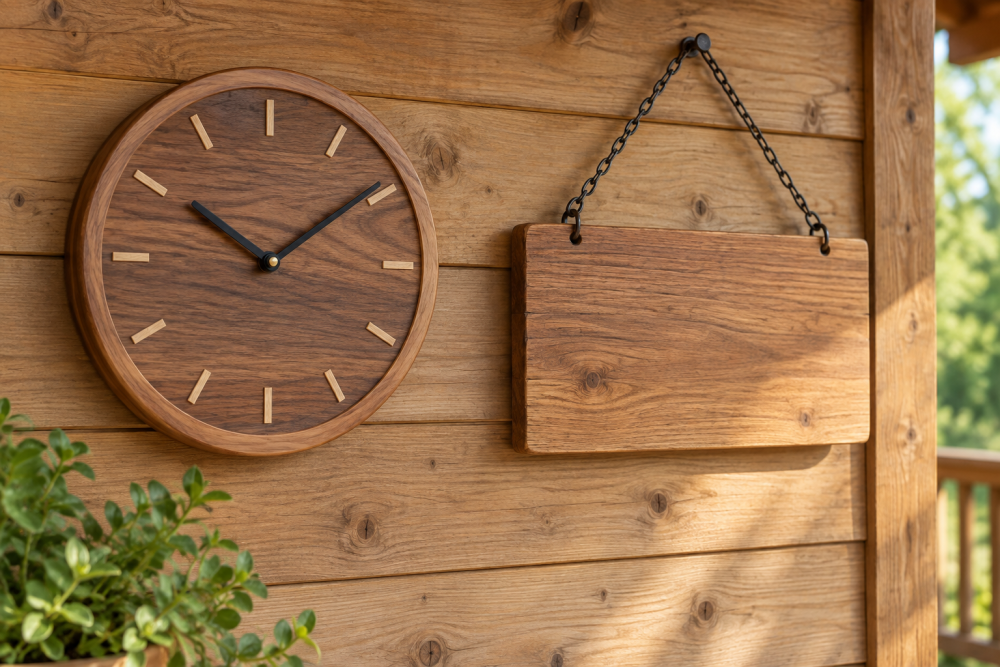
An outdoor clock looks simple until the first season of rain and sun destroys it. The hands rust, the wood cups, and the numbers peel. Building one that actually lasts outside comes down to three decisions: a movement that can handle temperature swings, a face that won’t absorb water, and a finish that blocks UV without trapping moisture. Get those right and the project takes a weekend. Get them wrong and you’ll be rebuilding it by spring.
Contents
What You Need: Materials and Tools
For a 14 to 18-inch clock, which is the most readable size from 20 feet away, start with a stable blank. A single glued-up panel is better than a cross-cut slab, which will crack as it expands and contracts. You’ll need a high-torque weatherproof clock movement rated for outdoor use, not a standard indoor movement. The high-torque designation matters because outdoor hands are larger and heavier, and wind load adds drag. Standard movements stall or lose time below 40°F.
Other essentials: exterior-rated wood, a 1/2-inch to 3/4-inch Forstner bit for the movement shaft, numbering or markers, hands sized to your dial (allow 1/2-inch clearance to the edge), silicone or EPDM gasket for the lens, and stainless or brass hardware. For tools, a jigsaw or bandsaw, router with flush-trim and roundover bits, drill, random orbit sander, and clamps are enough. Skip brad nails for the main assembly. They create entry points for water.
Choosing Wood and the Right Movement
Not all rot-resistant woods are good for clocks. You want low movement in service, meaning the wood doesn’t swell and shrink a lot with humidity, otherwise your perfectly round dial goes oval and the hand clearance disappears.
| Wood Species | Cost | Outdoor Durability | Dimensional Stability | Trade-off |
|---|---|---|---|---|
| Western Red Cedar | Low-Moderate | Excellent, 15+ years untreated | Very Good | Soft, dents easily. Needs hard finish on face |
| White Oak (quartersawn) | Moderate | Excellent, closed grain resists water | Excellent | Heavy, harder to work. Don’t confuse with red oak, which rots quickly |
| Teak | High | Excellent, natural oils | Excellent | Expensive, dulls tools, oily surface complicates gluing and finishing |
| Pressure-Treated Pine | Low | Good, but chemical treated | Poor | Prone to warping and checking. Cheap but least stable for a flat dial |
For most builders, cedar or white oak is the sweet spot. Teak is better if budget allows, but you must wipe joints with acetone before gluing. Avoid pine unless you laminate it and seal all six sides immediately.
For the movement, measure the thickness of your finished face plus lens standoff. Movements are sold by shaft length: 1/4-inch, 7/16-inch, 3/4-inch, etc. If your dial is 3/4-inch thick and you add a 1/8-inch lens spacer, you need at least a 7/8-inch shaft. Too short and the nut won’t engage; too long and the hands sit recessed and catch water. Choose a movement rated to at least -20°F to 120°F and that uses a single AA battery. Sealed battery compartments with a rubber gasket are worth the extra $10 to $15. Expect to pay $18 to $35 for a true weatherproof unit. Anything under $12 is almost certainly an indoor movement rebranded.
Building a Face That Won’t Fail Outside
The dial itself is where most outdoor clocks fail. Raw wood, even with paint, will wick moisture through end grain and under numerals.
Start by milling and gluing your panel to 3/4-inch thick. Use waterproof exterior wood glue and clamp for a full 24 hours. After flattening and sanding to 150 grit, cut your circle. A simple trammel or circle-cutting jig on a router gives a cleaner edge than freehand jigsawing. Rout a 1/4-inch deep rabbet, about 3/8-inch wide, around the front perimeter to seat a clear lens. Polycarbonate is better than glass or acrylic outdoors — it won’t shatter in hail or cold and it blocks UV. Cut it 1/16-inch undersized to allow for expansion.
Seal the wood before you add numbers. This is critical. Apply two thinned coats of marine spar urethane or exterior spar varnish to all surfaces, including the back and the inside of the shaft hole. Spar remains flexible, so it won’t crack when the wood moves. Polyurethane made for interior floors will crack and peel within a year outside. Let each coat cure, scuff with 220 grit, then apply two full-strength coats.
For numerals, you have three weatherproof options: routed and painted numbers filled with exterior enamel, powder-coated brass or stainless markers screwed in, or vinyl decals buried under two more coats of spar. Painted surface numbers without a topcoat will fade and peel in 6 to 12 months. If you use wood numerals, make them from the same species or from composite, and bed them in silicone, not just glue.
Drill the center hole for the movement shaft with a Forstner bit from the front to avoid blowout. Test-fit the movement. The shaft should protrude at least 1/8-inch beyond the front face for the washer and nut. Seal the end grain inside the hole with varnish again. Any exposed end grain is a straw for water.
Assembly, Sealing, and Hand Installation
Dry-fit everything before finishing the final coats. Place the lens in the rabbet with a thin closed-cell foam gasket or a bead of clear silicone. Don’t glue the lens permanently — you will need to remove it to change the battery or replace hands. Small stainless turn-buttons or a retaining ring lets you service it.
Mount the movement from the back. Hand-tighten the nut only. Over-tightening with pliers warps the case and strips the plastic threads, a common failure that lets the movement wobble and hands scrape. Add a rubber washer between movement and wood if your kit includes one; it dampens vibration and helps seal the hole.
Install hands with care. Press the hour hand first, then the minute hand, leaving about 1/16-inch clearance between them and between the minute hand and the lens. Spin the hands by hand for a full rotation to check for rubbing. If they catch, the dial isn’t flat or the shaft isn’t perpendicular. Sanding the back of the movement flat or adding a thin shim fixes it.
Finish the back even though no one sees it. Two coats of spar on the back panel prevent unbalanced moisture uptake, which causes cupping. Drill a 1/8-inch weep hole at the very bottom of the case if your design has a boxed frame. It lets condensation drain instead of pooling around the electronics. Do not drill a weep hole at the top — it becomes a rain entry.
Mounting and Long-Term Maintenance
How you hang it matters as much as how you build it. Direct flat-mounting against a wall traps water behind the clock and rots both surfaces. Use a French cleat or standoff brackets that hold the clock 1/2-inch off the wall to allow airflow. On a post or fence, angle the top slightly forward, about 3 to 5 degrees, so water runs off the lens rather than sitting on the gasket.
Plan for annual maintenance. Even the best marine finish breaks down under UV. Once a year, clean the lens with mild soap, check the battery compartment for corrosion, and inspect the finish. If water stops beading, lightly scuff with 320 grit and apply one refresher coat of spar. This takes 30 minutes and triples the life of the build.
Batteries die faster outside. Cold reduces capacity by 30 to 50 percent. Use lithium AA batteries instead of alkaline for winter clocks. They hold voltage down to -40°F and don’t leak and corrode the contacts, which is the number one killer of outdoor movements. If you live where it regularly drops below 0°F, bring the movement inside during the worst two months or switch to a mechanical D-cell movement rated for extreme cold.
A well-built cedar or white oak clock with a sealed movement and spar varnish should run 5 to 8 years before needing a full refinish, and much longer if you keep up with that annual topcoat. The extra work sealing end grain and choosing the right movement is what separates a yard decoration that lasts one summer from a fixture that stays accurate year-round.