Key takeaways
- A step-by-step tutorial on using a router for cutting dadoes, including bit selection, jig setup, pass depth, and how to handle undersized plywood.
What's inside
- What Kind Of Router For Cutting Dadoes Actually Works
- Step 1: Measure The Real Thickness Of Your Shelf Stock
- Step 2: Choose The Bit And The Cutting Strategy
- Step 3: Build The Straightedge Guide And Set The Offset
- Step 4: Cut In Shallow Passes And In The Right Direction
- Step 5: Stopped Dadoes And The Test Fit
- Common Mistakes That Show Up In The Finished Piece
- FAQ: Routing Dadoes
- What Kind Of Router For Cutting Dadoes Actually Works
- Step 1: Measure The Real Thickness Of Your Shelf Stock
- Step 2: Choose The Bit And The Cutting Strategy
- Step 3: Build The Straightedge Guide And Set The Offset
- Step 4: Cut In Shallow Passes And In The Right Direction
- Step 5: Stopped Dadoes And The Test Fit
- Common Mistakes That Show Up In The Finished Piece
- FAQ: Routing Dadoes
As an Amazon Associate I earn from qualifying purchases. This post may contain affiliate links at no extra cost to you.
A dado that is a hair too wide gives you a shelf that rocks and a glue joint that relies on hope. A dado that is a hair too narrow splits the case when you tap the shelf home. Both problems come from the same source: most people set up a router for cutting dadoes by matching the bit diameter to the nominal plywood thickness, and nominal thickness is a fiction. Your 3/4 inch plywood is almost certainly 23/32, sometimes 11/16, and it varies across a single sheet.
The router solves this better than a table saw does, because a router works from a reference edge you clamp down instead of a fence you have to trust across a four foot panel. It also stops dead where you tell it to, which matters for stopped dadoes in a bookcase side. This tutorial walks through the whole procedure in order, with the actual grits, depths, and dimensions I use, and it flags the mistakes that show up in the finished piece.
As an Amazon Associate we earn from qualifying purchases at no extra cost to you. Product prices and availability are accurate as of the date shown and are subject to change.


What Kind Of Router For Cutting Dadoes Actually Works
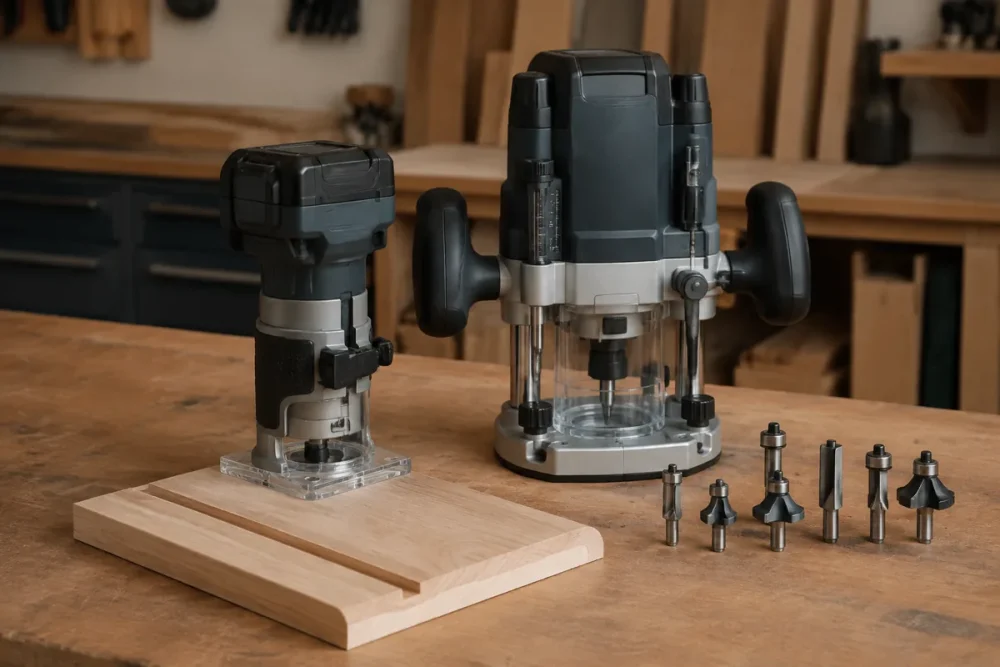
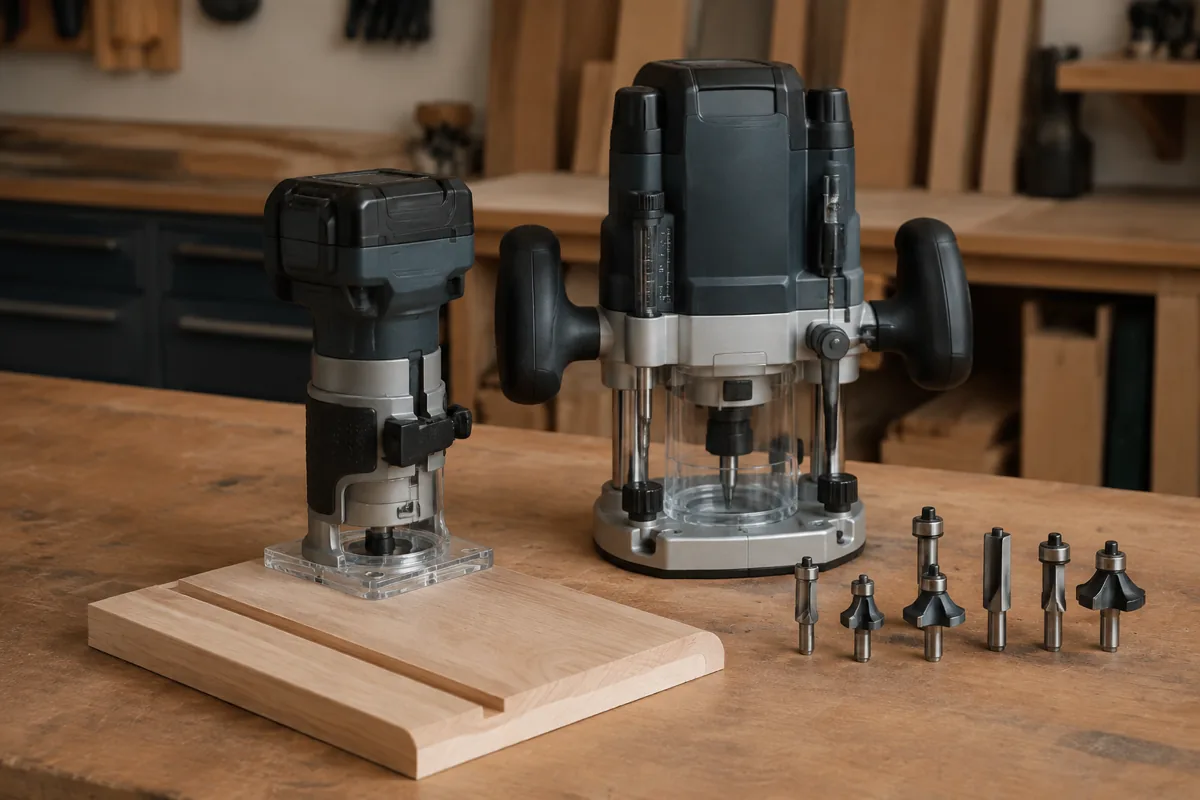
You do not need a specialty machine. You need enough power to pull a straight bit through hardwood plywood without bogging, and enough base stability to keep the bit vertical. Here is how the common options compare for this specific job.
| Router type | Typical power class | Best for dadoes | Watch out for |
|---|---|---|---|
| Compact trim router (1 to 1.25 HP) | Light | Shallow dadoes in 1/2 in plywood, small cases | Bogs down in hard maple, small base tips easily |
| Mid-size fixed base (1.75 to 2.25 HP) | Medium | Most casework dadoes, 3/4 in stock | Depth changes are slower than a plunge base |
| Plunge router (2 to 3 HP) | Heavy | Stopped dadoes, repeatable multi-pass depths | Bulk and weight on narrow panel edges |
| Router in a table | Medium to heavy | Dadoes near a board edge, small parts | Cannot do stopped dadoes in the middle of a wide panel |
If you own one router and want it to do dadoes well, a mid-size kit with both a fixed and a plunge base is the sweet spot. The fixed base handles through dadoes with a straightedge, and you swap to plunge when you need a stopped cut. Cordless changes nothing about the technique, but a cordless brushless mid-size router will drain a battery fast in a long 3/4 inch cut, so keep a spare charged.
Mid-Size Plunge and Fixed Base Router Kit
For dado work, prioritize a kit with both bases, a micro-adjustable depth stop, and a flat subbase you can swap for a wider aftermarket one. Above roughly 2 HP you stop thinking about whether the router can handle the cut and start thinking only about your setup, which is where the accuracy actually comes from.
Step 1: Measure The Real Thickness Of Your Shelf Stock
Set the calipers on the actual plywood you are using, not the sticker. Measure in three places on each panel and write the numbers down. This matters because every later decision, bit choice, jig width, and whether you make one pass or two, follows from this one measurement.
Common results and what they mean:
23/32 (0.719 in) is the usual modern 3/4 inch plywood. A 3/4 inch straight bit leaves about 0.031 of slop, which is a sloppy joint. 0.700 to 0.710 shows up in imported sheets. Solid hardwood you milled yourself is whatever your planer left, so mill all shelves in one session and measure after.
Step 2: Choose The Bit And The Cutting Strategy
You have three legitimate ways to get a dado that matches undersized stock, and picking one now saves rework later.
Option A, the undersized bit. Buy a 23/32 or 0.700 inch straight bit sold specifically for plywood. One pass, done. The catch is that it only fits one thickness, and the next sheet you buy may be different.
Option B, two passes with a smaller bit. Use a 1/2 inch straight or spiral bit, cut one pass against your straightedge, then shift the straightedge by the difference and cut again. This is the most flexible method and it works for any thickness. It is what I reach for most often.
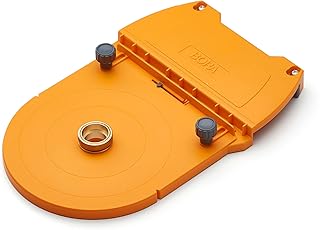
Option C, a two-sided dado jig. Build or buy a jig with two rails that you set to the exact width of your test piece. The router rides between them. Best choice when you have a dozen identical dadoes to cut.
On bit geometry: a two-flute straight bit is cheapest and fine. An upcut spiral clears chips aggressively but lifts the top veneer, which shows on the visible face. A downcut spiral presses the veneer down and gives the cleanest shoulders in plywood and melamine, but it packs chips into the groove, so take shallower bites and clear as you go. For visible casework in prefinished plywood, downcut is worth the money. Stick with 1/2 inch shank bits when your router accepts them; the reduced deflection is visible in the shoulder quality.
Step 3: Build The Straightedge Guide And Set The Offset
Cut a piece of 1/2 inch MDF about 6 inches wide and a foot longer than your widest panel. One factory edge is your reference. Clamp it to the panel with the reference edge facing where the router base will run.
Now the part people get wrong. The distance from the edge of your router’s subbase to the edge of the bit is the offset, and it is only constant if the bit is perfectly centered in the subbase. It usually is not. Mark one spot on your subbase with a pencil, and keep that mark against the straightedge for every single cut. Then find your offset empirically: clamp the straightedge to a scrap, make a shallow cut with the marked side riding the fence, and measure from the straightedge to the near wall of the groove. That number, not a catalog spec, is what you use to position the fence.
Step 4: Cut In Shallow Passes And In The Right Direction
Set the first pass to about 1/8 inch deep. For 3/4 inch plywood a finished dado is typically 1/4 to 3/8 inch deep, or between one third and one half of the panel thickness. That means two to three passes. Full depth in one bite in 3/4 inch stock burns the bit, wanders off the fence, and tears the shoulder.
Feed direction matters. Move the router so the bit’s rotation pulls the base toward the straightedge, not away from it. With a handheld router held right side up and the fence on your left, that means moving left to right. Get this backward and the bit climbs, the router skitters away from the fence, and you get a wavy dado.
Keep the feed rate steady. A pitch of the motor dropping means you are pushing too fast; a scorch mark on the shoulder means you are going too slow or dwelling at the end of the cut. Vacuum the groove between passes so chips do not hold the base up off the surface.
- ✔ Works on panels far wider than a table saw fence can safely handle
- ✔ Handles stopped dadoes with no extra tooling
- ✔ Bit and jig combinations solve undersized plywood exactly
- ✔ Cleaner shoulders in veneered plywood than a stacked dado set
- ✘ Slower than a dado stack when cutting many identical grooves
- ✘ Requires a test cut and offset measurement every setup
- ✘ Dust collection on handheld routing is mediocre at best
- ✘ Long grooves in hardwood are hard on small routers
Step 5: Stopped Dadoes And The Test Fit
For a stopped dado, mark the stop line on the panel, then transfer it to your straightedge as a start and stop reference for the subbase edge. Clamp a block at the stop location so the router physically cannot go past it. Plunge, cut to the block, then plunge up before you lift. The rounded end left by the bit is either squared with a chisel or, better, matched by notching the front corner of the shelf.
Test the fit on scrap from the same sheet before you touch the real panel. The shelf should slide in with hand pressure and a slight friction, not require a mallet. If it needs a mallet dry, it will hydraulic-lock on glue and split the case. If it is loose, shift the fence a few thousandths and take another light pass; you can always widen, you can never narrow.
Sanding order for the case parts: 120 then 150 grit before assembly on the inside faces you cannot reach later, and stop there. Sanding a dado wall to fix fit is a losing game because you cannot keep it flat.
Downcut Spiral Straight Bits for Plywood
If your dadoes show fuzzy top edges in birch or maple plywood, the bit is the problem, not your technique. A 1/2 inch shank downcut spiral in the 1/4 to 1/2 inch cutting diameter range will clean that up. Buy carbide, and buy two diameters so you can use the two-pass method on any thickness.
Common Mistakes That Show Up In The Finished Piece
Trusting nominal thickness. The single most common cause of loose shelves. Measure every time.
Rotating the router mid-cut. If the bit is off center in the subbase and you let the router spin in your hands, the dado width changes. Keep your pencil mark against the fence.
Cutting the dado too deep. Past about half the panel thickness you weaken the case side for no added strength.
Layout from two different edges. Reference every dado from the same end of both case sides so the shelves end up level even if the panels differ slightly in length.
Clamping the straightedge only at the ends. On a long panel the middle lifts and bows. Add a clamp in the center or use a jig with a full-length bearing surface.
FAQ: Routing Dadoes
Can I cut a 3/4 inch dado in one pass? You can, but you should not in plywood or hardwood. The load pushes the router off the fence and dulls the bit fast. Take 1/8 inch per pass, or up to 1/4 inch in softwood with a heavy router and a spiral bit.
Straight bit or spiral bit for dadoes? A two-flute straight bit is fine for hidden joinery and costs the least. Use a downcut spiral when the top edge of the groove will be visible, since it holds the veneer down and leaves crisp shoulders.
Is a router or a table saw better for dadoes? A table saw with a stacked dado set is faster for many identical grooves in narrow parts. A router wins on wide panels, stopped dadoes, and flat-bottomed grooves, and it needs no special blade set.
Get the measurement and the offset right and the rest of this is just steady feeding. The joint you end up with should slide together with hand pressure, sit flat, and hold a shelf loaded with books for decades.
Check prices on Amazon →