Key takeaways
- A step-by-step guide to choosing and using a router for rounding wood edges, with real bit sizes, depth settings and the mistakes that ruin a profile.
What's inside
As an Amazon Associate I earn from qualifying purchases. This post may contain affiliate links at no extra cost to you.
Sharp square edges on a shelf, a tabletop or a toy box are a problem you feel before you see: they splinter, they dent, they chip out the first time the piece gets bumped, and finish pulls thin off the corner and leaves a pale line. A router for rounding wood edges solves all of that in one pass, and it is probably the single easiest routing job to learn. The trouble is that most people buy the wrong size machine, set the bit too deep, and then blame the tool for the burn marks.
This guide walks the procedure in order: pick the router, pick the radius, set the depth, cut in the right direction, then sand. Along the way I will point out where things usually go wrong, because nearly every bad roundover comes from one of four mistakes and all four are avoidable.
As an Amazon Associate we earn from qualifying purchases at no extra cost to you. Product prices and availability are accurate as of the date shown and are subject to change.


Which Router For Rounding Wood Edges Actually Makes Sense
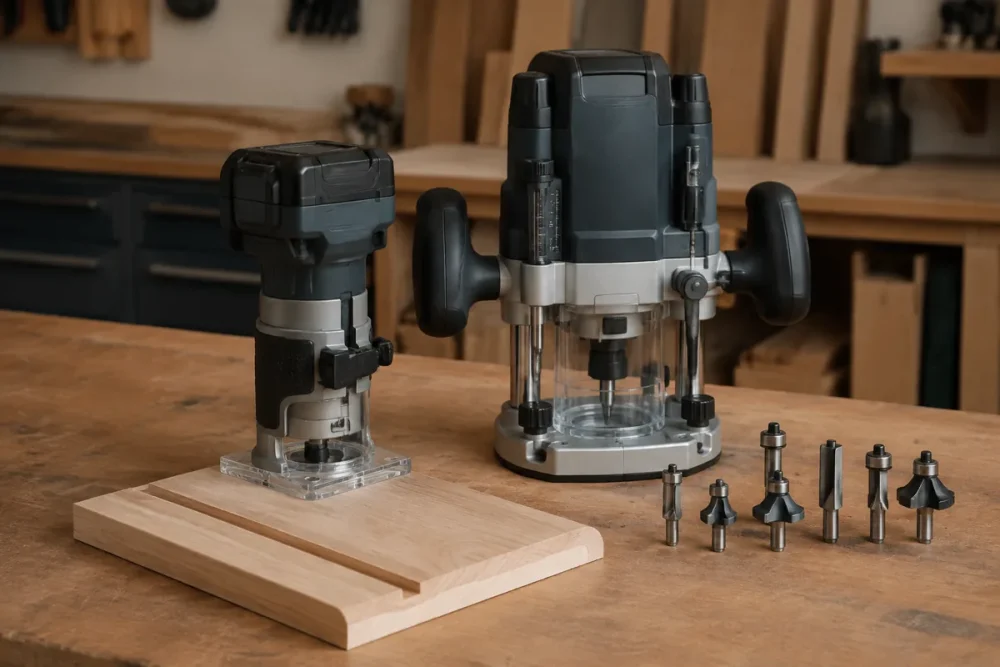
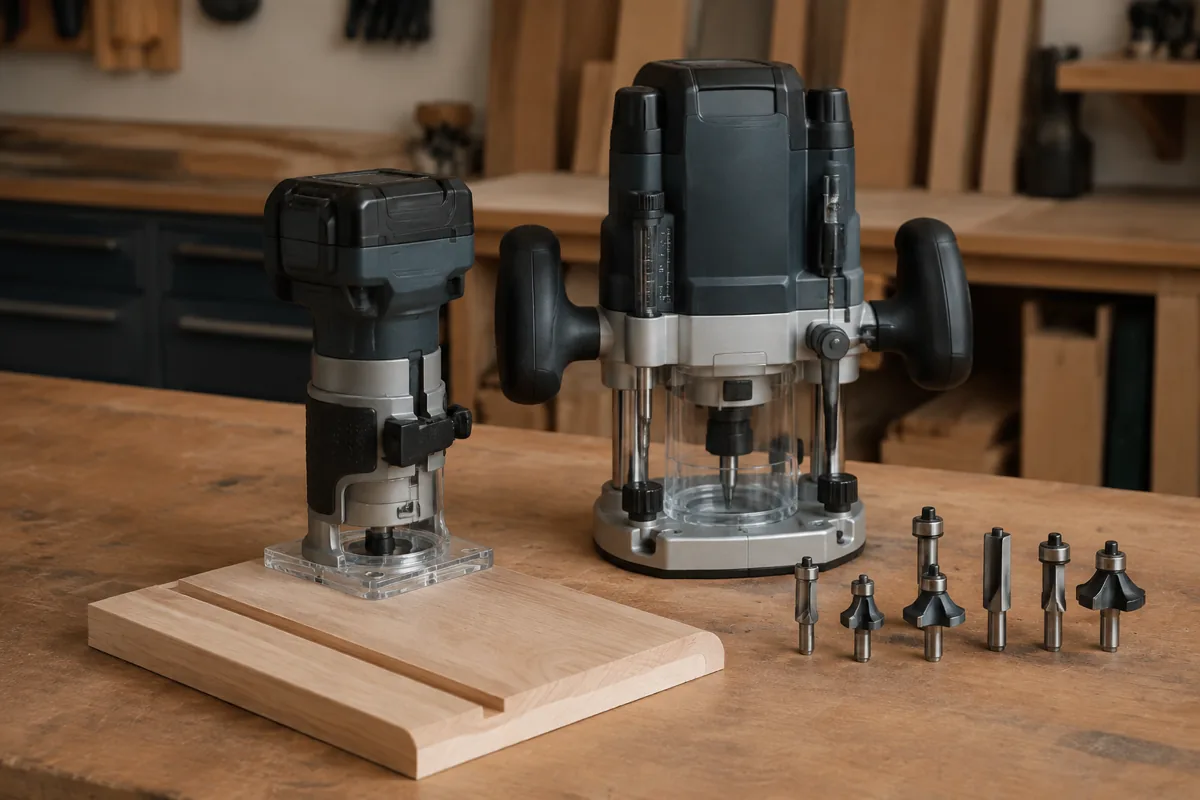
Edge rounding is light-duty work. A roundover bit removes a sliver of material, not a groove, so raw horsepower is close to irrelevant. What matters is control, and control on an edge comes from a small base you can steer with one hand and see past. That is why a compact router, sometimes sold as a trim router or palm router, is the right first choice for this job even though a big plunge router can technically do it too.
The categories break down like this:
| Router type | Collet | Best for edge rounding | Watch out for |
|---|---|---|---|
| Compact/palm router (corded, roughly 1 to 1.25 HP) | 1/4 inch | Yes, this is the sweet spot | Limited to 1/4-inch shank bits |
| Cordless compact router (DeWalt XR, Milwaukee FUEL, Makita LXT) | 1/4 inch | Yes, excellent for job-site and assembled projects | Battery adds weight up high, runtime on hardwood |
| Mid-size fixed base (roughly 1.75 to 2.25 HP) | 1/4 and 1/2 inch | Workable, better in a table | Heavy and tippy on a narrow edge |
| Full-size plunge router (2.25 HP and up) | 1/2 inch | Only in a router table | Overkill freehand, poor visibility |
One feature genuinely matters more than the rest: variable speed. Roundover bits above about 1/2-inch radius have a large cutting diameter, and large diameters need lower RPM or the bit tip outruns the wood and burns it. If a router only has one speed, you are stuck at full tilt and limited to small bits.
Two more worth paying for: a soft-start motor, so the router does not twist out of your hand on startup, and a fine depth adjustment ring. Depth on a roundover is set in fractions of a millimeter at the end, and a coarse clamp-and-slide mechanism makes that miserable.
Compact / Palm Router (1/4-inch collet)
For rounding edges, a compact variable-speed router with a fine depth ring will do 95 percent of what a homeowner or hobby woodworker needs. Look for a clear sub-base you can see the bit through, a flat wide base for edge stability, and LED lighting if you can get it. Corded models are cheaper and lighter at the head; cordless is worth it if you round edges on installed trim or assembled furniture. Skip the fixed-single-speed bargain units.
Step 1: Choose The Radius And The Bit
The roundover bit is named by its radius, and the radius should be chosen against stock thickness, not by feel. Rules of thumb that hold up in practice:
1/8 inch: the safety break. Use it on 1/2-inch stock, on drawer parts, on plywood edges and on anything where you want the corner to stop being sharp without visibly changing the design. This is the one bit to buy first.
1/4 inch: the general-purpose profile for 3/4-inch stock. Shelves, table aprons, box lids, bookcase sides. Noticeable, comfortable in the hand, still restrained.
3/8 and 1/2 inch: softened, chunky edges for tabletops, benchtops, cutting boards and furniture in 1-inch stock or thicker. A 1/2-inch roundover on 3/4-inch stock eats two thirds of the thickness from each face and looks bloated, so keep it on heavier material.
Buy bearing-guided bits, not unpiloted ones. The bearing rides the workpiece face below the cut and sets the depth of engagement horizontally, which is what makes a consistent profile possible without a fence. Carbide-tipped is standard and worth it; high-speed steel dulls fast in plywood and MDF.
Check that the bearing spins freely before every session. A seized bearing does not roll, it drags, and a dragging bearing burnishes a shiny scorched stripe down the edge that sanding barely removes.
Step 2: Set The Depth (Where Most People Go Wrong)
The single most common mistake in edge rounding is setting the bit too deep, which leaves a small step or ridge at the top and bottom of the arc instead of a clean tangent into the flat face. Here is the method that avoids it.
1. Unplug the router or pull the battery. Every time. The switch on a compact router is easy to bump.
2. Seat the bit in the collet properly: insert the shank most of the way but leave roughly 1/16 inch of shank above the collet nut opening so the bit is not bottomed out, then tighten firmly. A bit bottomed hard against the shaft can creep during use.
3. Set the router base on a piece of scrap the same thickness as your workpiece and lower the bit until the flat shoulder of the cutter, the small horizontal land just above the arc, is level with the top surface of the wood. A metal straightedge laid across the base helps here, but eyeballing the shoulder against the scrap works.
4. Back the bit up very slightly, on the order of 1/64 inch, so it cuts a hair shallow. A profile that leaves a whisker of material is invisible after sanding. A profile that cuts too deep leaves a hard step that no amount of sanding fixes.
5. Cut a test pass on scrap and inspect the transition with your fingertip, not your eyes. Fingertips find a 0.005-inch ridge instantly. Adjust and retest until the arc runs smoothly into the flat.
Set speed while you are here. As a working guide, run 1/8- and 1/4-inch roundovers near full speed, back off to roughly the middle of the dial for 3/8 inch, and use one of the lower settings for 1/2 inch and larger. Softwoods and cherry burn easily, so err slower on those.
Step 3: Feed Direction, Clamping And The Cut Itself
A handheld router bit spins clockwise looking down at it. To cut against the rotation rather than being dragged along by it, you move the router counterclockwise around the outside of a workpiece and clockwise around the inside of an opening. Get this backwards and the bit self-feeds, skates sideways and gouges.
1. Clamp the work so the edge overhangs the bench by at least an inch and the router base has full support. Nothing ruins a profile faster than a piece that shifts mid-pass.
2. Round the end grain first, then the long grain. End grain tears out at the corners; the following long-grain pass cleans that tearout away. Doing it in the other order leaves chipped corners you cannot repair.
3. Start the router with the bit clear of the wood, let it reach full speed, then ease in.
4. Move at a steady feed rate. Too slow burns, especially in maple and cherry, because the cutter dwells and heats. Too fast leaves scallops and strains the motor. Listen for a consistent tone rather than watching the bit.
5. Keep the base flat and firm against the face and the bearing lightly against the edge. Do not press hard into the bearing; light contact is all it needs.
6. For 1/2-inch and larger profiles, take two passes: a shallower setting first, then the final depth. It reduces load, burn and tearout dramatically.
7. On a full perimeter, do not stop mid-edge. Pausing with a spinning bit in contact burns a dark spot in a second or two.
Carbide Roundover Bit Set (1/4-inch shank)
Honest advice: a five-piece bargain set usually includes two sizes you will use and three you will not. If budget is tight, buy one good carbide 1/8-inch and one 1/4-inch bearing-guided bit from a known brand and add larger radii when a project demands them. Confirm the bearing is replaceable and that the shank matches your collet. A quality single bit outlasts a cheap set several times over.
Step 4: Sanding And Finishing The Profile
A routed edge is smooth but not finish-ready. The mill marks from the cutter are fine and shallow, so the sanding sequence is short.
Start at 150 grit if the cut is clean, or 120 if there is light burn or fuzz. Sand by hand with the paper wrapped around a scrap block or a soft foam pad so you follow the curve instead of flattening it. An orbital sander will round the roundover, flatten the tangent line and undo the profile you just set, so keep it off the arc.
Move to 180, then 220 for most projects. If the piece is getting stain or dye, stop at 180: a polished edge absorbs less pigment and shows up as a light halo around the perimeter. Sand along the length of the edge, never across it, and take three light passes rather than one hard one.
When you get to finish, remember that a rounded edge sheds coating. Film finishes flow off the crown and leave the arc thinner than the faces, so give routed edges an extra light coat and keep it thin enough not to sag.
- ✔ One pass turns a fragile square corner into a durable, comfortable edge
- ✔ Compact routers are affordable, light and easy to control freehand
- ✔ Bearing-guided bits set the profile automatically, no fence or jig required
- ✔ Consistent radius all the way around, which handwork cannot match
- ✔ Same tool later handles dadoes, flush trimming, inlay and template work
- ✘ Burn marks on cherry and maple are easy to cause and slow to remove
- ✘ End grain tears out if you route the long grain first
- ✘ A large-radius bit in a single-speed router is a recipe for scorching
- ✘ Dust output is significant; a shop vac connection or a respirator is not optional
- ✘ A profile set too deep leaves a step that sanding will not fix
Common Mistakes Worth Repeating
Routing an edge that has not been prepared. The bearing follows the edge exactly. If the edge is wavy from a rough saw cut, the profile will be wavy too. Joint or sand the edge straight first.
Rounding before joinery. A rounded edge cannot sit tight in a joint or against a face. Cut and fit all your joints, then round the exposed edges last.
Rounding both faces of a plywood edge and exposing the core. On 3/4-inch plywood, a 1/4-inch roundover often cuts into the void-prone inner plies. Stick to 1/8 inch on plywood, or apply solid edge banding first and round that.
Ignoring where the profile ends. If you stop a roundover partway along an edge, you get an abrupt bump. Either run the full length or plan a deliberate stopped detail.
FAQ
Can I round wood edges without a router? Yes, for small radii. A block plane or a spokeshave followed by sanding produces a beautiful hand-shaped edge, and a simple sanding block with 120 grit will break a corner in seconds. What handwork cannot easily do is repeat an identical radius over ten feet of edge or around an inside curve, which is exactly where the router earns its place.
What size roundover bit should I start with? A 1/8-inch and a 1/4-inch bearing-guided carbide bit will cover the large majority of home woodworking. The 1/8 inch breaks corners on thinner stock and plywood; the 1/4 inch is the standard profile on 3/4-inch boards. Add 3/8 or 1/2 inch only when you start working in thicker material.
Why does my edge burn even though the bit is sharp? Almost always feed rate or RPM. Dwelling in one spot, feeding too slowly, or running a large-diameter bit at full speed all put heat into the wood faster than the chip can carry it away. Slow the speed dial for bigger bits, keep the router moving steadily, and check that the guide bearing spins freely rather than dragging.
Buy a compact variable-speed router, add one or two quality bearing-guided bits, set the depth a hair shallow on scrap, route end grain first, and finish by hand with 150 to 220 grit. That sequence gives clean, repeatable edges on the first project and every one after it.
Check prices on Amazon →