What's inside
As an Amazon Associate I earn from qualifying purchases. This post may contain affiliate links at no extra cost to you.
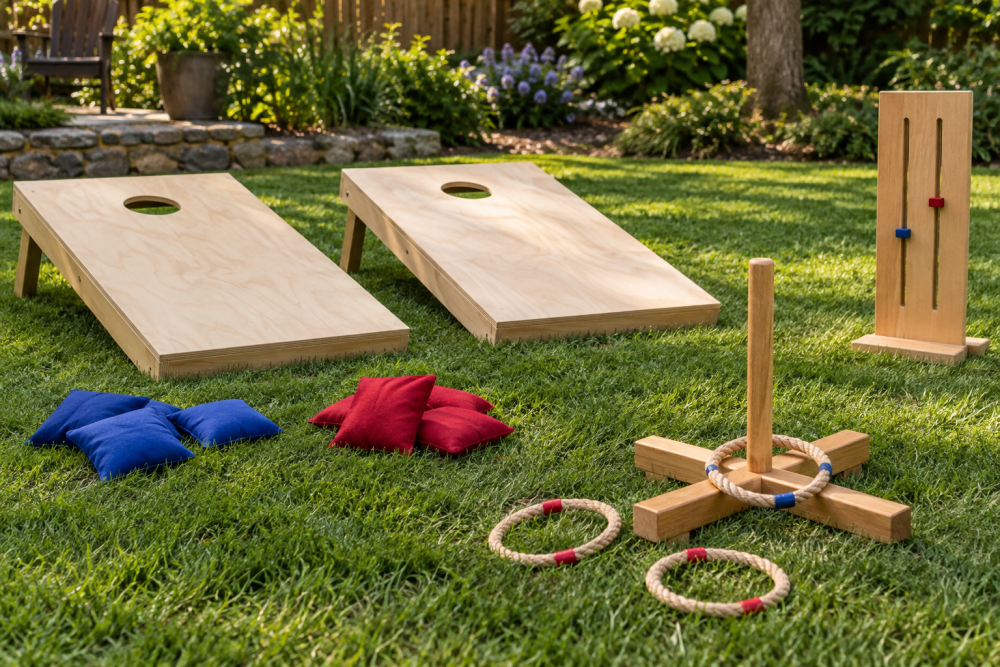
A matched pair of cornhole boards is a manageable weekend project if you can make straight cuts, drill a clean hole, and sand an edge. The main challenge is building two boards that match: the playing surfaces need to be flat, the holes need to line up, and the legs must fold without wobbling.
Contents
Dimensions and materials
Regulation boards are 24 inches wide by 48 inches long, with a 6-inch-diameter hole centered 9 inches from the top end and 12 inches from each side. The front edge sits 3 to 4 inches above the ground; the back edge sits 12 inches high. Those dimensions also work well for casual backyard play.
For two boards, buy two 2-by-4-foot sheets of 3/4-inch exterior-grade plywood, plus lumber for the frames and legs. Cabinet-grade plywood gives a smooth face but costs more and needs careful sealing. Exterior plywood is a practical choice outdoors; avoid particleboard and MDF, which swell badly when water gets into the edges. A sheet of 3/4-inch exterior plywood is the key purchase to get right.
Tools and cut list
You’ll need a saw, drill, tape measure, square, clamps, and sandpaper. A jigsaw can cut the hole, while a router with a circle jig makes a cleaner circle. A 6-inch hole saw is another option, but it needs a powerful drill and a stable setup; a large hole saw can grab suddenly. Use eye and hearing protection when cutting or drilling.
For each board, cut two 48-inch frame rails and two 21-inch end rails from 2-by-4 lumber. The end rails fit between the long rails, making an outside frame 24 inches wide. Cut two legs per board from 2-by-4 stock; leave them long until you can test the finished board height. Use exterior-rated screws, roughly 2 1/2 inches for the frame and 3 inches for attaching the legs. The table compares common surface options.
| Surface choice | Advantages | Trade-offs |
|---|---|---|
| 3/4-inch exterior plywood | Sturdy, readily available, holds screws well | Can have patches or rough spots; seal all faces and edges |
| 1/2-inch plywood | Lighter and often cheaper | More likely to flex or bounce; needs a well-supported frame |
| 1-by-4 frame lumber | Lower weight than a 2-by-4 frame | Less stiff; careful assembly matters more |
Build the frames
Lay out the rails on a flat surface with the 21-inch end pieces between the 48-inch sides. Check that the corners are square before fastening. Pre-drill near the ends of the rails to reduce splitting, then drive two screws into each joint. Measure both diagonals; if they differ, push the frame into square before tightening the last screws.
Repeat for the second frame and compare the outside dimensions. A frame that is slightly out of square can twist the plywood and make the board rock. If the lumber has a crown or bow, orient the crown upward on the long rails. Fasten each plywood top to its frame with screws spaced about 8 inches apart around the perimeter. Keep the heads flush, not proud of the playing surface.
Mark and cut the hole
On each top, measure 9 inches down from the top end and 12 inches from either side to find the hole center. Mark a 6-inch circle using a compass, a circle jig, or a template. Drill a starter hole inside the circle for a jigsaw blade, then cut slowly to the line. Support the offcut so it does not tear the last section of plywood. Sand the rim smooth; chips around the opening can snag bags.
Cut both holes from the same template or carefully repeat the measurements. A small difference won’t prevent play, but consistent placement makes the pair look and feel finished. If the plywood face splinters, apply painter’s tape over the cut line before sawing and use a sharp blade.
Fit folding legs
Round one end of each leg so it can pivot. A simple method is to trace around a can or cup at the end, cut to the curve, and drill a pivot hole near its center. Position the legs inside the back end of the frame, with the rounded ends toward the top. Use bolts, washers, and locknuts so the legs swing freely without loosening; ordinary screws can bind or pull out after repeated folding.
Open the legs and set the board on a level floor. Adjust their length until the back edge is 12 inches high and the front edge is 3 to 4 inches high. Trim the feet so they sit flat on the ground. Test both boards on the same surface: if one rocks, check for uneven feet, a twisted frame, or a raised screw head before shortening a leg.
Sand and finish
Sand the top with 120-grit paper, then 180 grit for a smoother finish. Ease the outside edges and hole rim so they are not sharp. Remove dust before applying a compatible exterior paint or clear finish. Seal the top, underside, hole edge, and exposed plywood edges; water usually gets in through the edges first. Apply thin coats and follow the label’s drying time. Rushing a second coat can leave a tacky surface that catches bags.
Paint is inexpensive and hides plywood patches, but it can make bags slide more or less depending on the product and texture. A clear finish shows the wood and is easy to refresh, though it won’t hide a rough face. Whatever finish you choose, test bag slide with a few practice throws after it cures fully.
Final check and storage
Set the boards 27 feet apart from front edge to front edge for regulation play. Check that both tops are flat, the holes are smooth, and the legs fold and lock open securely. Carry boards by the frame rather than lifting by one leg. Store them indoors or under a cover when not in use; even exterior plywood and outdoor finish can deteriorate if the boards sit in rain. If you expect frequent transport, add a handle after the finish cures, but keep it clear of the playing surface and folding legs.