What's inside
As an Amazon Associate I earn from qualifying purchases. This post may contain affiliate links at no extra cost to you.
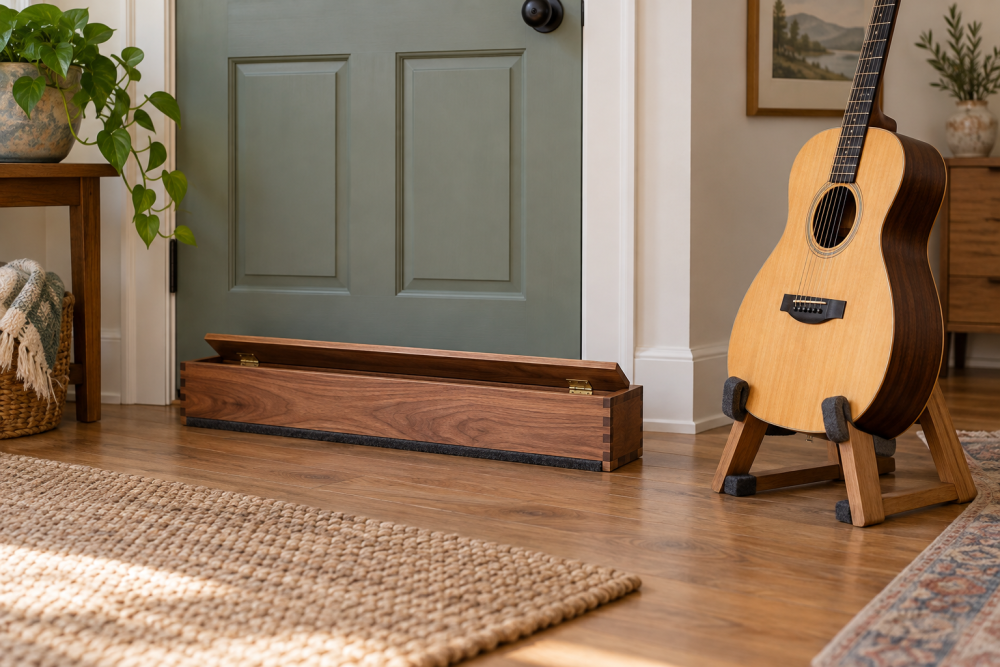
A wooden draft excluder box sits against a door or window to reduce cold air slipping through a gap. This version is a simple, open-bottom box you can fill with sand or another weight and cover with fabric. It is useful where a fabric-only door snake shifts around, but it will not fix leaks around the frame or replace proper weatherstripping.
Contents
Size the box to the gap
Measure the width of the door or window opening where the box will sit. Make the finished box about 25–50 mm (1–2 in.) shorter than that width so it does not catch on the trim. Measure the gap beneath the door at several points; aim for a box height that leaves roughly 3–6 mm (⅛–¼ in.) clearance. If the gap varies, size for the tightest point. A box that rubs may scrape the floor or prevent the door from closing.
The example below is 800 mm (31½ in.) long, 100 mm (4 in.) high and 100 mm deep. Adjust the measurements to suit your opening. The box has two long sides, two end pieces and a bottom panel. Its open top makes filling and later emptying straightforward.
Materials and tools
Use straight, dry 12 mm (½ in.) plywood or clear softwood. Plywood is stable and easy to cut, while solid wood is more attractive if you already have suitable offcuts. For the example, cut two pieces 800 × 100 mm, two pieces 76 × 100 mm and one bottom piece 776 × 76 mm. These dimensions assume 12 mm stock: the end pieces fit between the long sides, and the bottom fits inside the assembled box.
You will also need wood glue, 25–30 mm screws, sandpaper, a drill and a saw. A set of woodworking clamps helps hold the sides square during assembly, but careful hand pressure and a few temporary blocks can work for this small build. If you lack a saw, have a lumberyard cut the panels to size; that is often cheaper than buying a tool for one project.
Choose a filler and cover
Dry play sand gives the box useful weight and is inexpensive, but it can leak through seams if the box is poorly joined. Put it in a sewn inner bag or a tough zippered fabric liner rather than pouring it loose into the wood box. Clean, dry rice or fabric scraps are lighter; they are easier to handle but provide less resistance to movement. Avoid damp organic filler, which can mold or attract pests.
| Filler | Practical advantage | Trade-off |
|---|---|---|
| Dry sand in a liner | Dense and holds the box in place | Heavy to lift; leaks if the liner fails |
| Rice or dry beans | Easy to pour and remove | Can attract pests if the cover is not sealed |
| Fabric scraps | Light, reusable, and unlikely to spill | May not weigh enough to stay put |
For a removable cover, use a washable woven fabric and leave enough slack to wrap around the box. A strip of hook-and-loop tape or a zipper makes refilling easier. If you need fabric, heavy cotton canvas is durable, though a clean offcut from an old curtain is fine for a low-cost first version.
Cut and prepare the pieces
Mark each panel carefully with a square. Cut just outside the line, then sand to the mark; inaccurate end lengths can leave the box twisted or create gaps at the corners. Sand the cut edges with 120-grit paper, followed by 180 grit. Round sharp corners slightly so they do not wear through the fabric cover.
Before assembly, lay the pieces together on a flat surface. Check that the two long sides are parallel and that the end pieces fit between them without forcing the joints. If the wood is rough or splintered, spend time sanding now. It is harder to reach the inside corners after the box is assembled.
Assemble the box
Apply a thin bead of wood glue to the ends of each short panel. Fit them between the long sides, keeping the edges flush. Drill pilot holes before driving screws: for 12 mm stock, use a pilot bit around 2–3 mm and keep it centered in the edge. Two screws per end joint are generally enough. Without pilot holes, screws can split narrow end pieces.
Check the assembly for square by comparing the two diagonal measurements. If they differ, nudge the box until they match, then clamp or hold it while the glue sets. Fit the bottom panel inside the box with glue and screws, drilling pilot holes through the sides into its edges. Wipe away squeezed-out glue and let the joints cure according to the glue label before loading the box.
Finish and fill
Sand the assembled box, especially the outside corners and the bottom edges that may touch the floor. A water-based finish can make the wood easier to wipe clean; an unfinished box is also reasonable if it will stay covered and dry. Let any finish cure fully before putting fabric or filler inside, since trapped solvent odor can linger.
Place the liner inside and add filler a little at a time. Do not pack it so tightly that the cover bulges or the box becomes difficult to lift. For sand, begin with about 2–3 kg (4–7 lb), test it at the opening, and add more only if it slides. Keep the total weight manageable; a long box filled heavily can be awkward to pick up.
Test the fit and adjust
Set the box against the gap and open and close the door slowly. If it catches, remove it and trim or sand the bottom edge rather than forcing the door over it. If light still shows beneath the box, first check whether the floor is uneven. A thin strip of foam attached to the underside can accommodate small variations, but a large or changing gap is better addressed with an adjustable door sweep or weatherstripping.
Inspect the box after a few days. A loose screw, opening joint or torn liner can let filler escape and leave the box unstable. Tighten fasteners, resew or replace the liner, and keep the filler dry. This is a simple seasonal project, but it works best when sized to one specific opening rather than treated as a substitute for sealing the whole door.