What's inside
As an Amazon Associate I earn from qualifying purchases. This post may contain affiliate links at no extra cost to you.
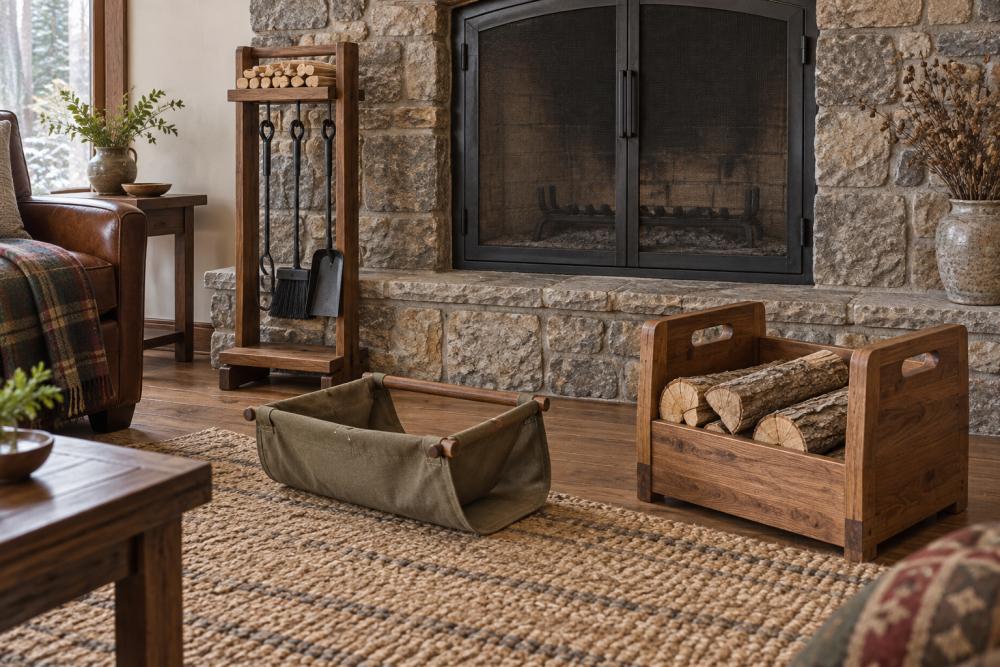
A compact firewood carrier is useful for moving a small load from the shed to the stove without dragging bark and dirt through the house. This design uses a canvas sling, two hardwood rails and plywood end panels that keep short splits from rolling out. It carries roughly 30 pounds comfortably; treat that as a practical limit, not a tested rating.
Contents
Dimensions and materials
The finished carrier is about 18 inches long, 12 inches wide and 12 inches high. The end panels support the rails and contain the load, while the sling holds the wood off the floor. Adjust the width to suit your usual firewood length, but leave enough room for the fabric to form a deep pocket.
| Part | Specification | Notes |
|---|---|---|
| End panels | Two pieces of ½-inch exterior plywood, 12 × 12 inches | Use sound, flat panels without delaminated edges. |
| Rails | Two hardwood dowels, ¾-inch diameter, 18 inches long | Maple, ash or beech are suitable; avoid cracked or sharply bent stock. |
| Sling | Heavy canvas, about 20 × 30 inches | Allow extra fabric for hems and a 5- to 6-inch-deep pocket. |
| Fasteners | Wood glue and four 1¼-inch screws | Use exterior-rated glue if the carrier will be stored in a damp shed. |
For a basic tool kit, use a drill, saw, tape measure, square, clamps and sandpaper. A heavy canvas fabric is a better sling material than thin cotton, which can tear at the seams. A ¾-inch hardwood dowel is a straightforward rail choice; a smooth scrap of straight hardwood works too if its finished size is close.
Choose the panel material
½-inch plywood is a good balance of weight and stiffness for this size. Exterior plywood tolerates damp firewood and occasional outdoor storage better than interior-grade plywood, but it is not waterproof. Seal the edges, where water can soak in and start the plies separating.
Three-quarter-inch plywood is stronger but adds weight and makes a loaded carrier less pleasant to lift. Solid boards can also work, though seasonal movement may loosen rail joints if the grain direction and fasteners are poorly chosen. For a small indoor carrier, quality ½-inch plywood is generally the simpler option. Avoid thin hardboard: it can flex or split around the rail holes.
Cut and lay out the end panels
Cut two matching 12 × 12-inch panels. Round the top corners to about a 1-inch radius, then sand the edges smooth. The rounded corners are less likely to snag clothing or chip when the carrier bumps a door frame.
On each panel, mark two rail centers 8 inches apart horizontally, with the upper rail center 2 inches below the top edge. Put the lower rail center 4 inches below the upper one. Drill ¾-inch holes at the marks. Check the dowel diameter first: if it is slightly larger than ¾ inch, test the fit on scrap and adjust the hole with careful sanding. A snug fit is desirable; forcing an oversized dowel can split the plywood.
Fit the rails and reinforce the ends
Dry-fit both rails through one panel, then slide the second panel onto the other ends. Check that the panels are parallel and the carrier sits square. If a rail is tight, ease the hole rather than hammering hard; plywood can crack around the opening.
Remove the rails, spread a thin layer of wood glue inside the holes, and reassemble. Drill a pilot hole from the outside face of each panel into each rail, then drive a 1¼-inch screw into the rail. Keep the screws centered on the dowels and stop when snug. Screws driven too close to a dowel edge can split it; over-tightening can strip the wood.
For additional reinforcement, glue a 1½-inch-square plywood pad around each rail hole on the outside face of the panel before final assembly. This adds bearing area where the rails push against the ends, at the cost of a slightly bulkier profile. It is useful if you expect frequent loading or heavier splits. Keep the pads clear of the screw heads and sand their edges flush enough that they will not catch the sling.
Make the canvas sling
Hem the short edges of the canvas by folding each edge over twice, about ½ inch each fold, and stitching securely. If you do not have a sewing machine, a canvas repair shop can stitch the hems; staples alone are a poor substitute because they can pull free under a shifting load.
Lay the fabric between the rails with the long dimension running across the carrier. Fold each long edge around a rail, leaving enough slack for the fabric to sag 5 to 6 inches when empty. Sew a reinforced sleeve around each rail, or wrap the fabric around the rail and secure it with closely spaced upholstery staples on the underside. Use staples long enough to bite into the wood but short enough not to protrude through the top. Check the fit with a light load before carrying wood.
A sewn sleeve gives a cleaner, more durable connection, while staples are faster and easier to repair. If you use staples, inspect them periodically; a loose fastener can let the sling slide and spill the load.
Finish and test the carrier
Sand all exposed wood to 120 grit, then break sharp edges with a few passes of 180 grit. Apply a water-resistant finish to the panels and rails if the carrier may sit in a damp area. Let the finish cure fully before loading it, since uncured coating can mark the fabric and collect dust.
Test first with a few short splits, then add wood gradually. Keep the load centered and lift by both rails, not by the canvas. Stop if the panels bow, a rail joint moves, or the sling stitches begin to pull. A carrier is not a substitute for a log basket when you need to move a large or awkward load.
Common material trade-offs
| Choice | Best for | Trade-off |
|---|---|---|
| ½-inch exterior plywood | Most builds and occasional damp exposure | Edges need sealing; quality varies by sheet. |
| ¾-inch plywood | Heavier use and extra stiffness | More weight and bulk without much benefit for light loads. |
| Canvas sling | Flexible, replaceable load support | Needs strong seams and periodic inspection. |
| Scrap hardwood rails | Low-cost builds using straight, sound stock | Dimensions may need planing or sanding for a consistent fit. |